Hello everyone! This is week 4 of the One Room Challenge. If you are finding me through the One Room Challenge, welcome to my blog where I share my passion for creating comforting homes by thrifting, sewing and a little diy-ing along the way! While I’m not averse to buying new. I love being able to stretch a budget AND get that “layered over time” look that comes from incorporating pieces that have had a previous life! You can follow my decorating journey on the HomeSpunStyle Instagram.
If you missed my posts from Weeks 1 , 2 and 3 where we began transforming an old pool house on our property into an Airbnb guest cottage, you can find them here:
This week we’ve been focused on the bathroom. It’s still a work in progress but I wanted to share 4 great tips we’ve discovered over time for making a small space bathroom function better and look bigger!
#1 – Pocket door
Pocket doors are great space savers. In our guest house project, there was a hinged door that opened left into the bathroom, almost hitting the sink vanity as it opened. You then had to close the door in order to get to the light switch behind the door. Not a huge deal in the daytime, but at night it would mean entering the bathroom and then shimmying around the sink and closing the door to find the light switch in the dark!
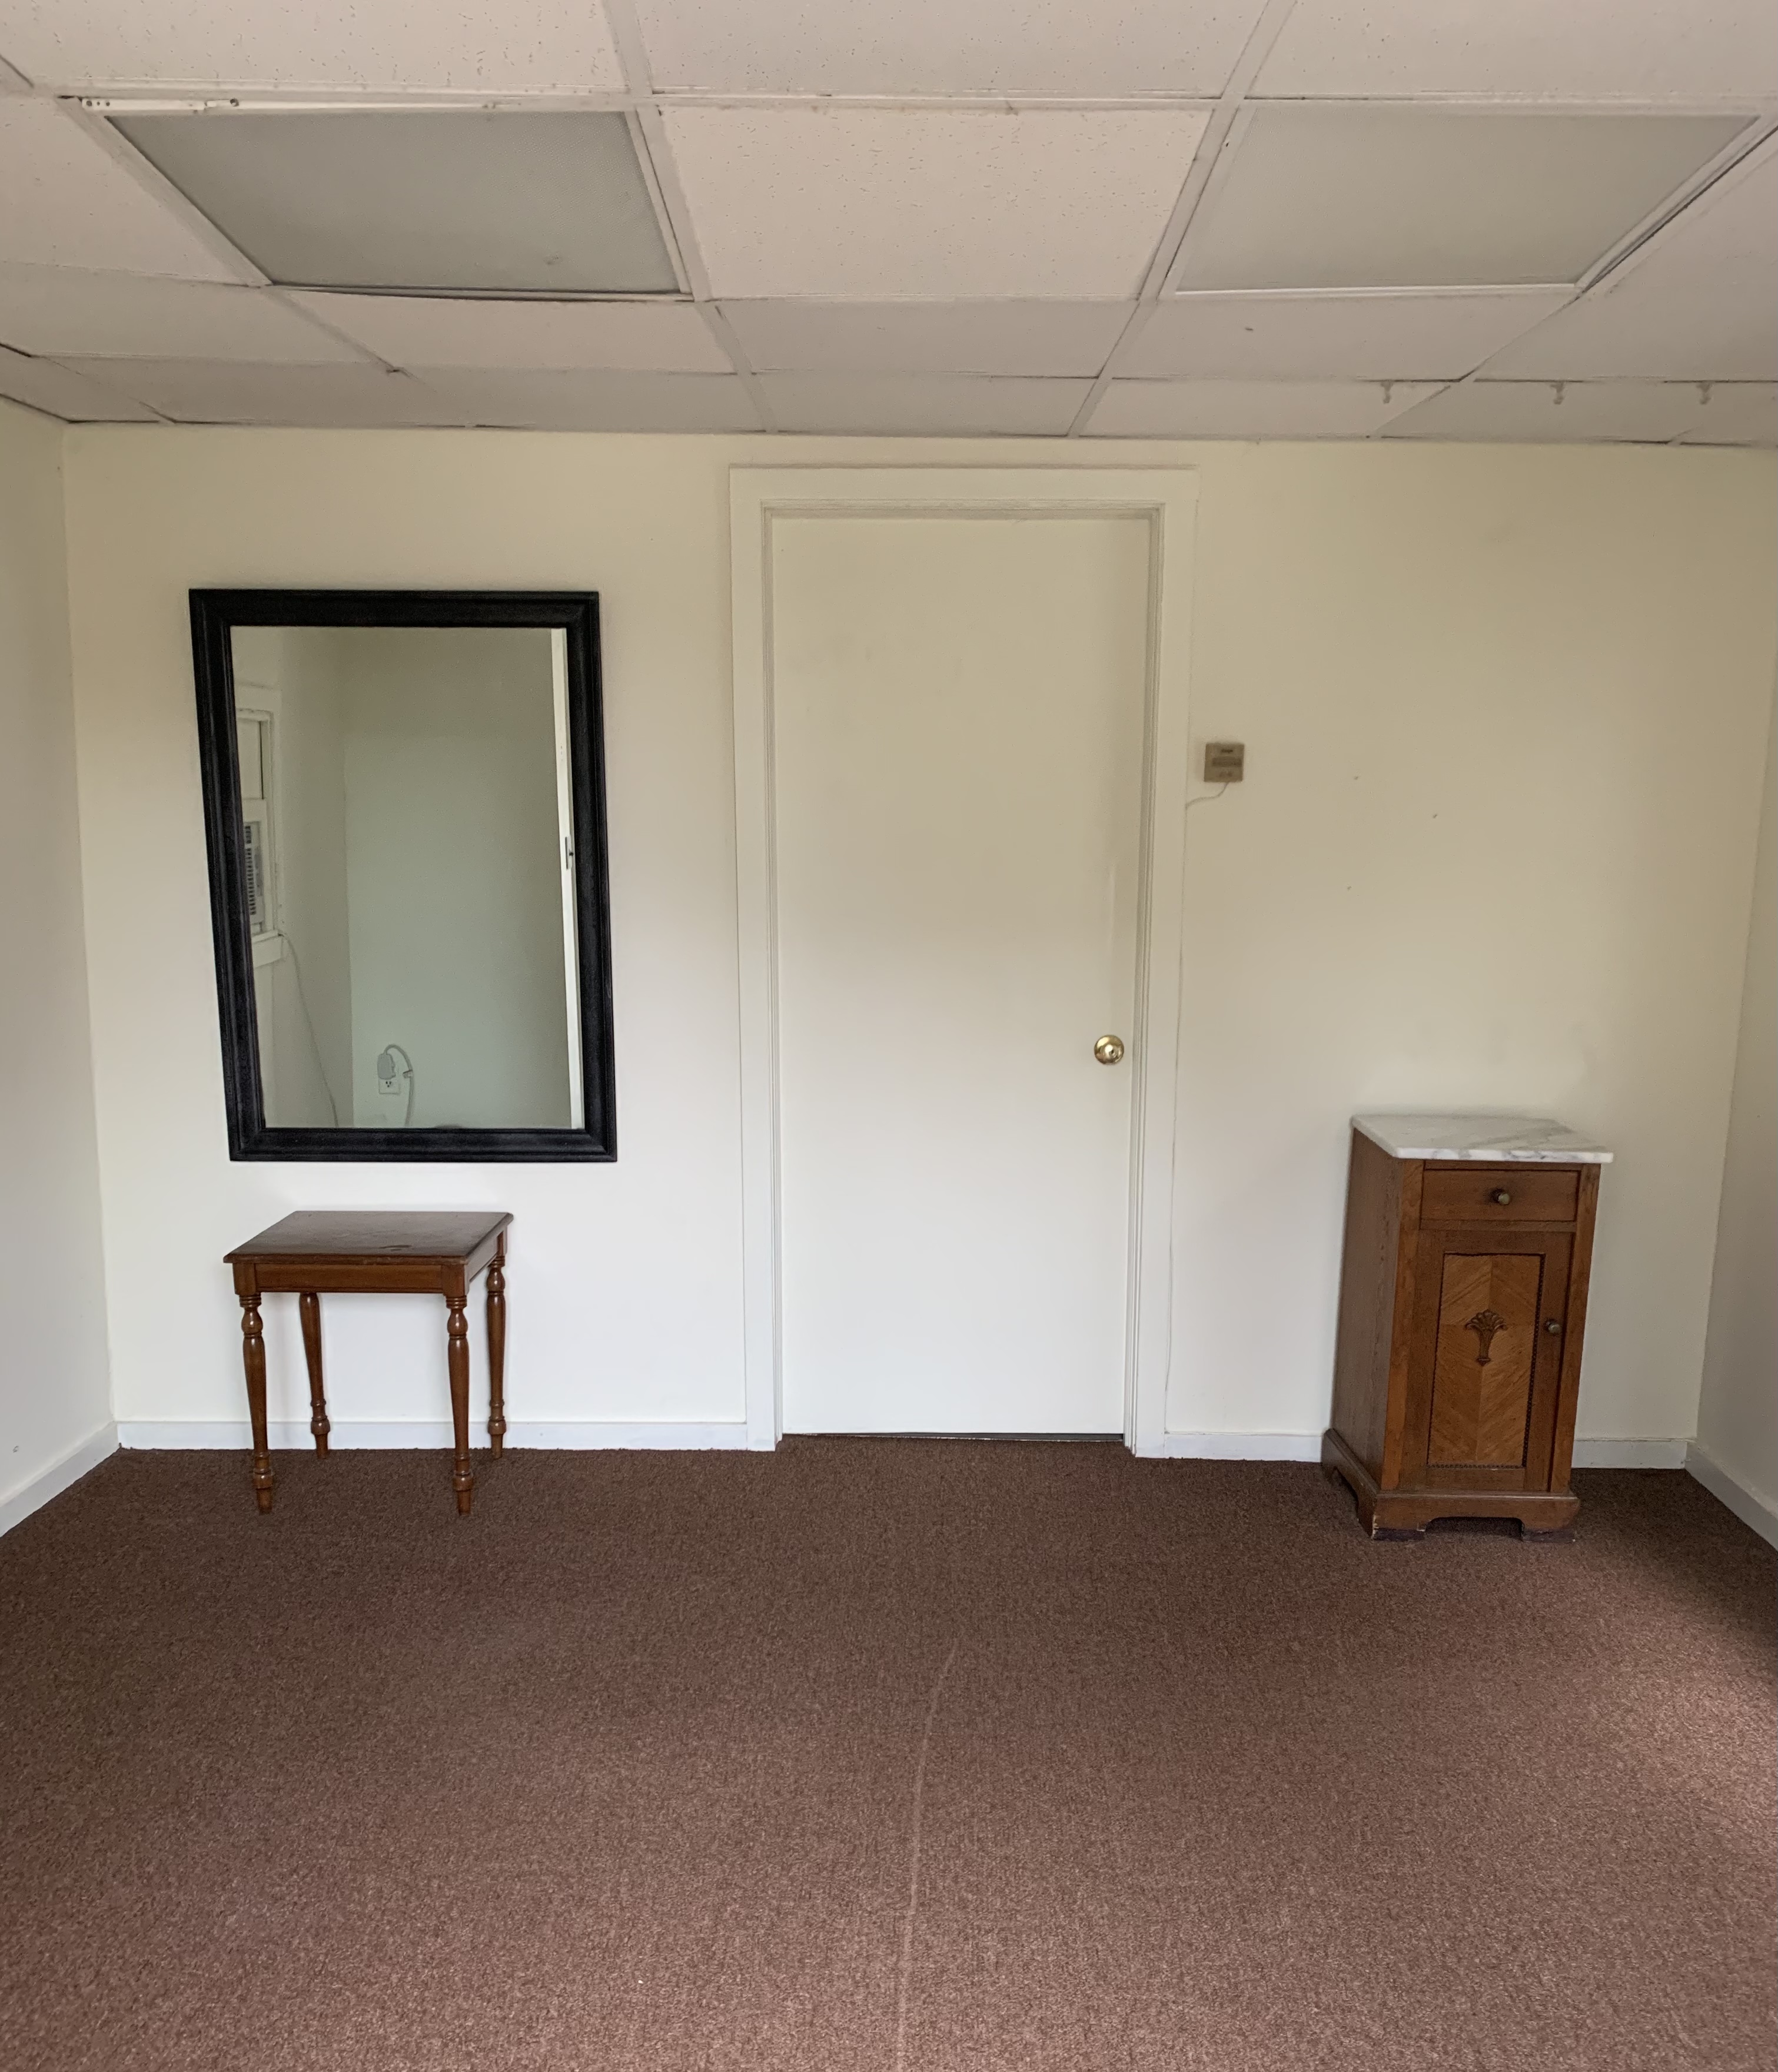
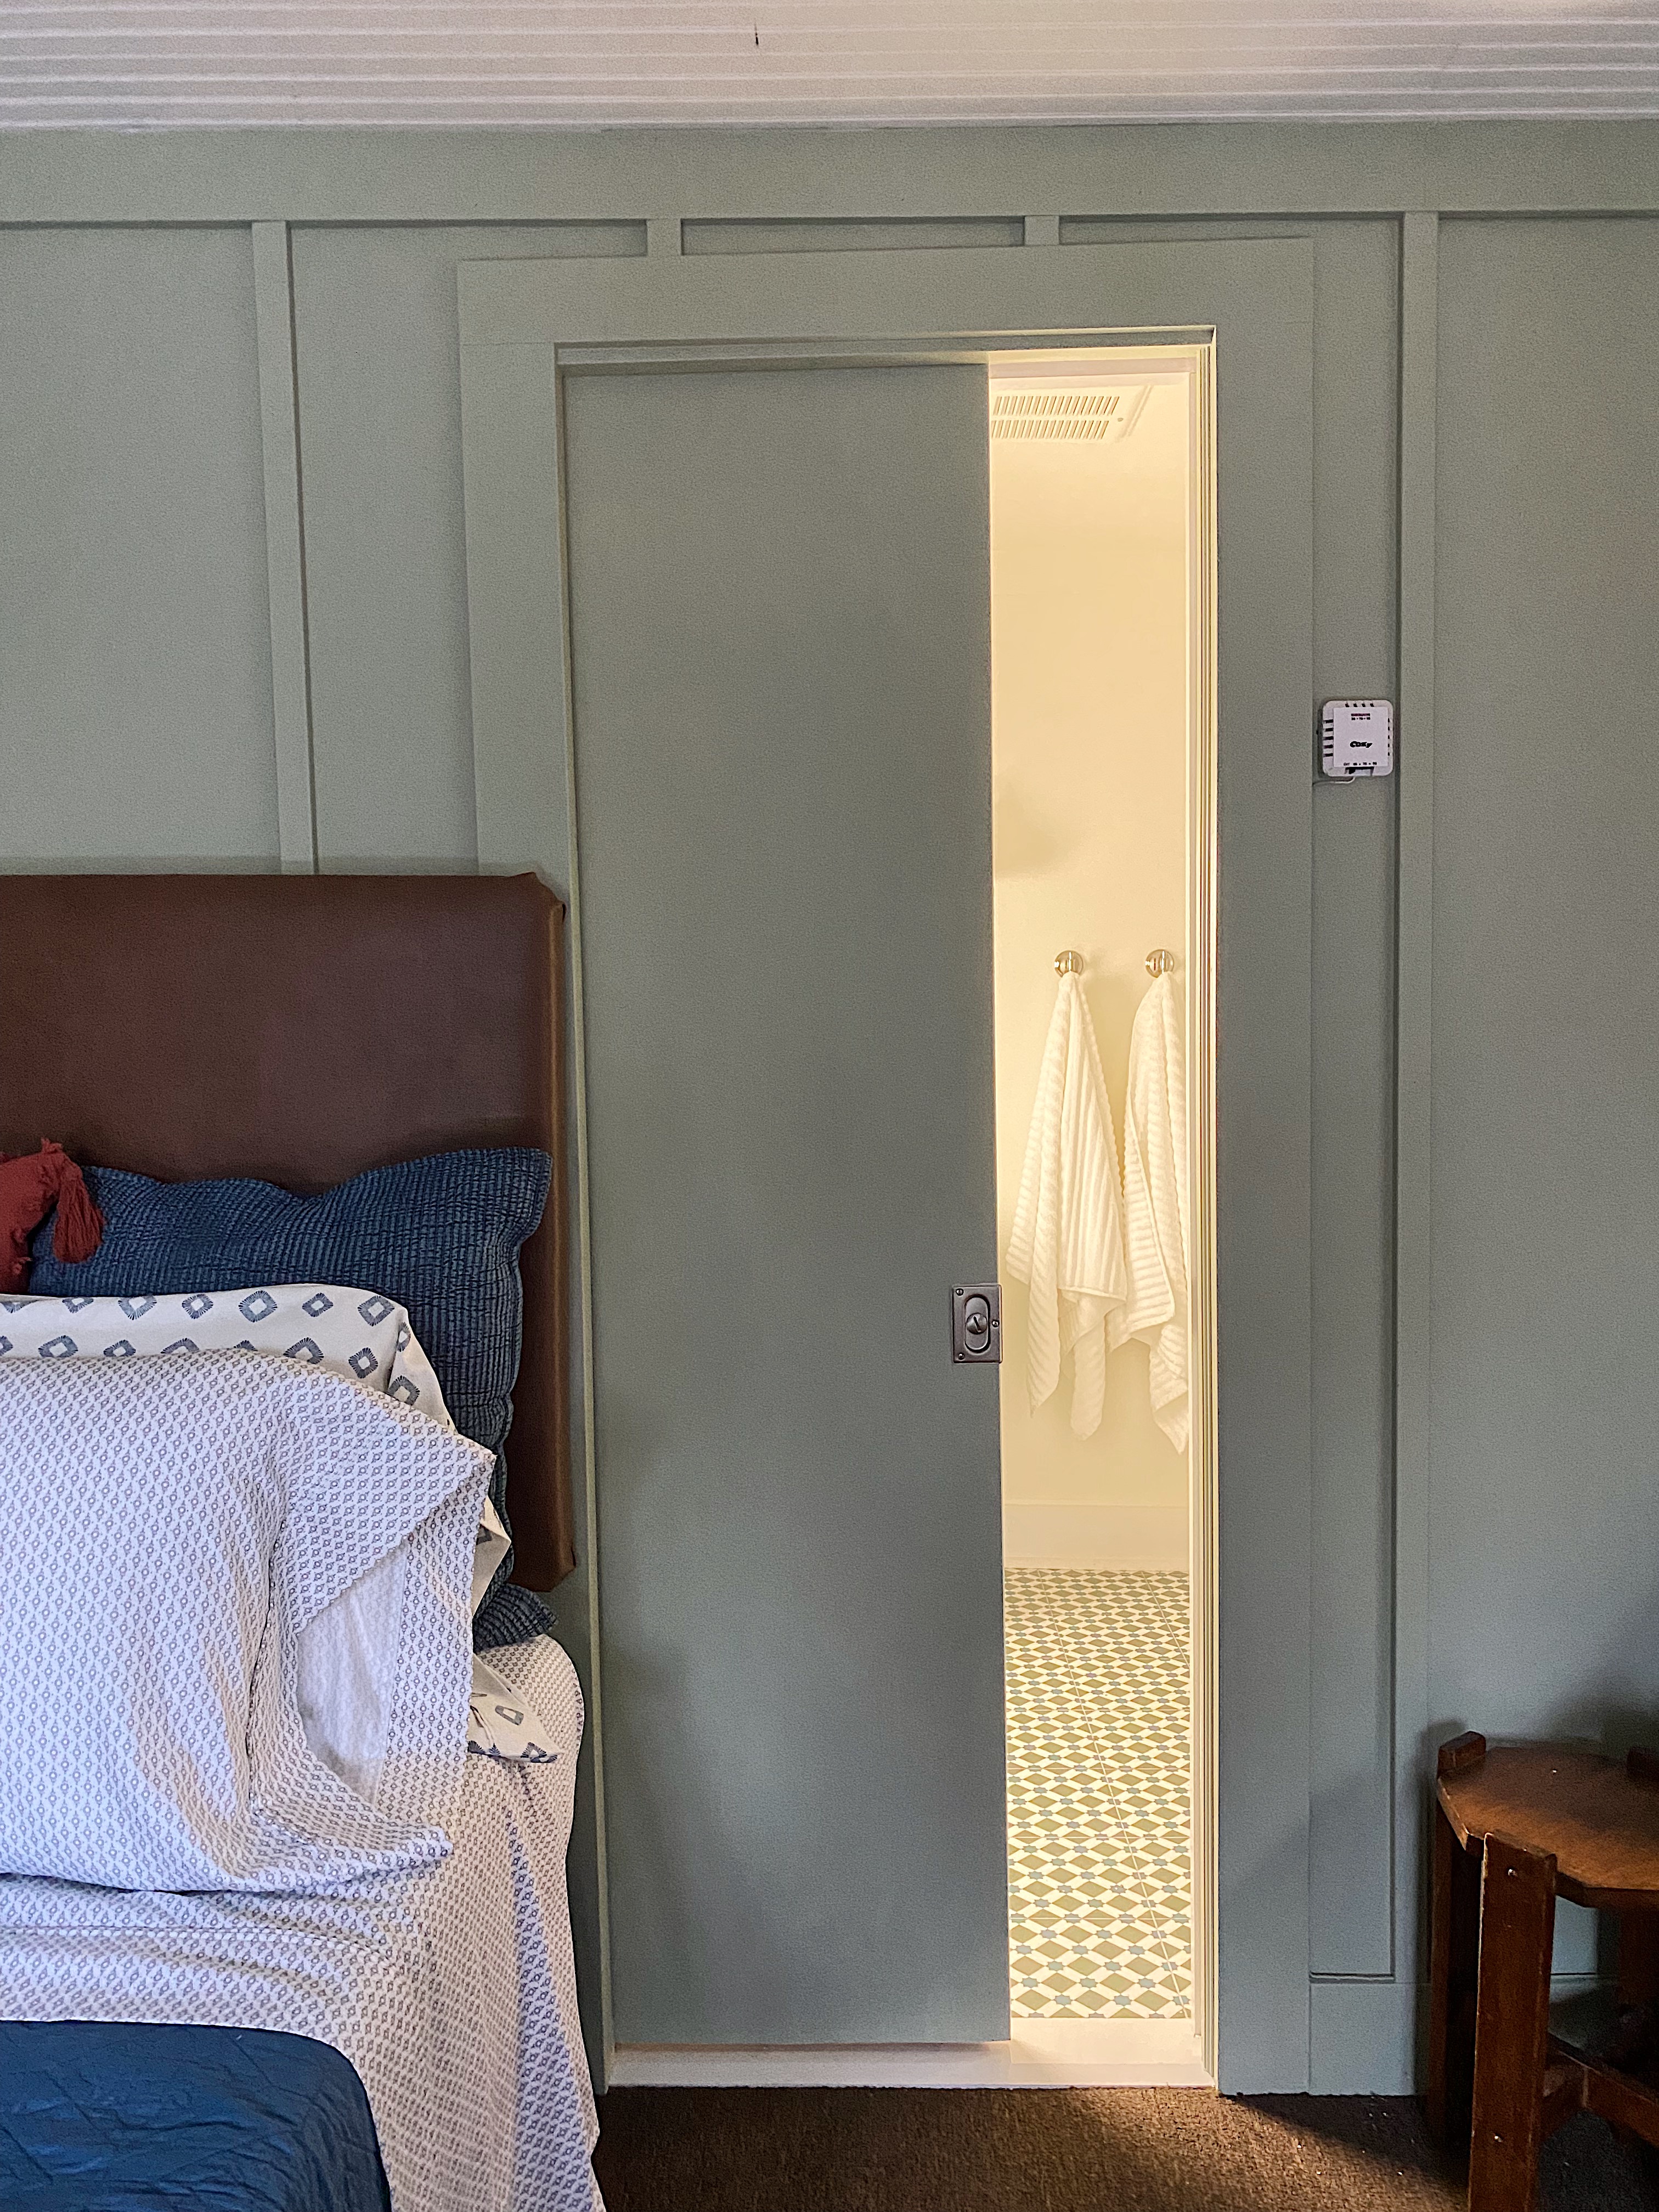
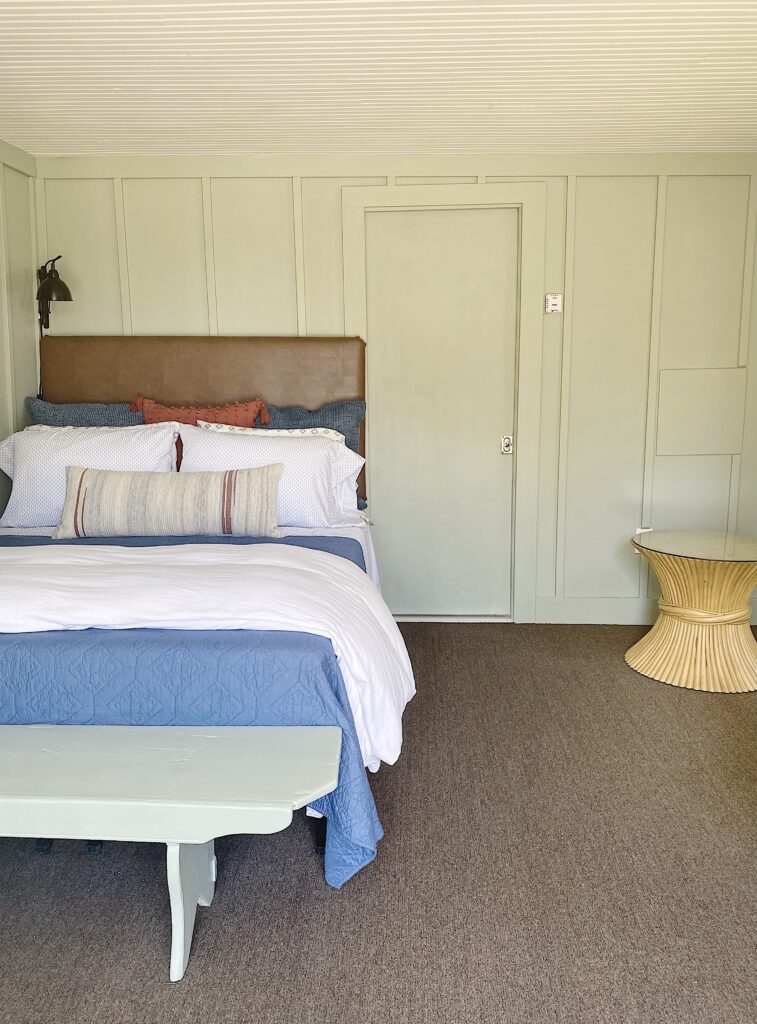
In our situation, we also moved the door opening 3 inches over to the right so that we could squeeze a queen size bed to the left of the bathroom door opening.

We used a 30 inch pocket door and painted it to match the walls of the living area to give a seamless look to the room when closed.


After
#2 – Above the door shelving
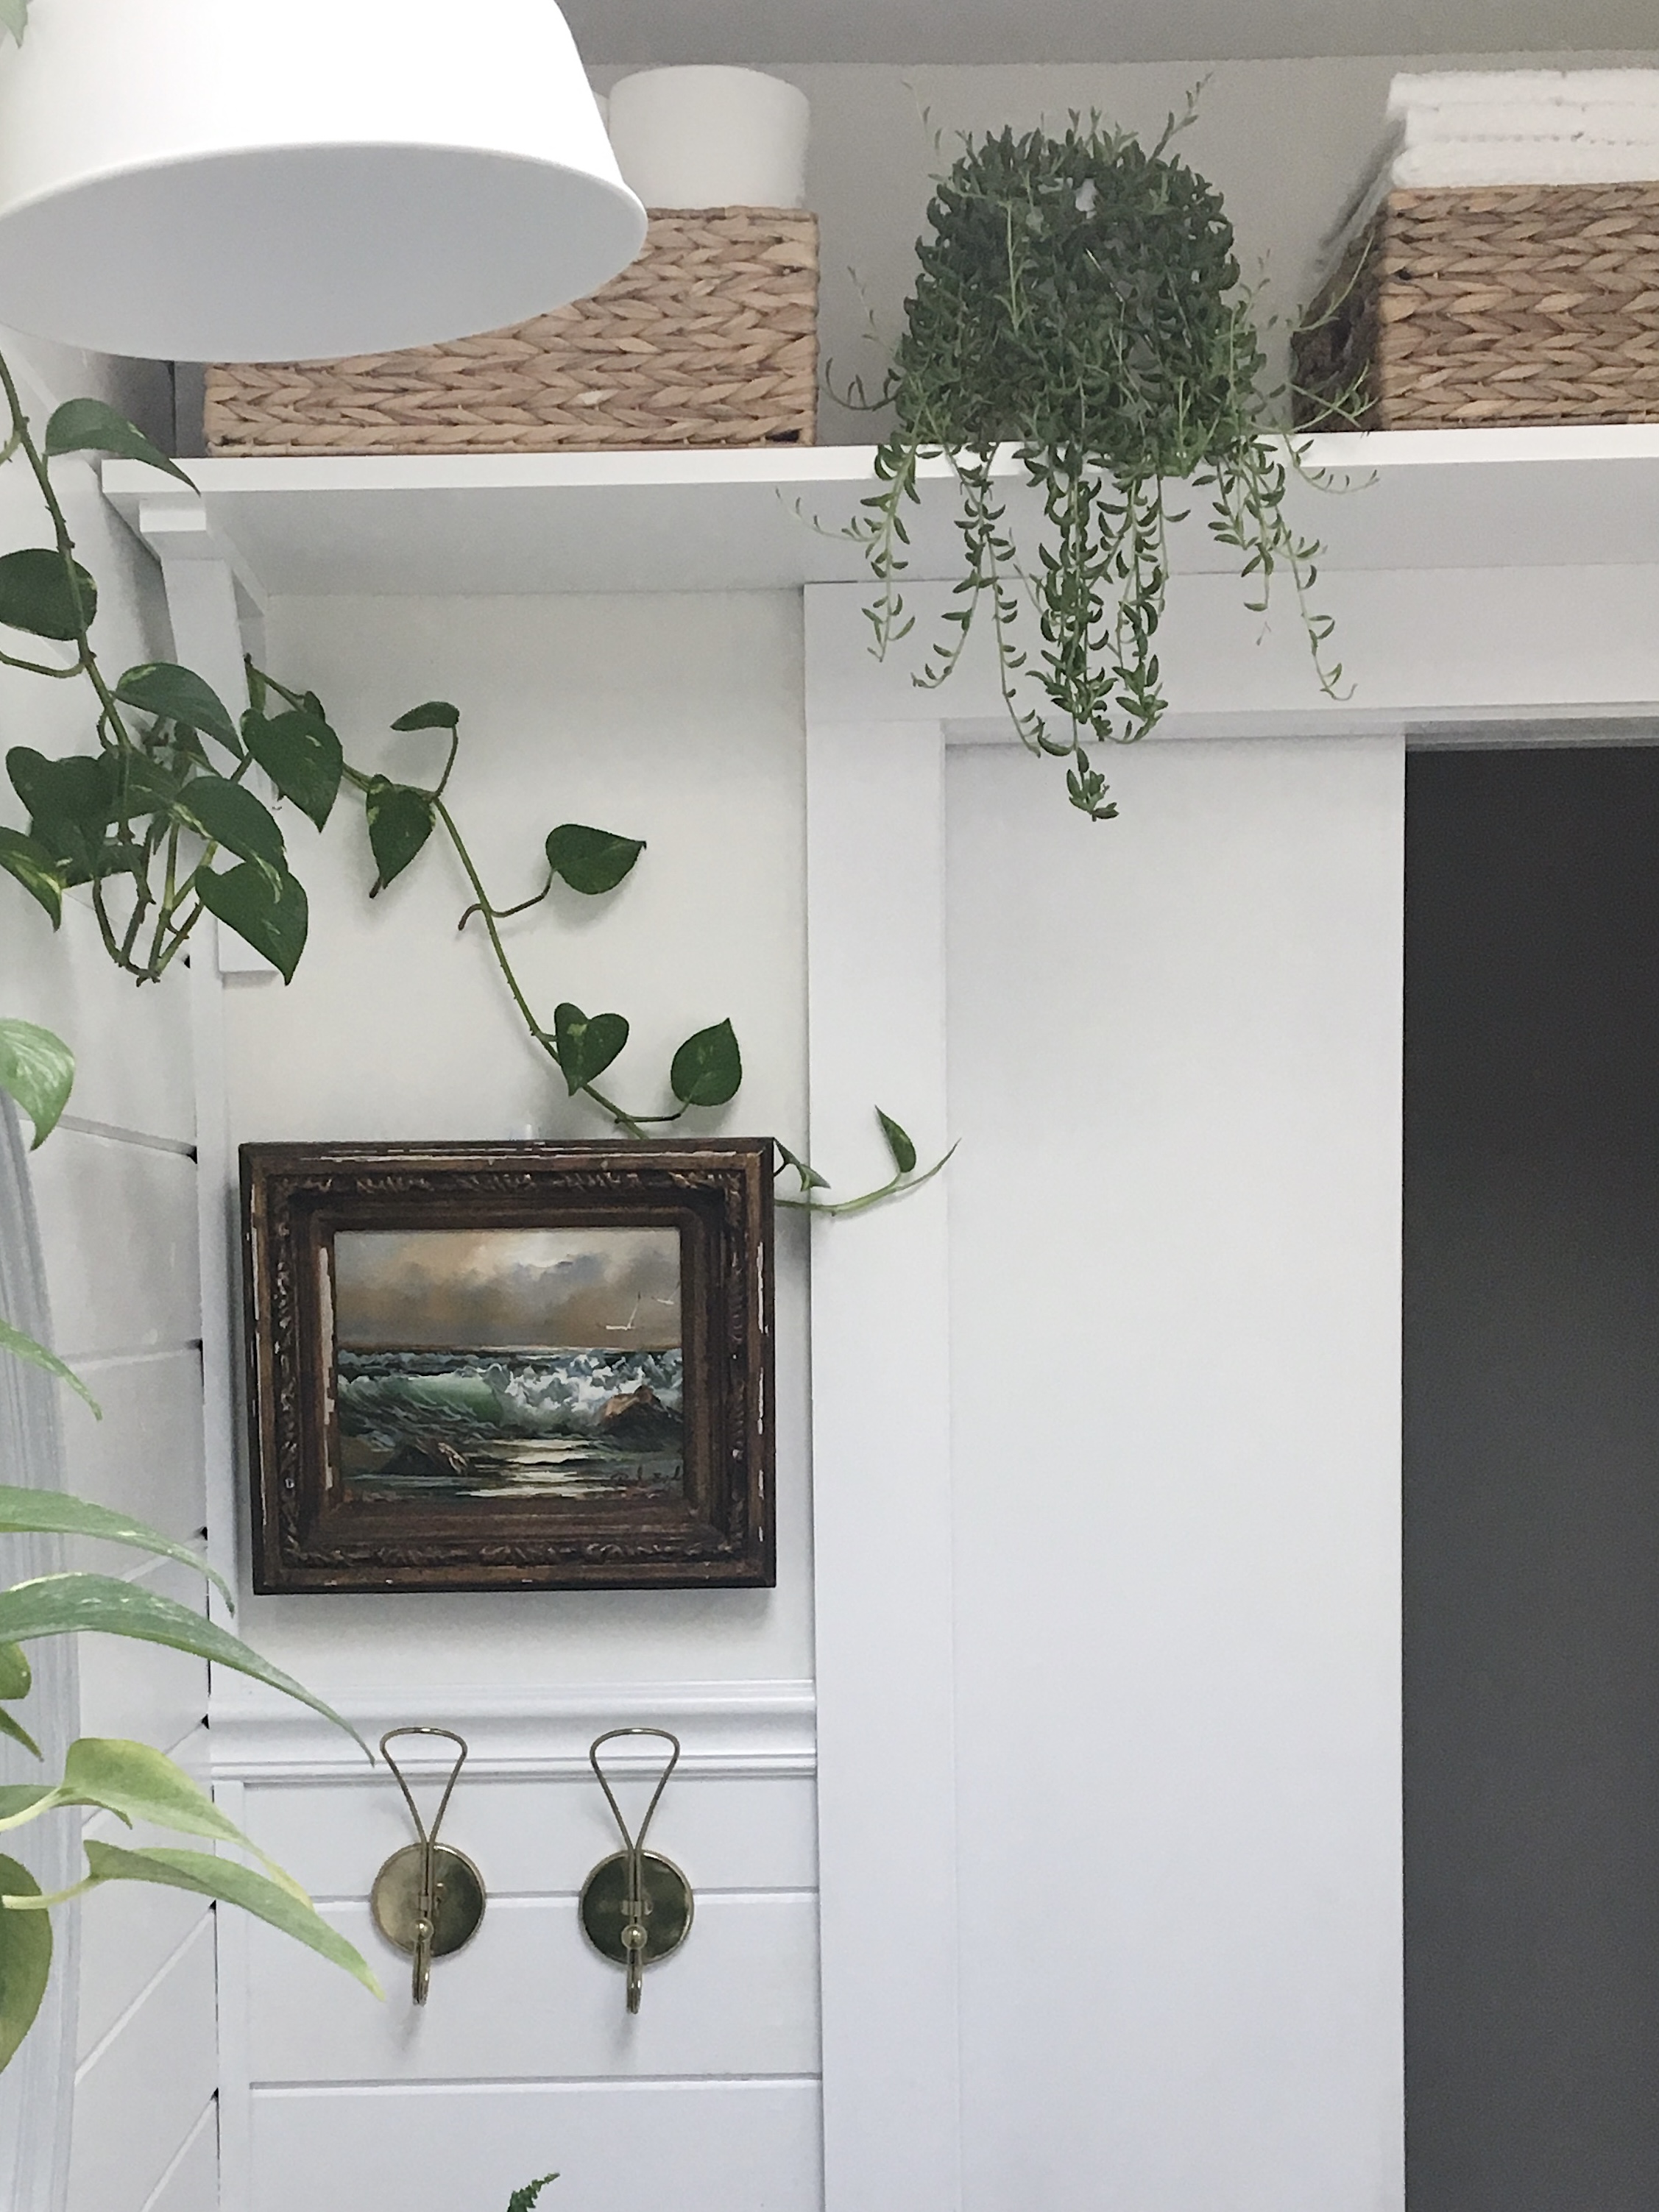
Above the door shelving is a great place for storing bathroom supplies. It’s particularly nice because it’s not in view when you look into the bathroom. We’re not doing this in the guest house because the ceilings are low but we did build above the door shelving (along with installing a pocket door) in our last house which was very small and every inch of space needed to be maximized!
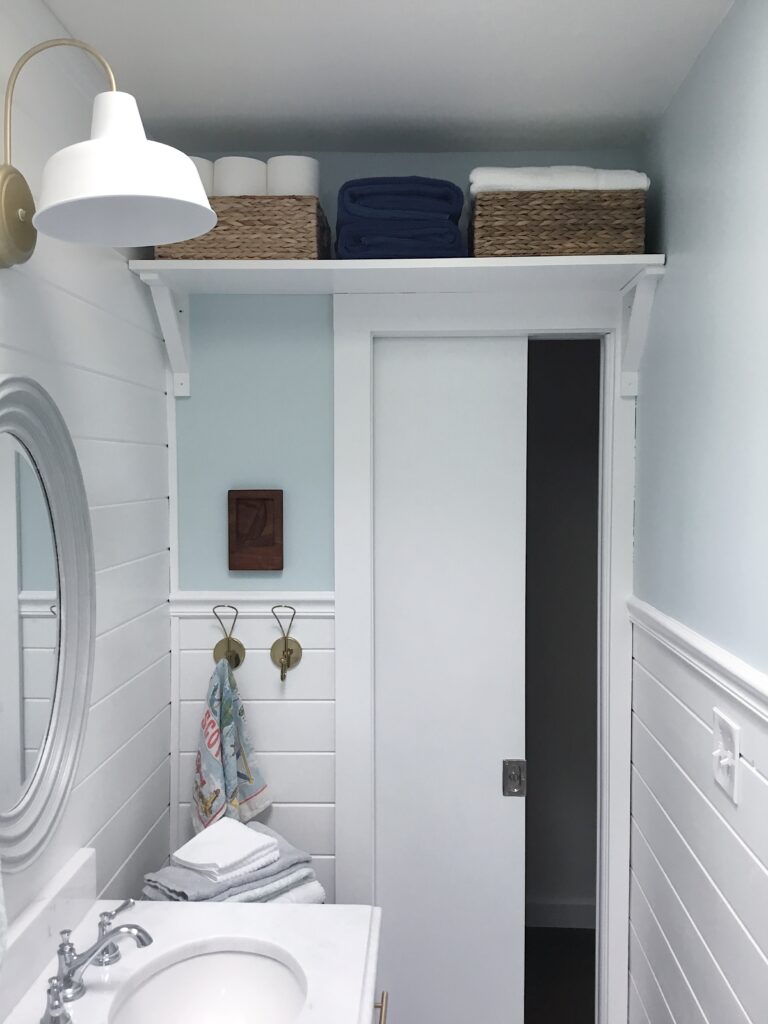
I added baskets to hide the not so pretty rolls of toilet paper and tissue boxes and to corral a nice stack of towels. It turned out to be a nice spot to perch a plant with sunlight streaming in from a skylight.
#3 – Floating sink vanity
It’s amazing how furniture that is “floated” gives the illusion of more space. We are using the 32” Ikea Godmorgon/Odensvik sink/vanity combo in the guest house. It’s attached to the wall and just being able to see beyond the vanity to the floor underneath makes the space feel …. well more spacious!
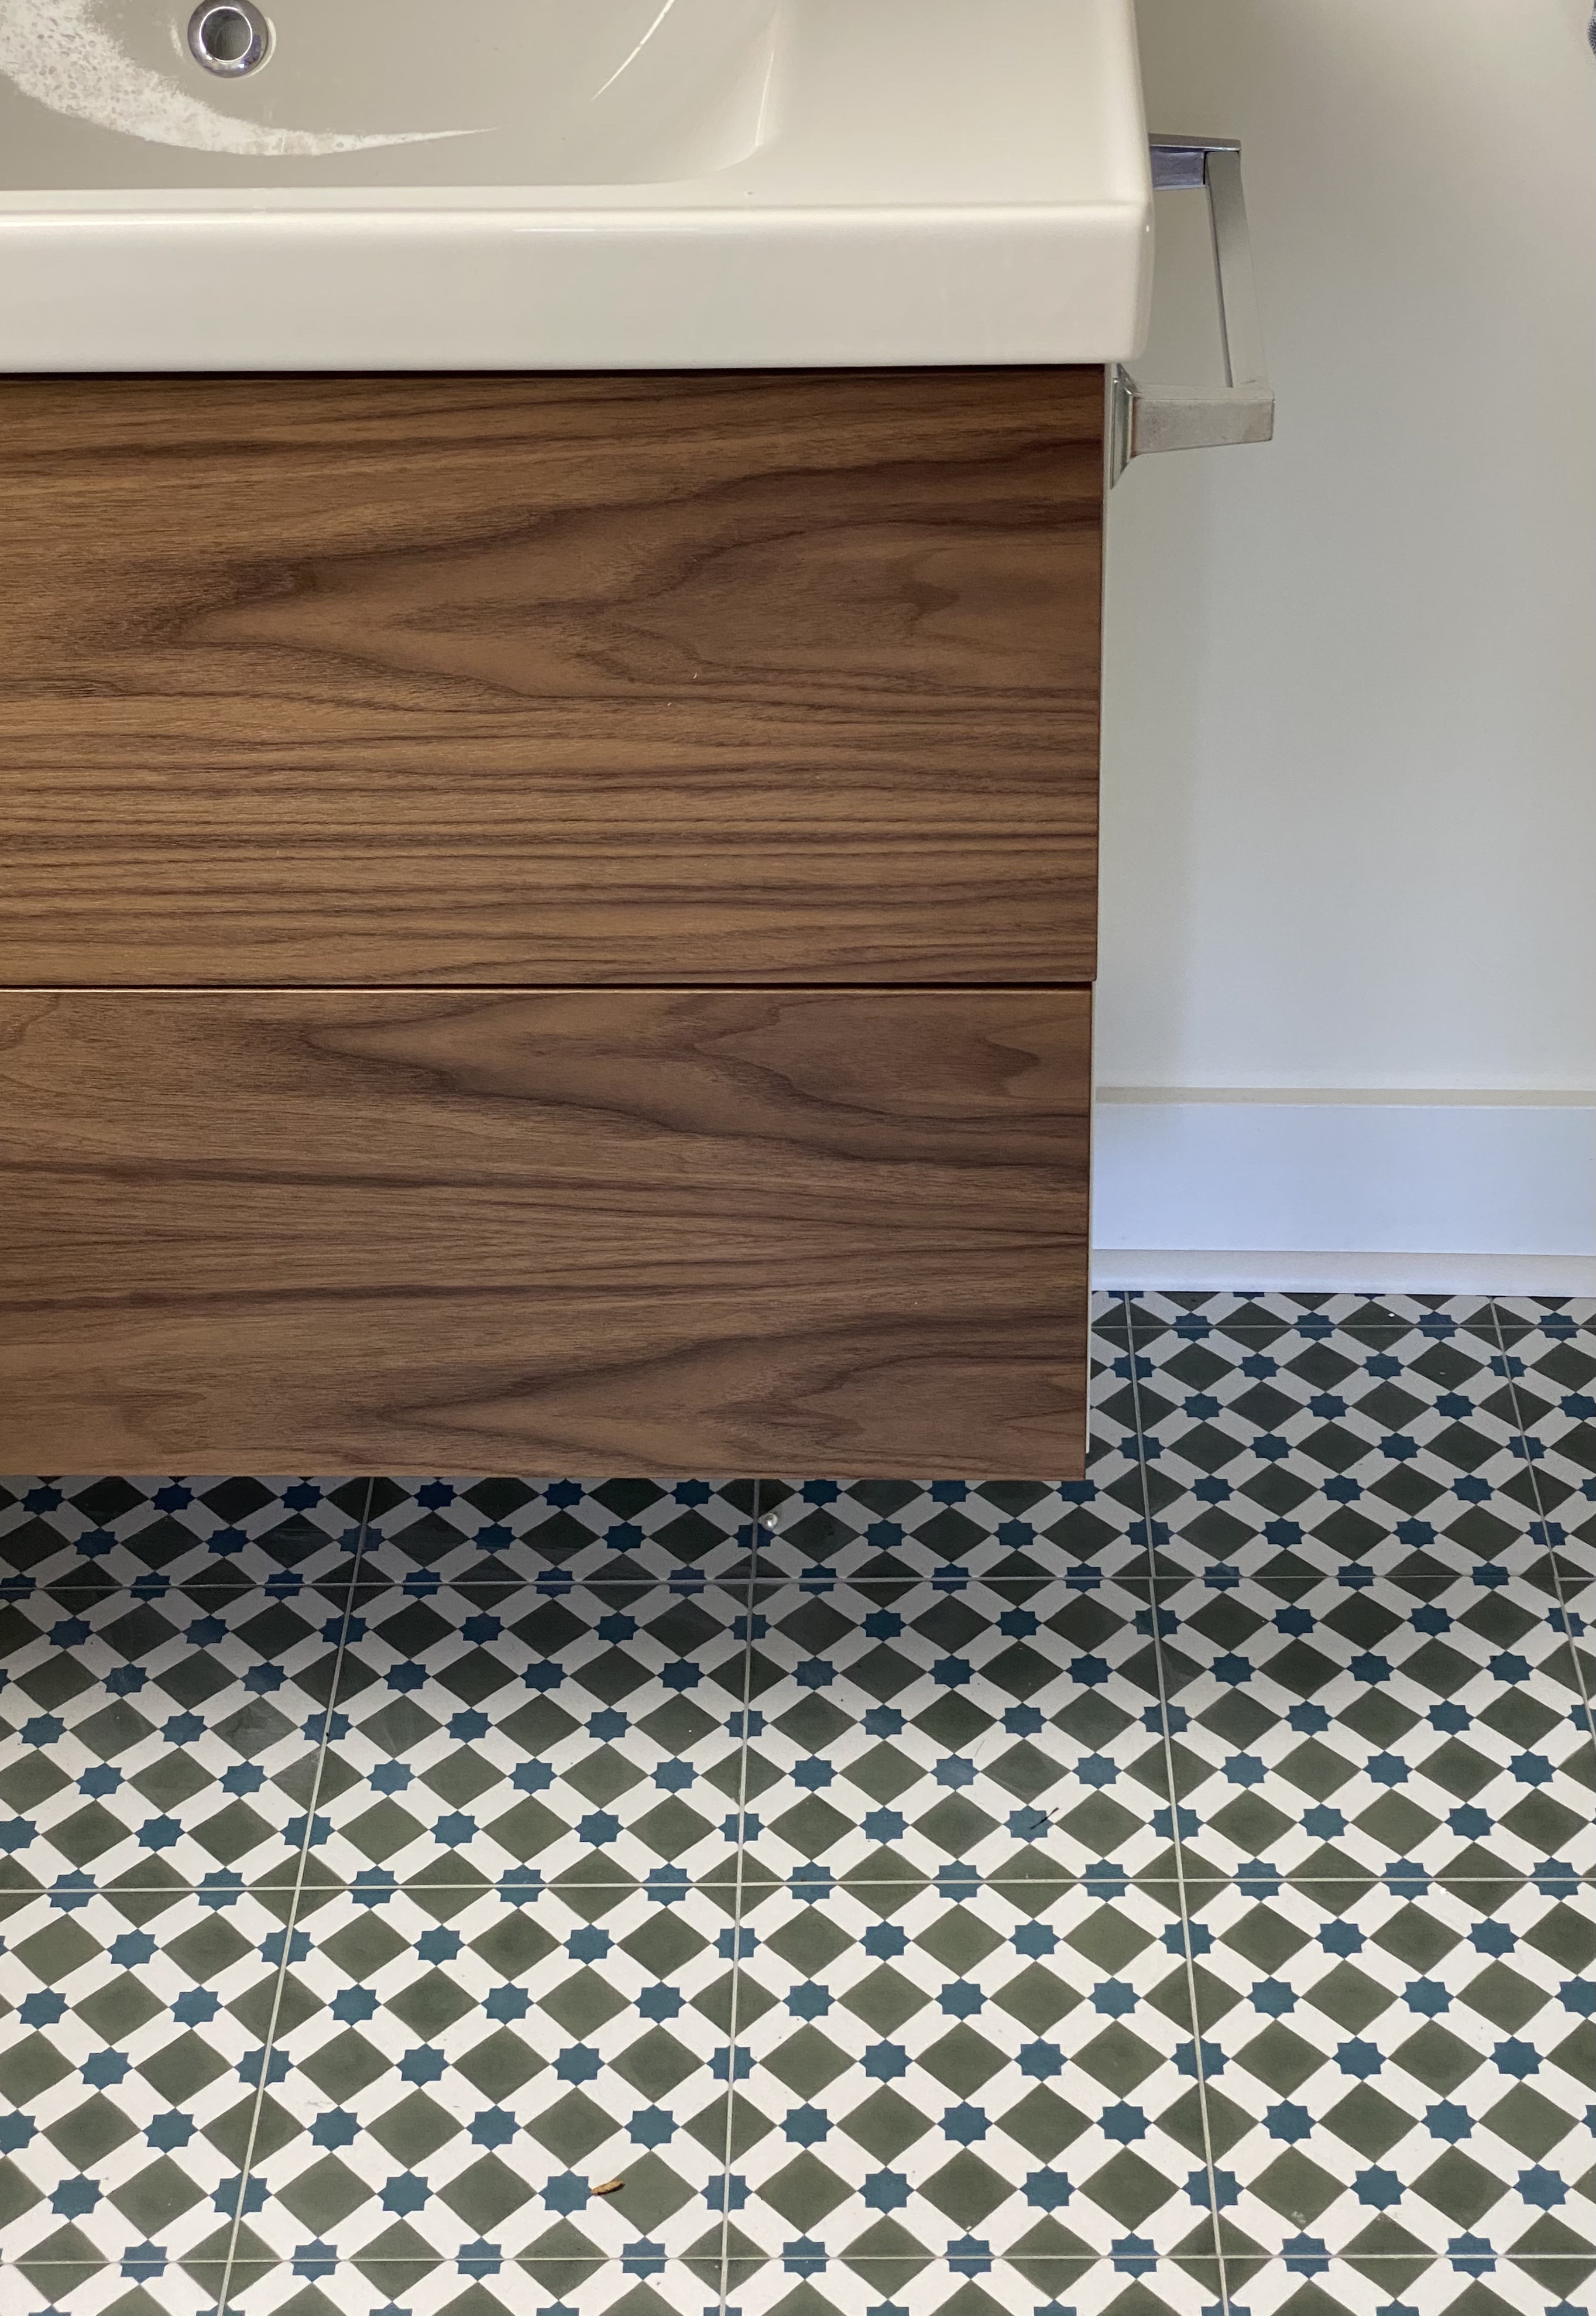
We also added Semihandmade walnut drawer fronts to up the style of the Ikea vanity. They are designed to work specifically with Ikea cabinets. The cost of the Ikea sink/vanity plus )the Semihandmade drawer fronts is still pretty reasonable when it comes to bathroom vanities.
#4 – Hang shower curtain rod high
Hanging the shower curtain at ceiling height is another trick that gives the illusion of spaciousness and luxury.
Here’s another example of how luxurious a shower curtain hung high can make a small bathroom look.
This will require an extra long shower curtain but its worth it. In the past I’ve used a vintage bedspread and a regular curtain panel (both of which were longer than a standard shower curtain) as extra long shower curtains. You can also find custom shower curtain makers on Etsy.
We’re down to the finishing touches in the guest house bathroom – !’ll be back next Thursday with a full bathroom reveal. Be sure to check out all of the other Guest Participants in the One Room Challenge to follow along with their progress!
Thanks for stopping by!
Debra


