Hello everyone! This is week 3 of the One Room Challenge. If you are finding me through the One Room Challenge, welcome to my blog where I share my passion for creating comforting homes by thrifting, sewing and a little diy-ing along the way! While I’m not averse to buying new. I love being able to stretch a budget AND get that “layered over time” look that comes from incorporating pieces that have had a previous life! You can follow my decorating journey on the HomeSpunStyle Instagram.
If you missed my posts from Week 1 and 2 where I revealed the design plans for turning an old pool house on our property into an Airbnb guest cottage, you can find them here:
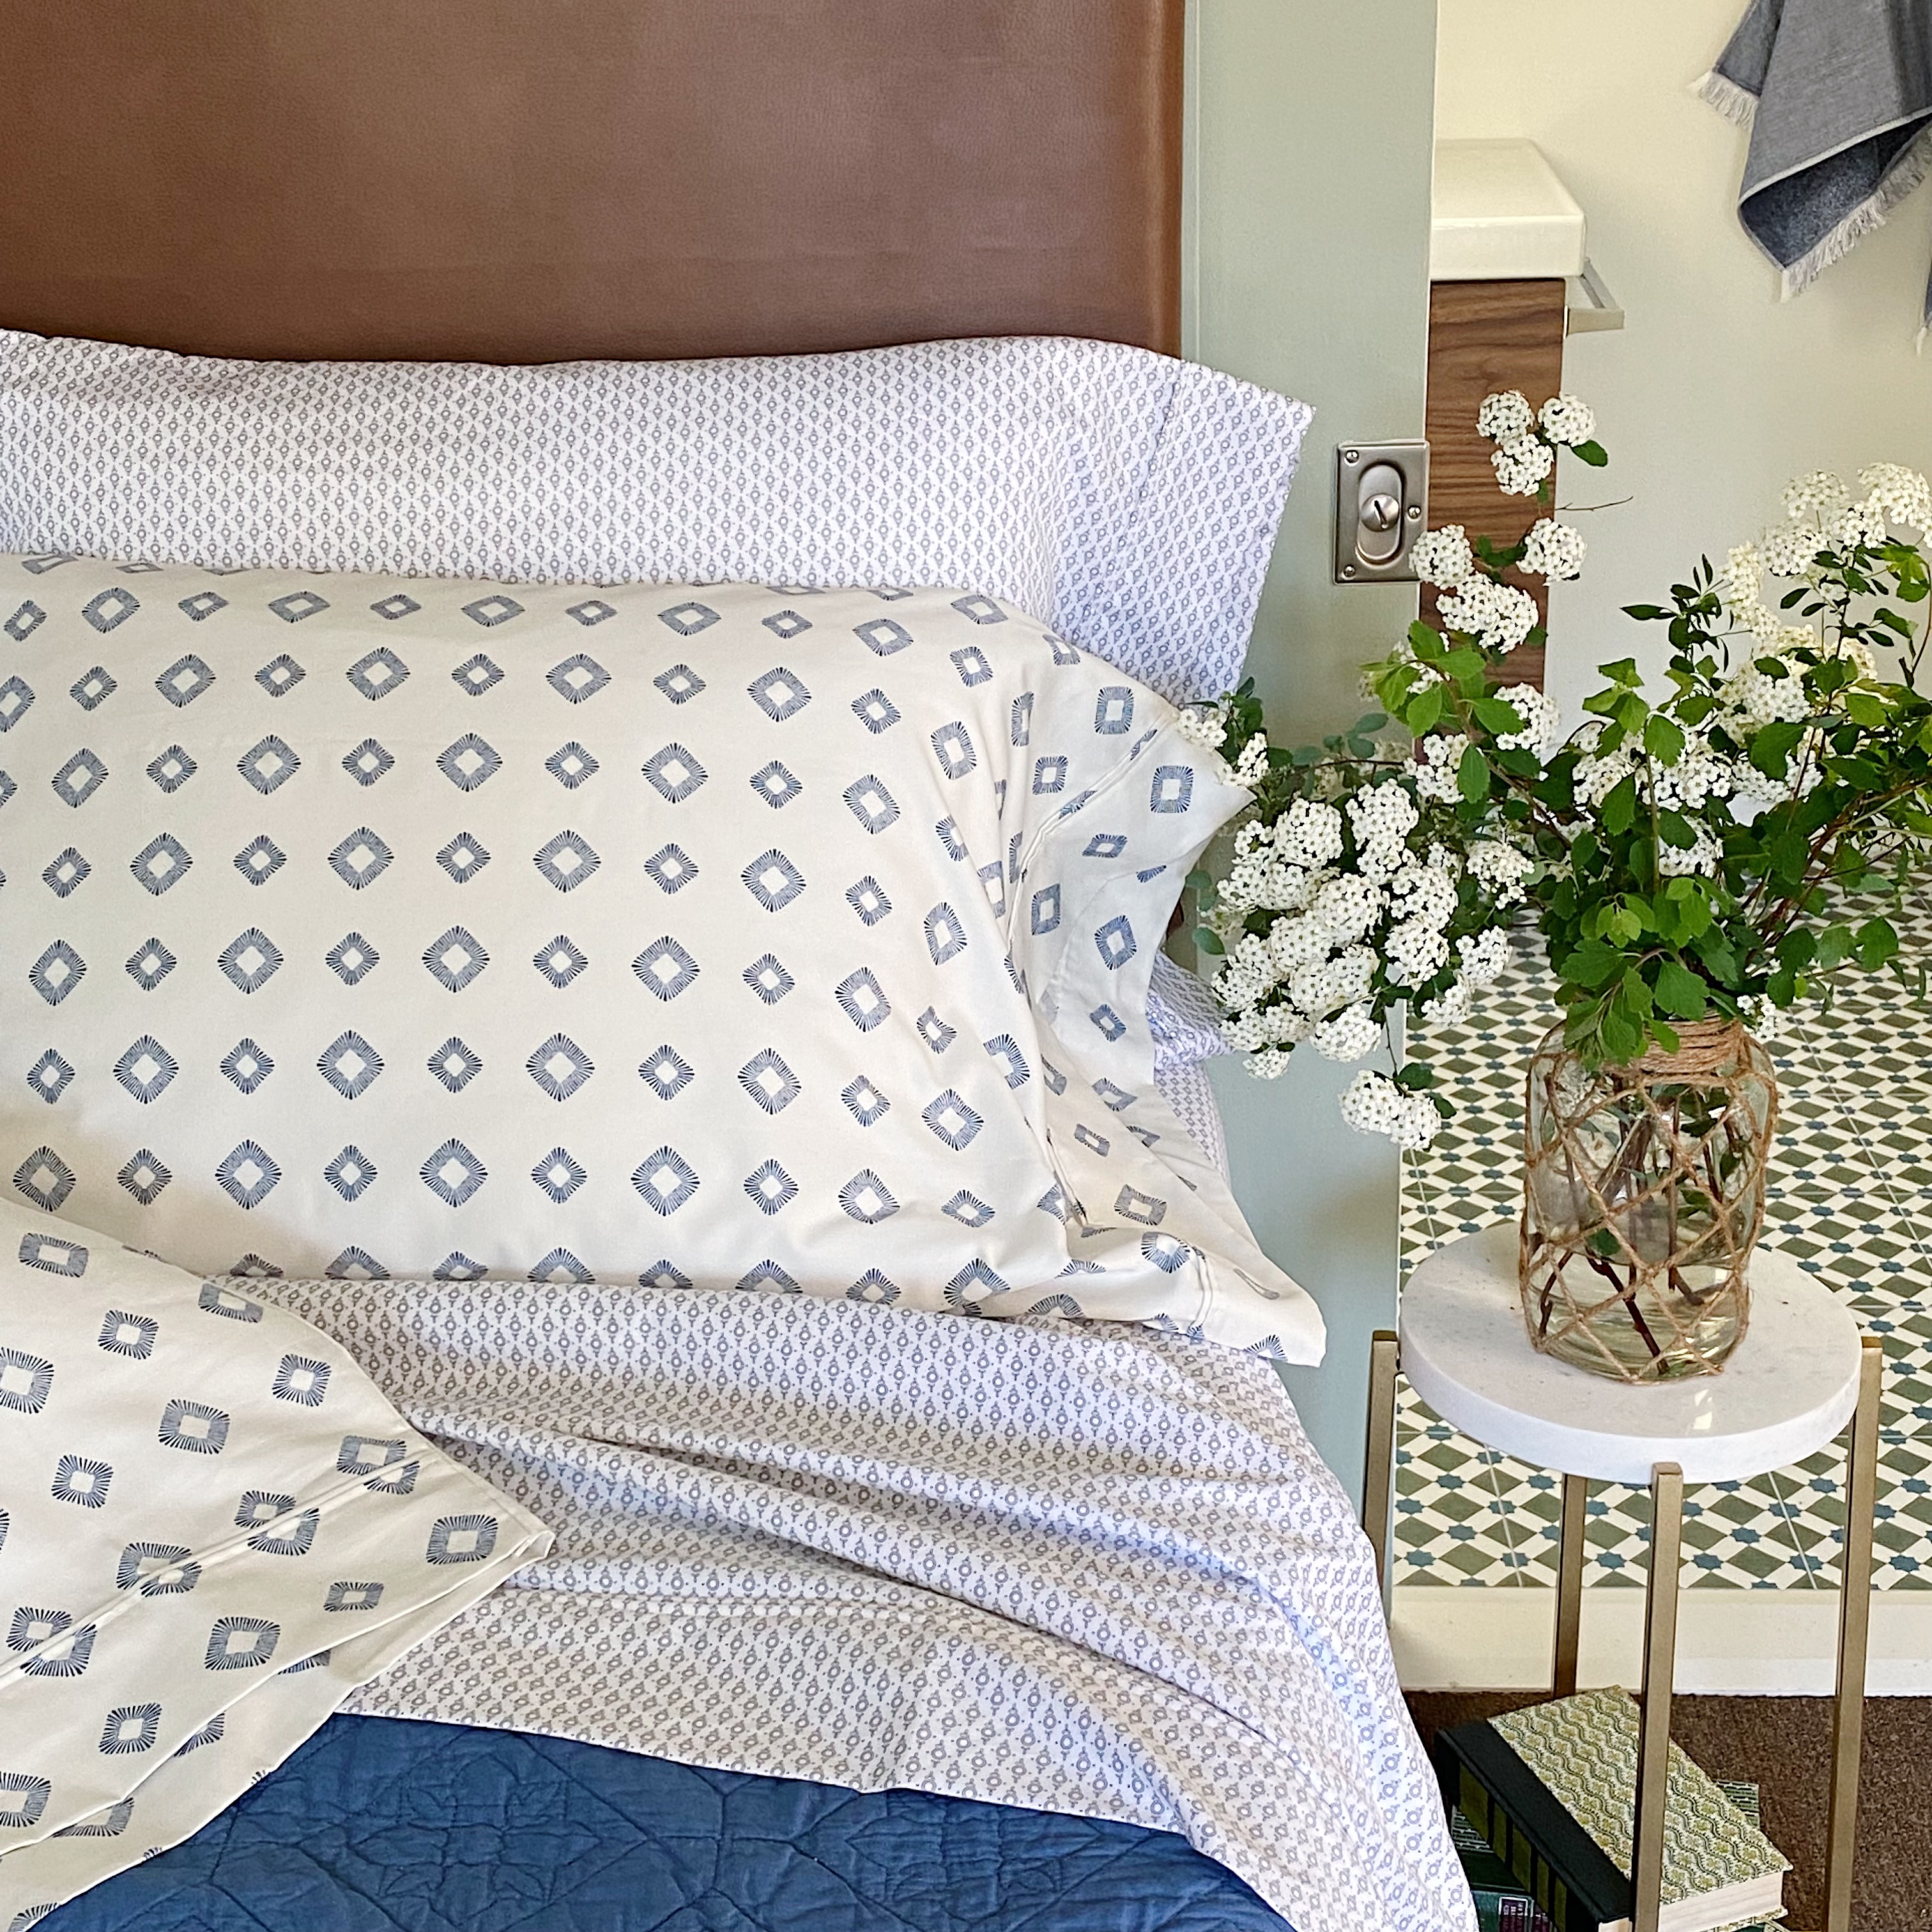
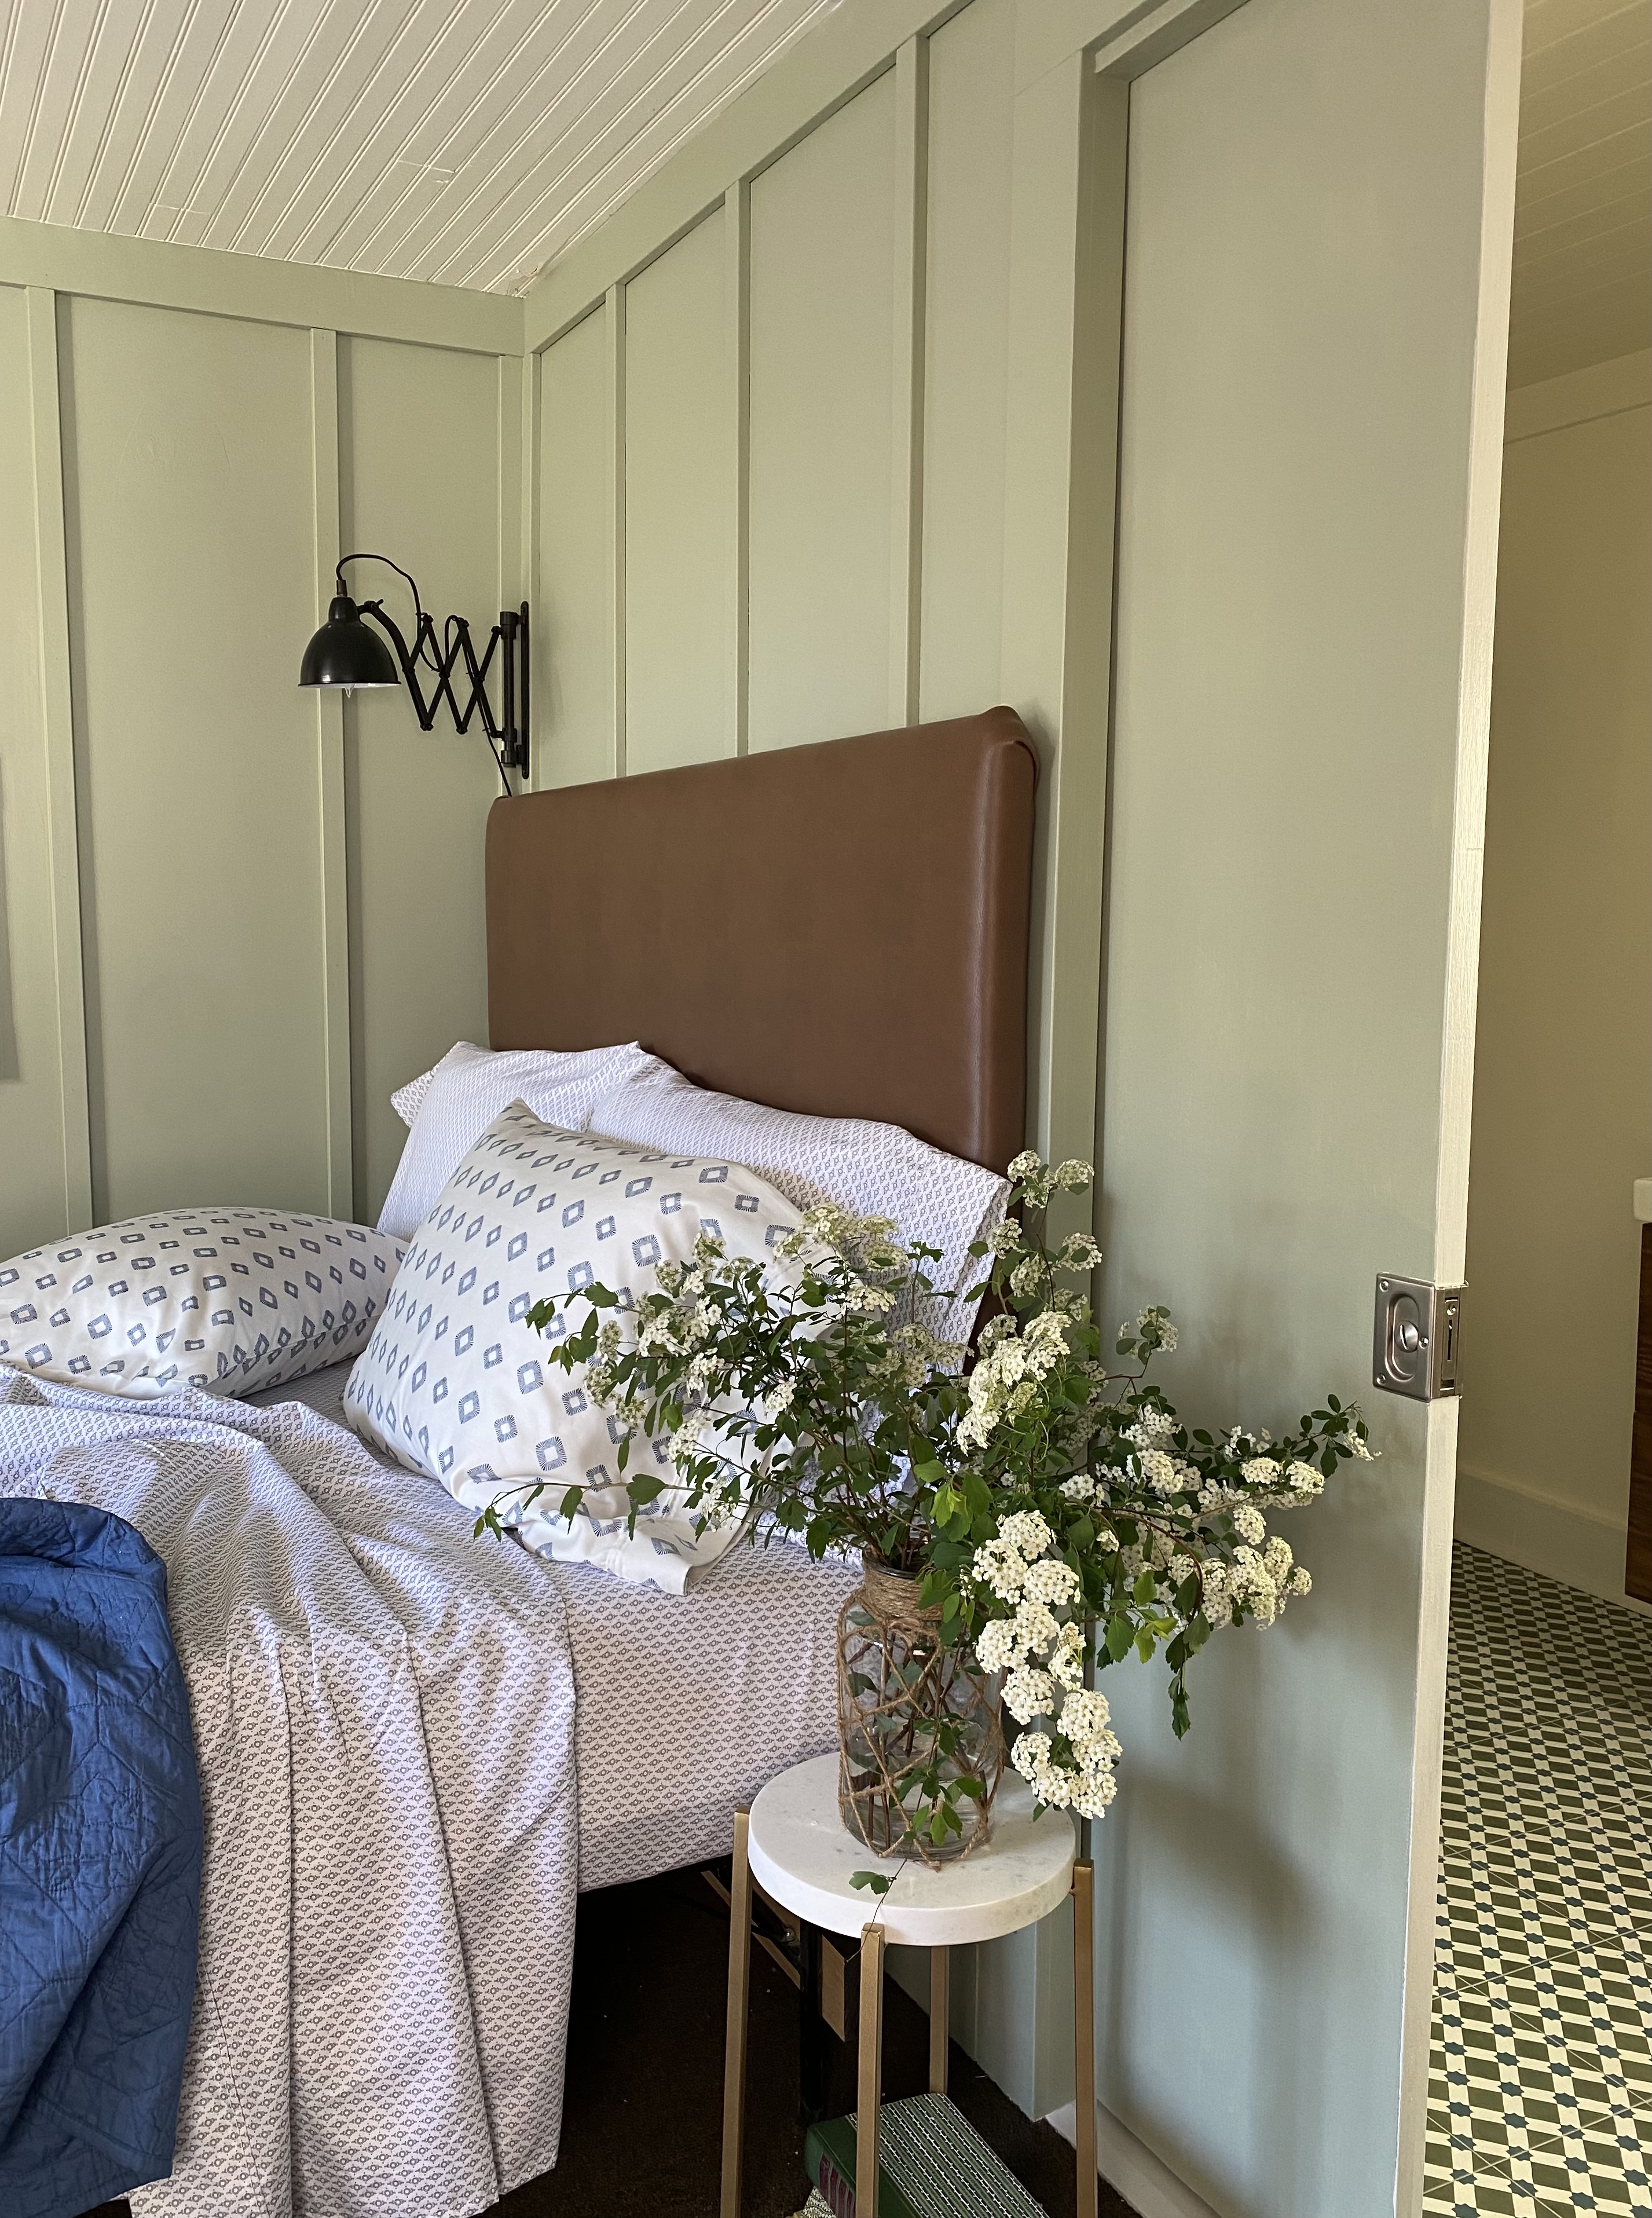
This week we made a vegan leather headboard. We already had a queen size bed frame. The goal was to provide a comfortable backrest that would be easy to clean and sanitize in between guests. I found a few diy posts on how to make a wall mounted headboard but in our situation the wall behind the bed is actually a “pocket” for the bathroom pocket door. This means there is nothing to adequately secure a wall mounted headboard to. Mr. HomeSpunStyle came up with a design for a freestanding headboard on legs that he then secured to the bed frame. Here’s how we made it:
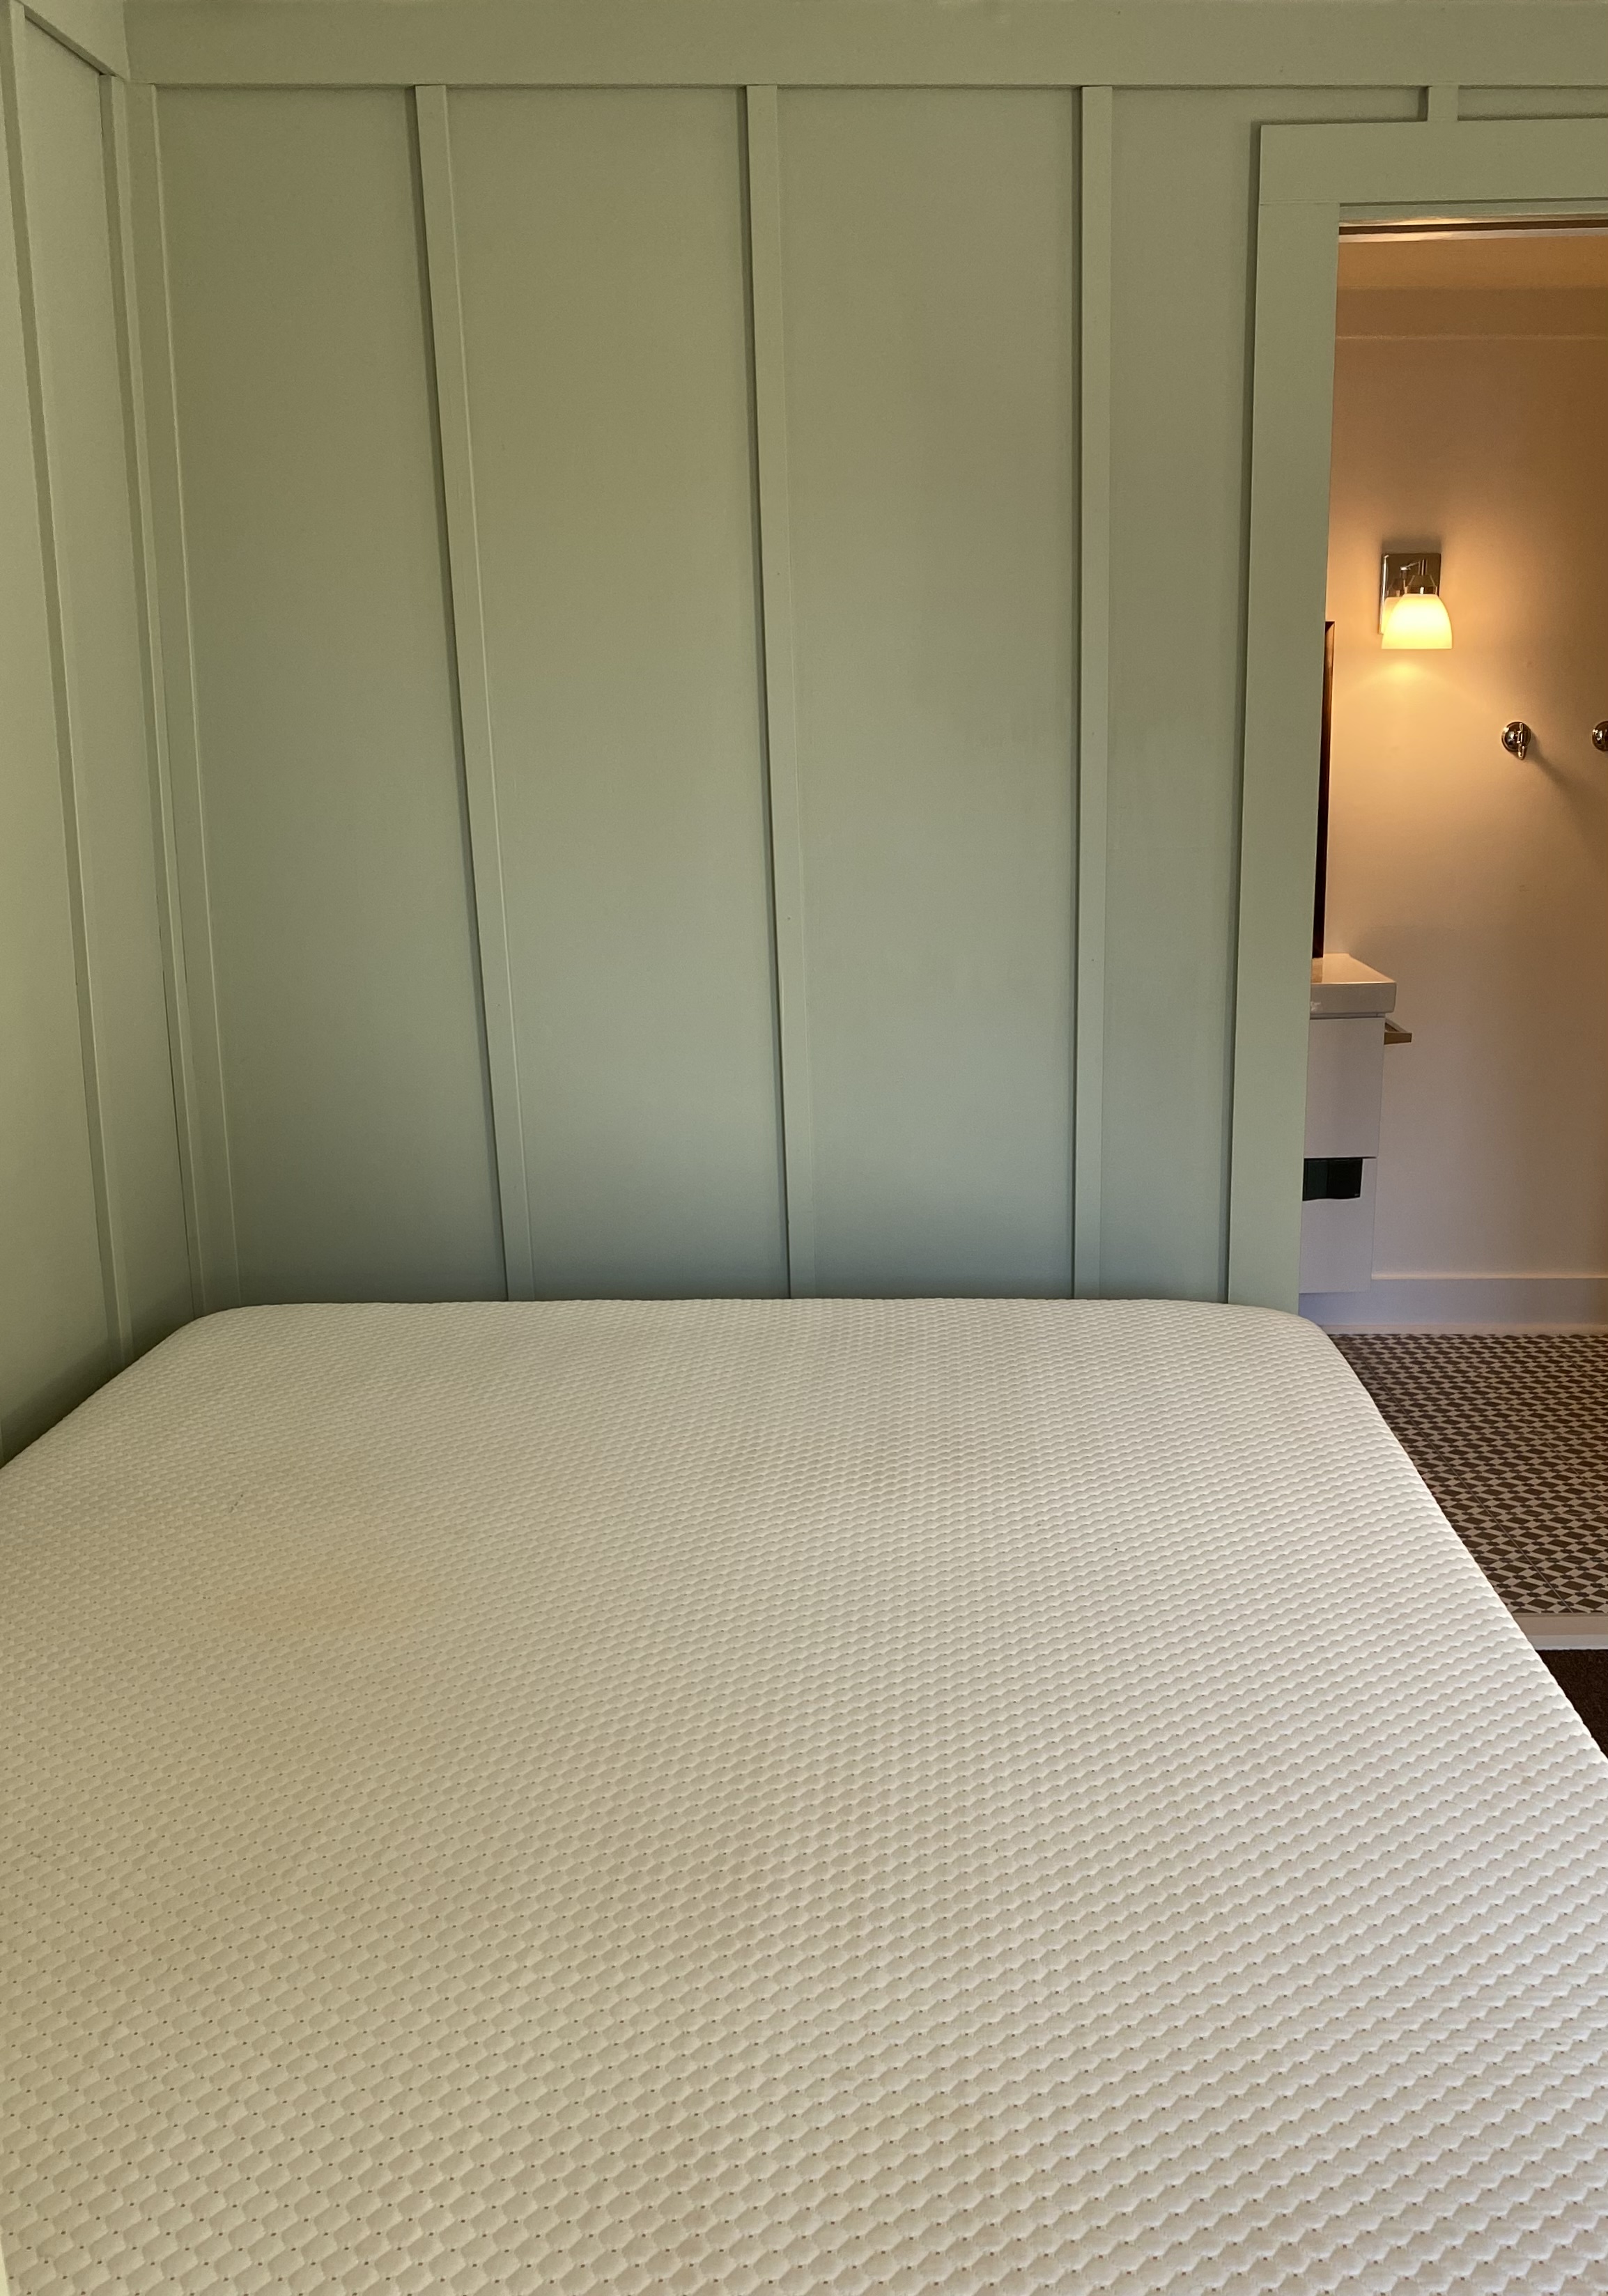
BEFORE
Supplies:
- A sheet of 1/2 inch plywood, cut to 30 x 60 inches by Home Depot (a queen bed is 60 inches wide)
- 3 1x3x8 pine boards for the perimeter of the headboard and various support pieces
- 2 1x4x8 pine boards to be used for the 2 legs
- 4 metal T brackets
- 2 metal U bolts
- carpet padding cut to 4 x 6
- polyester quilt batting cut to 4 x 6
- 2.5 yards vegan leather
The measurements we used for the plywood were based on the width of a queen bed which is 60 inches. For the height, we simply sat on the bed (with the mattress in place) and marked the point about where our heads hit the wall. Then we measured the distance from the mattress to the point on the wall which was 30 inches. (These measurements can be adjusted accordingly to the size of the bed frame and how high you want to go with the headboard.)
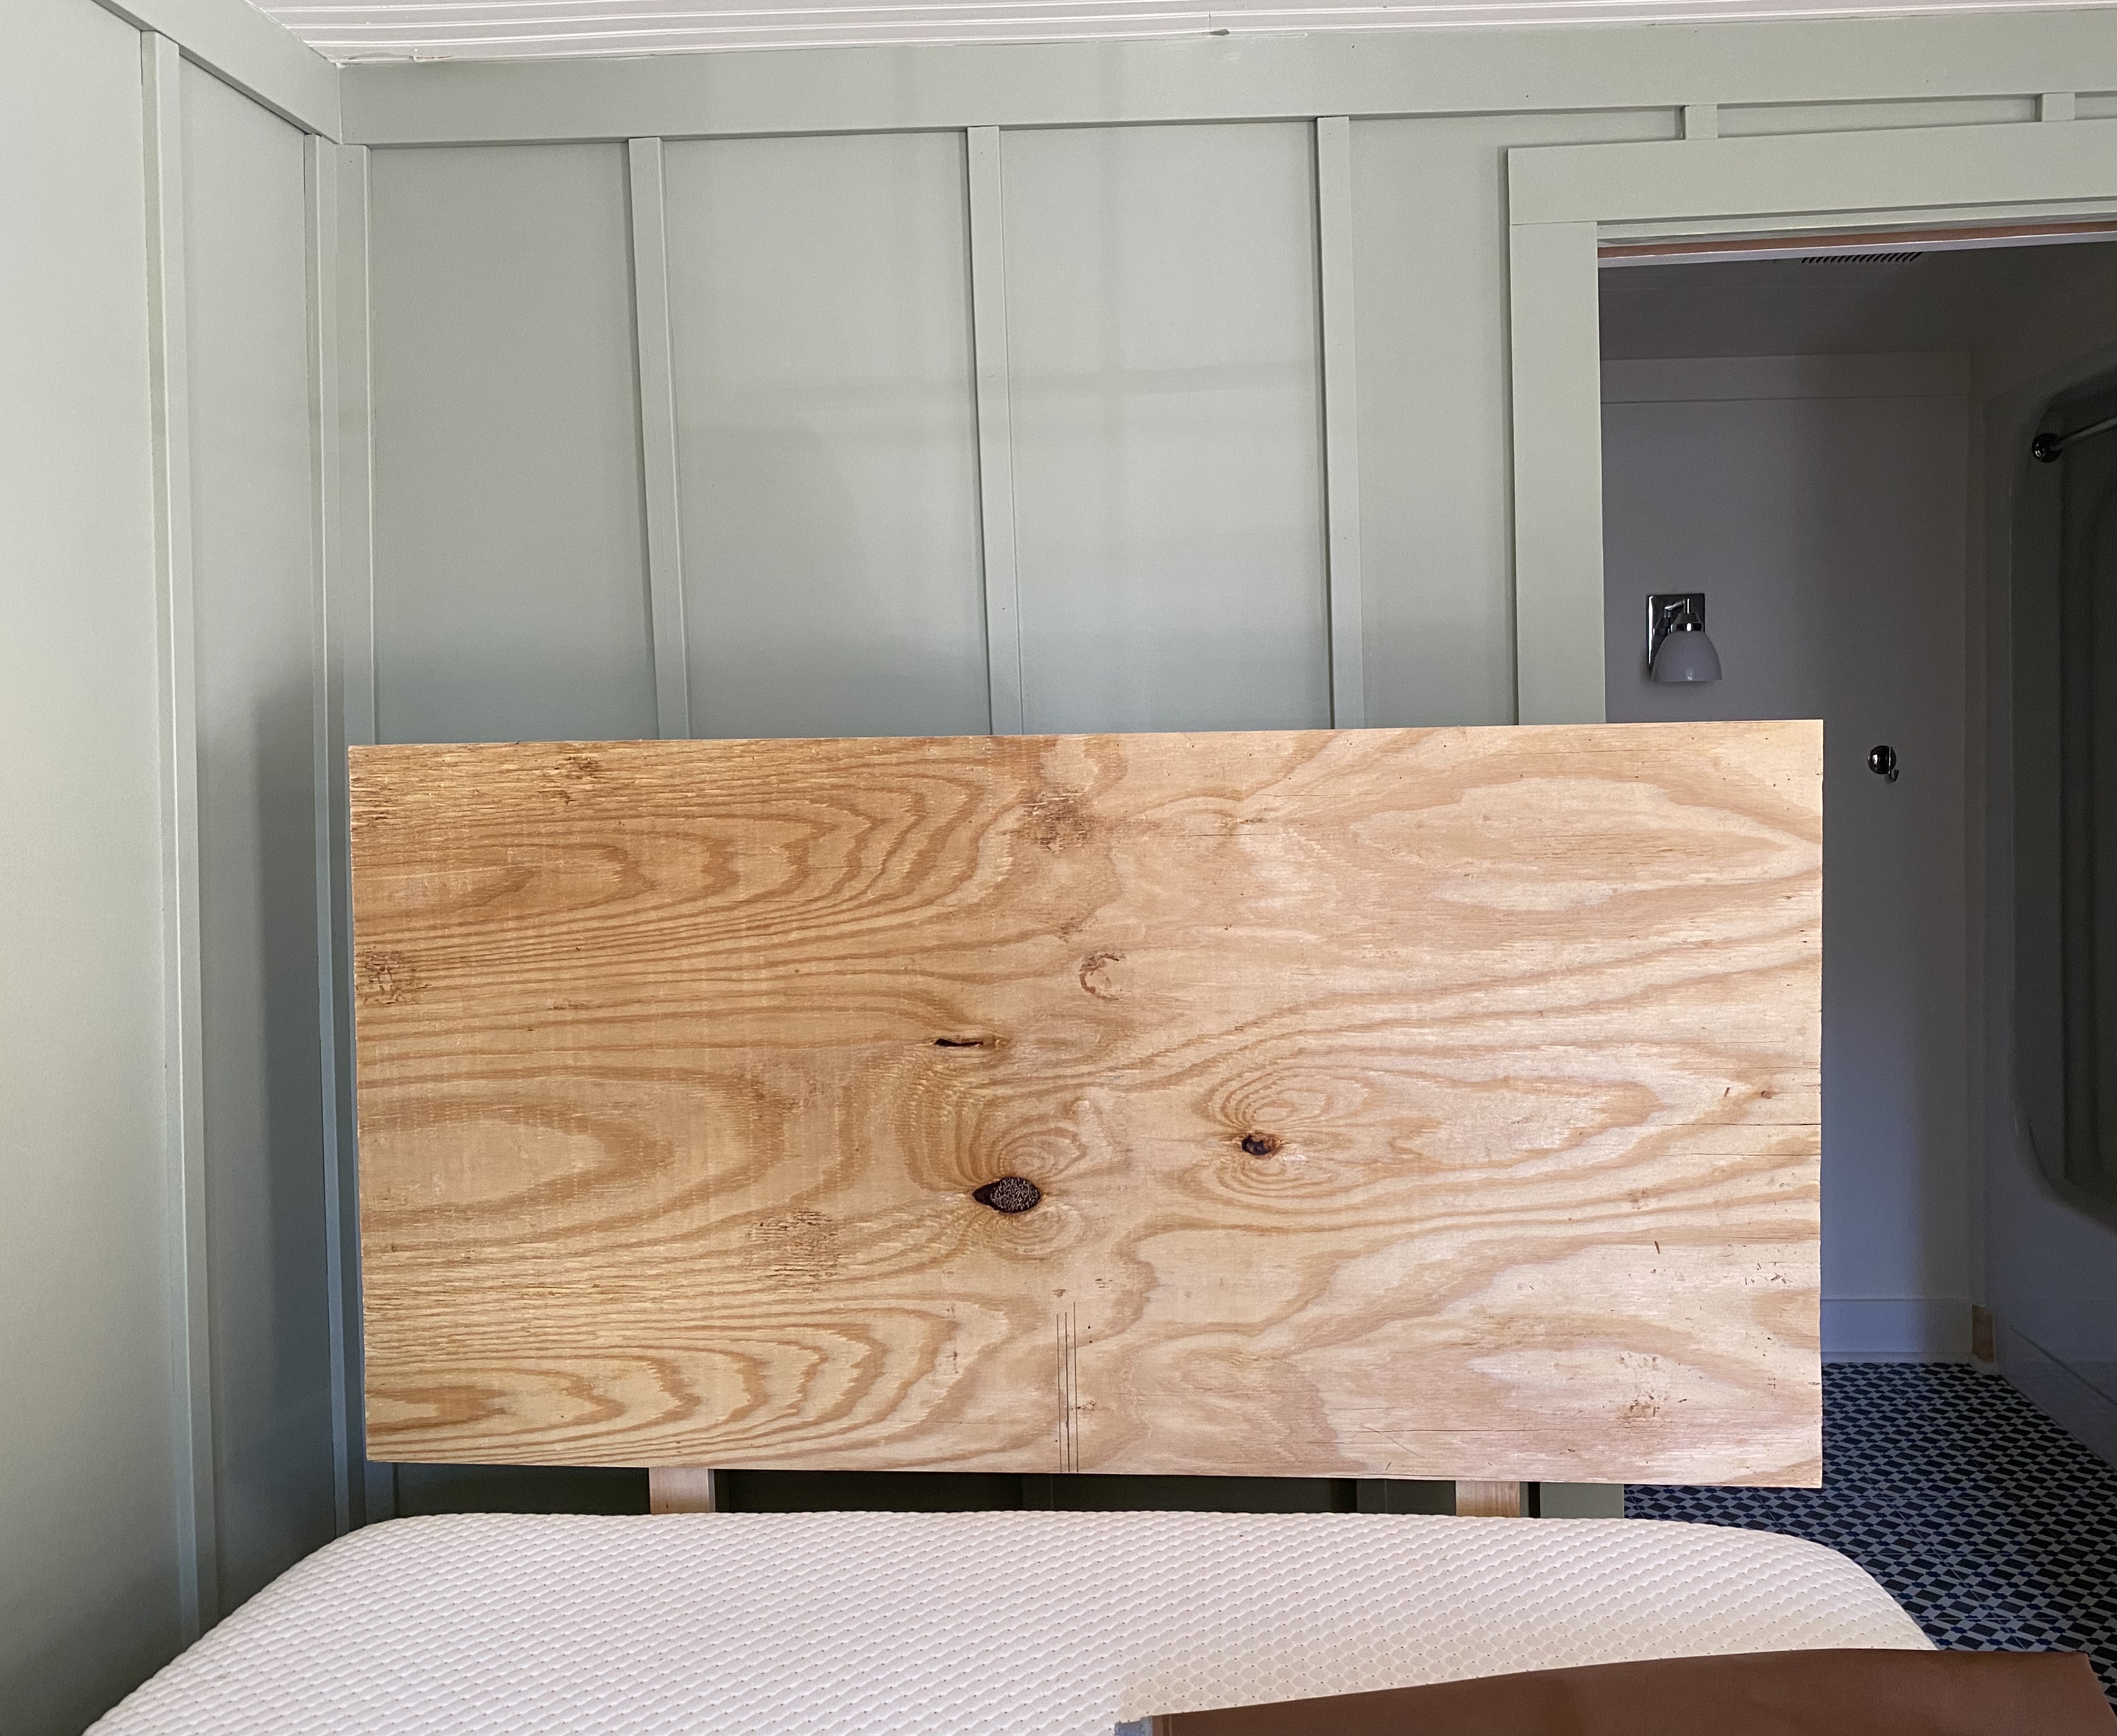
The first step was to attach 6 pieces of 1×3 pine to the perimeter of the plywood with wood screws. This was necessary to accommodate the depth of the legs. If we hadn’t done this the headboard would stick out from the wall by the thickness of the legs.
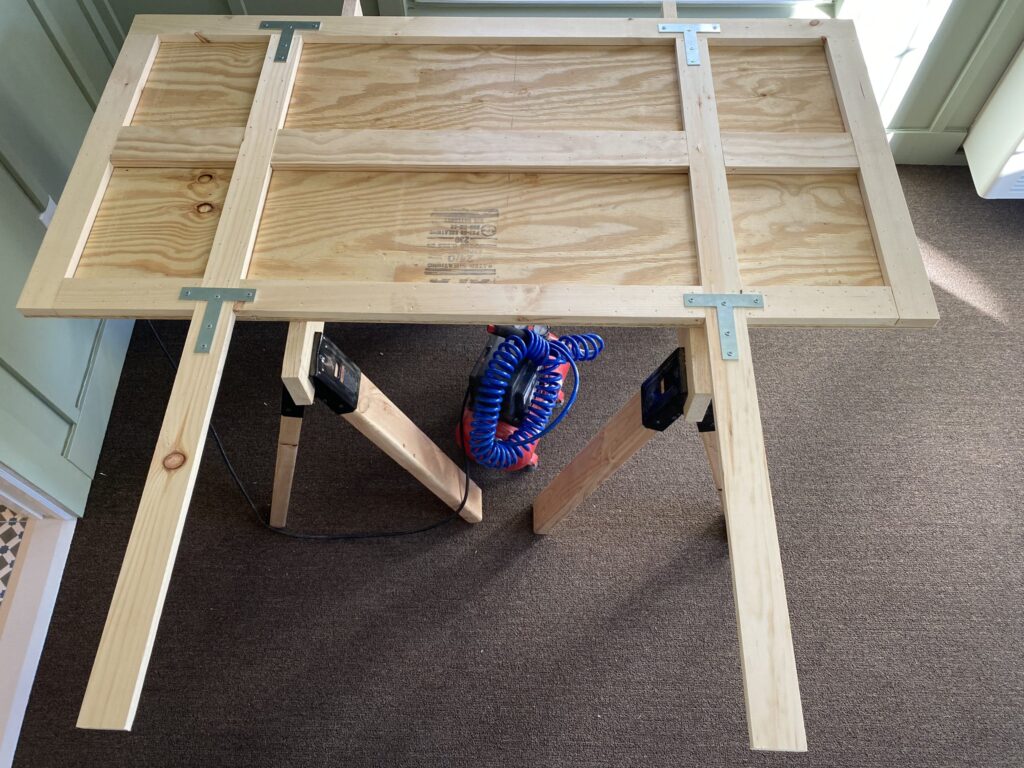
We cut 2 1×4’s to a length of 55 inches each to make the legs. This was the distance from the floor to the top of the mattress plus the height of the headboard up to the 3 inch perimeter. We then cut and screwed 3 sections of 1×3 across the center of the plywood to give it rigidity and prevent warping. We finished the structure with 4 T brackets to fully tie the legs and headboard together.

Once we had the structure built, it was time to add the padding, batting and leather.
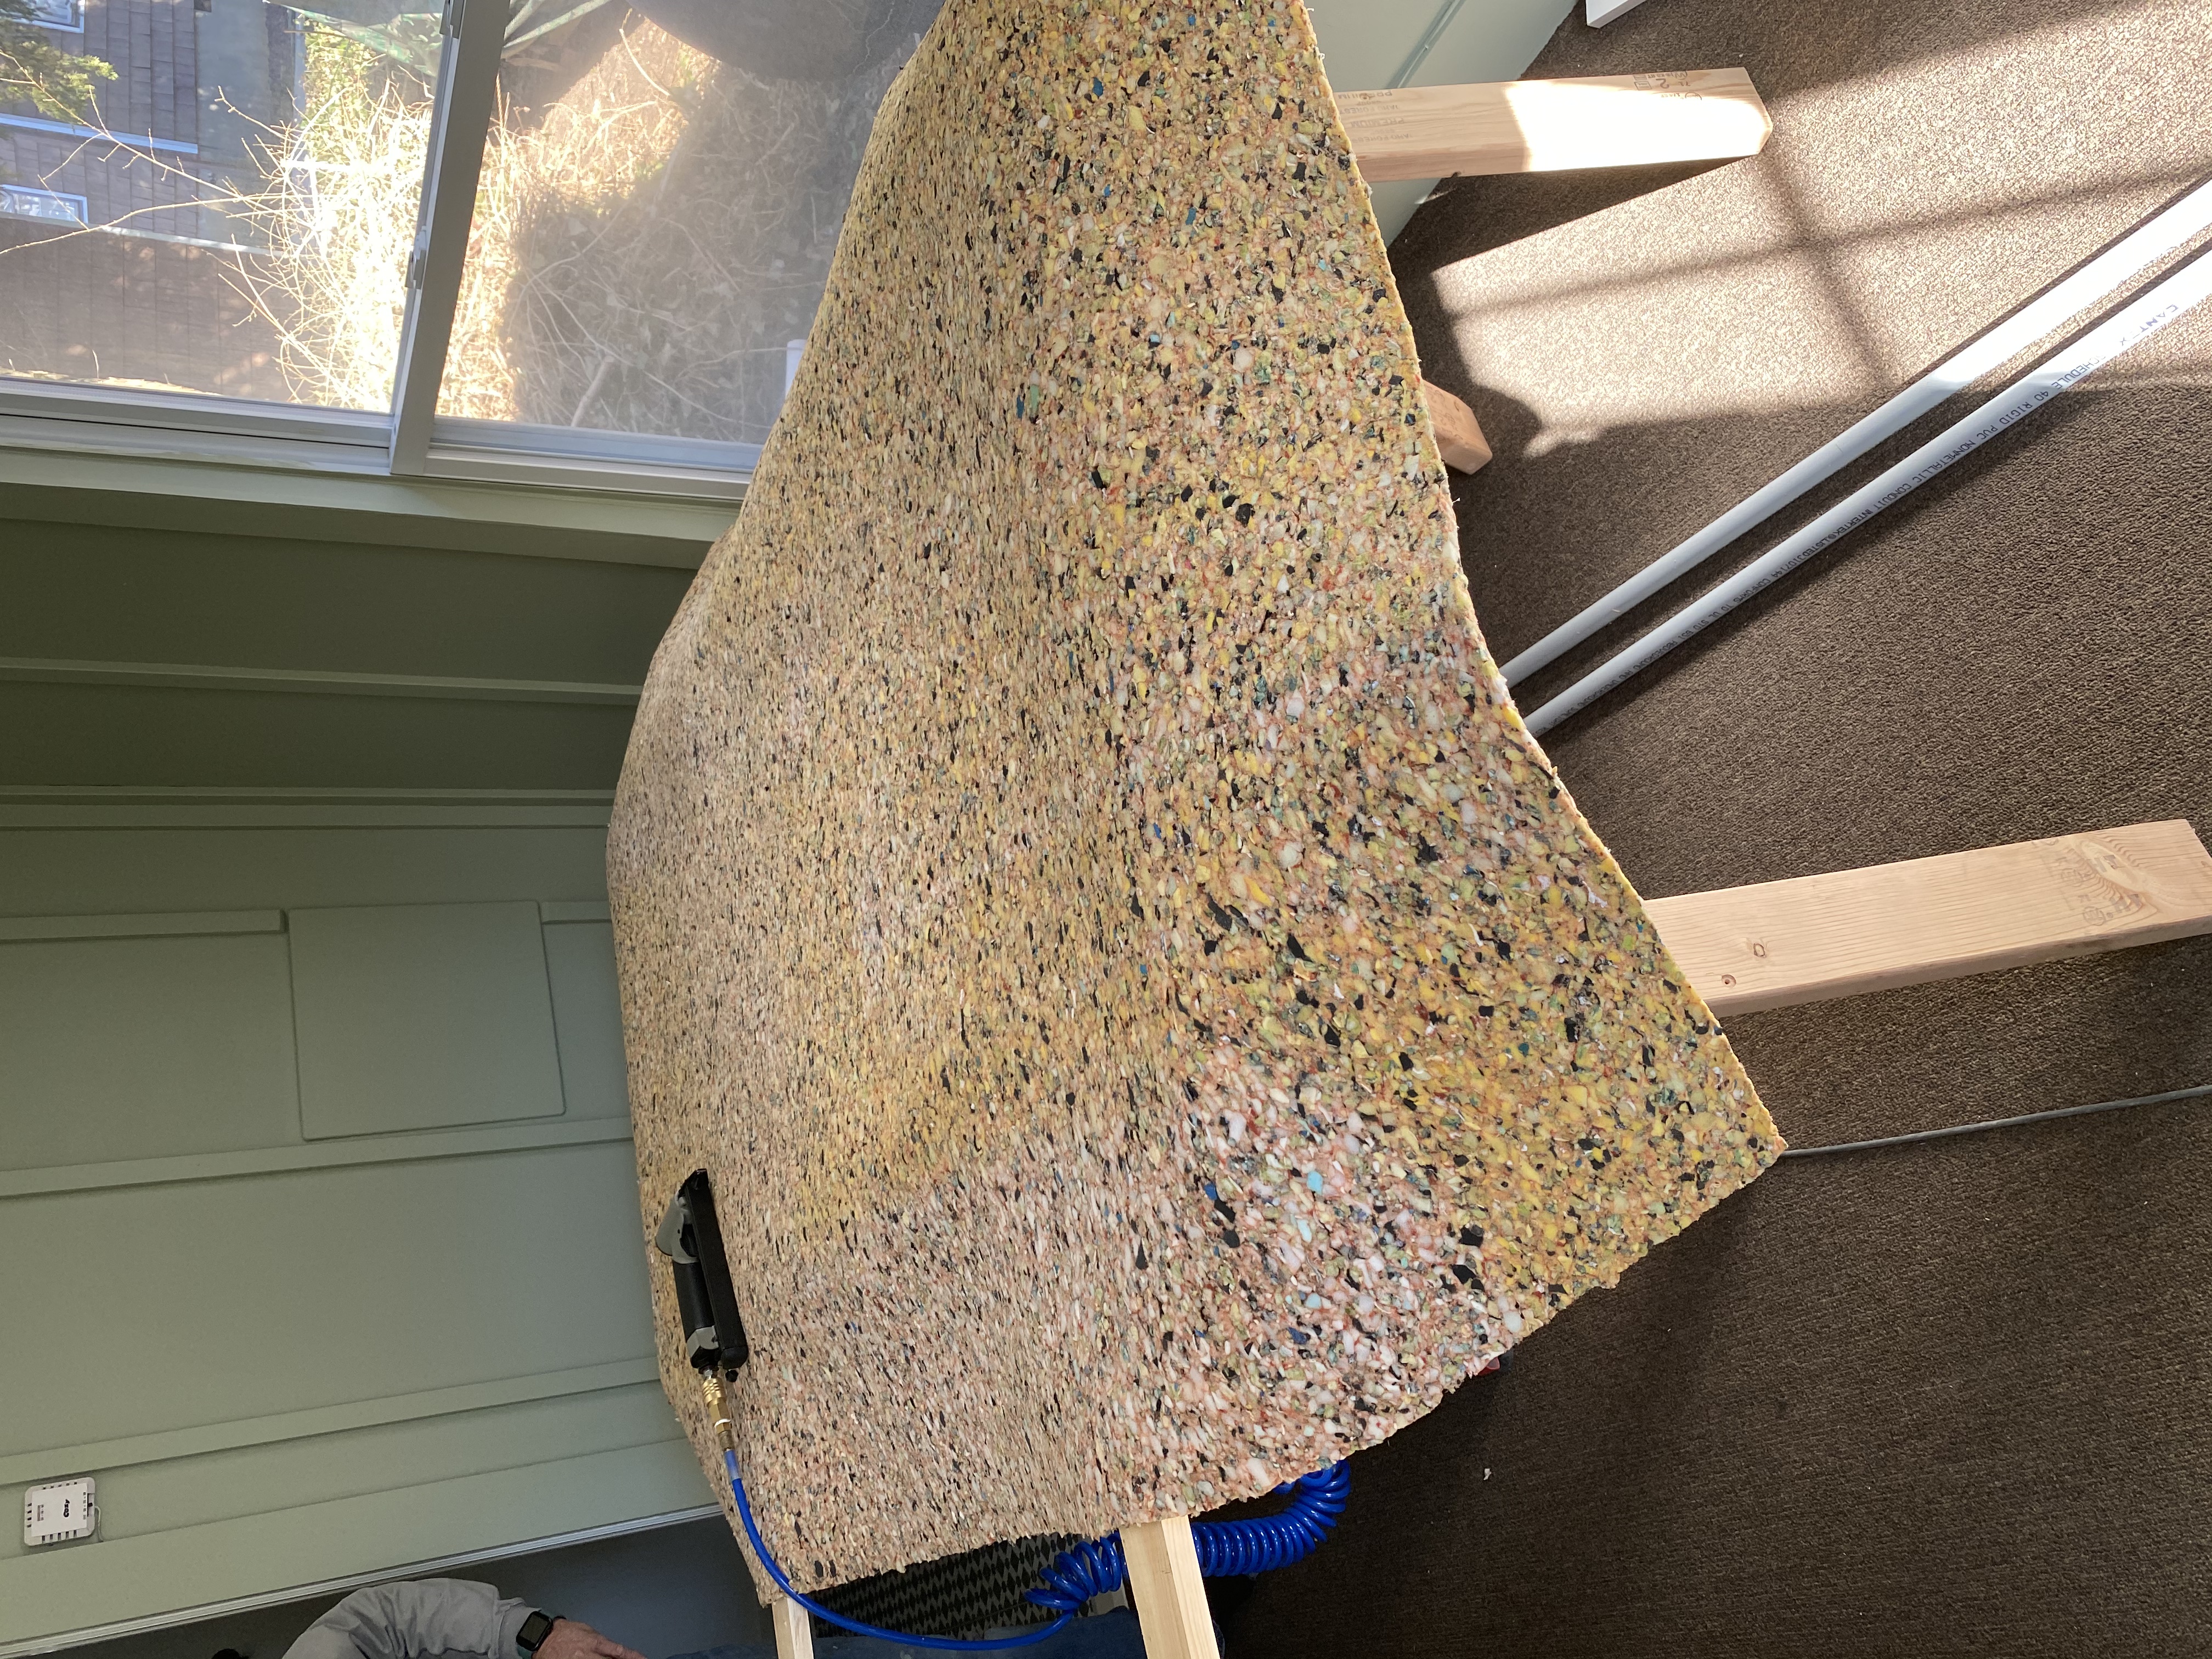
We positioned the carpet padding over the front of the headboard, flipped it over and secured it all the way around with a staple gun. We trimmed the excess down to about 2 inches.
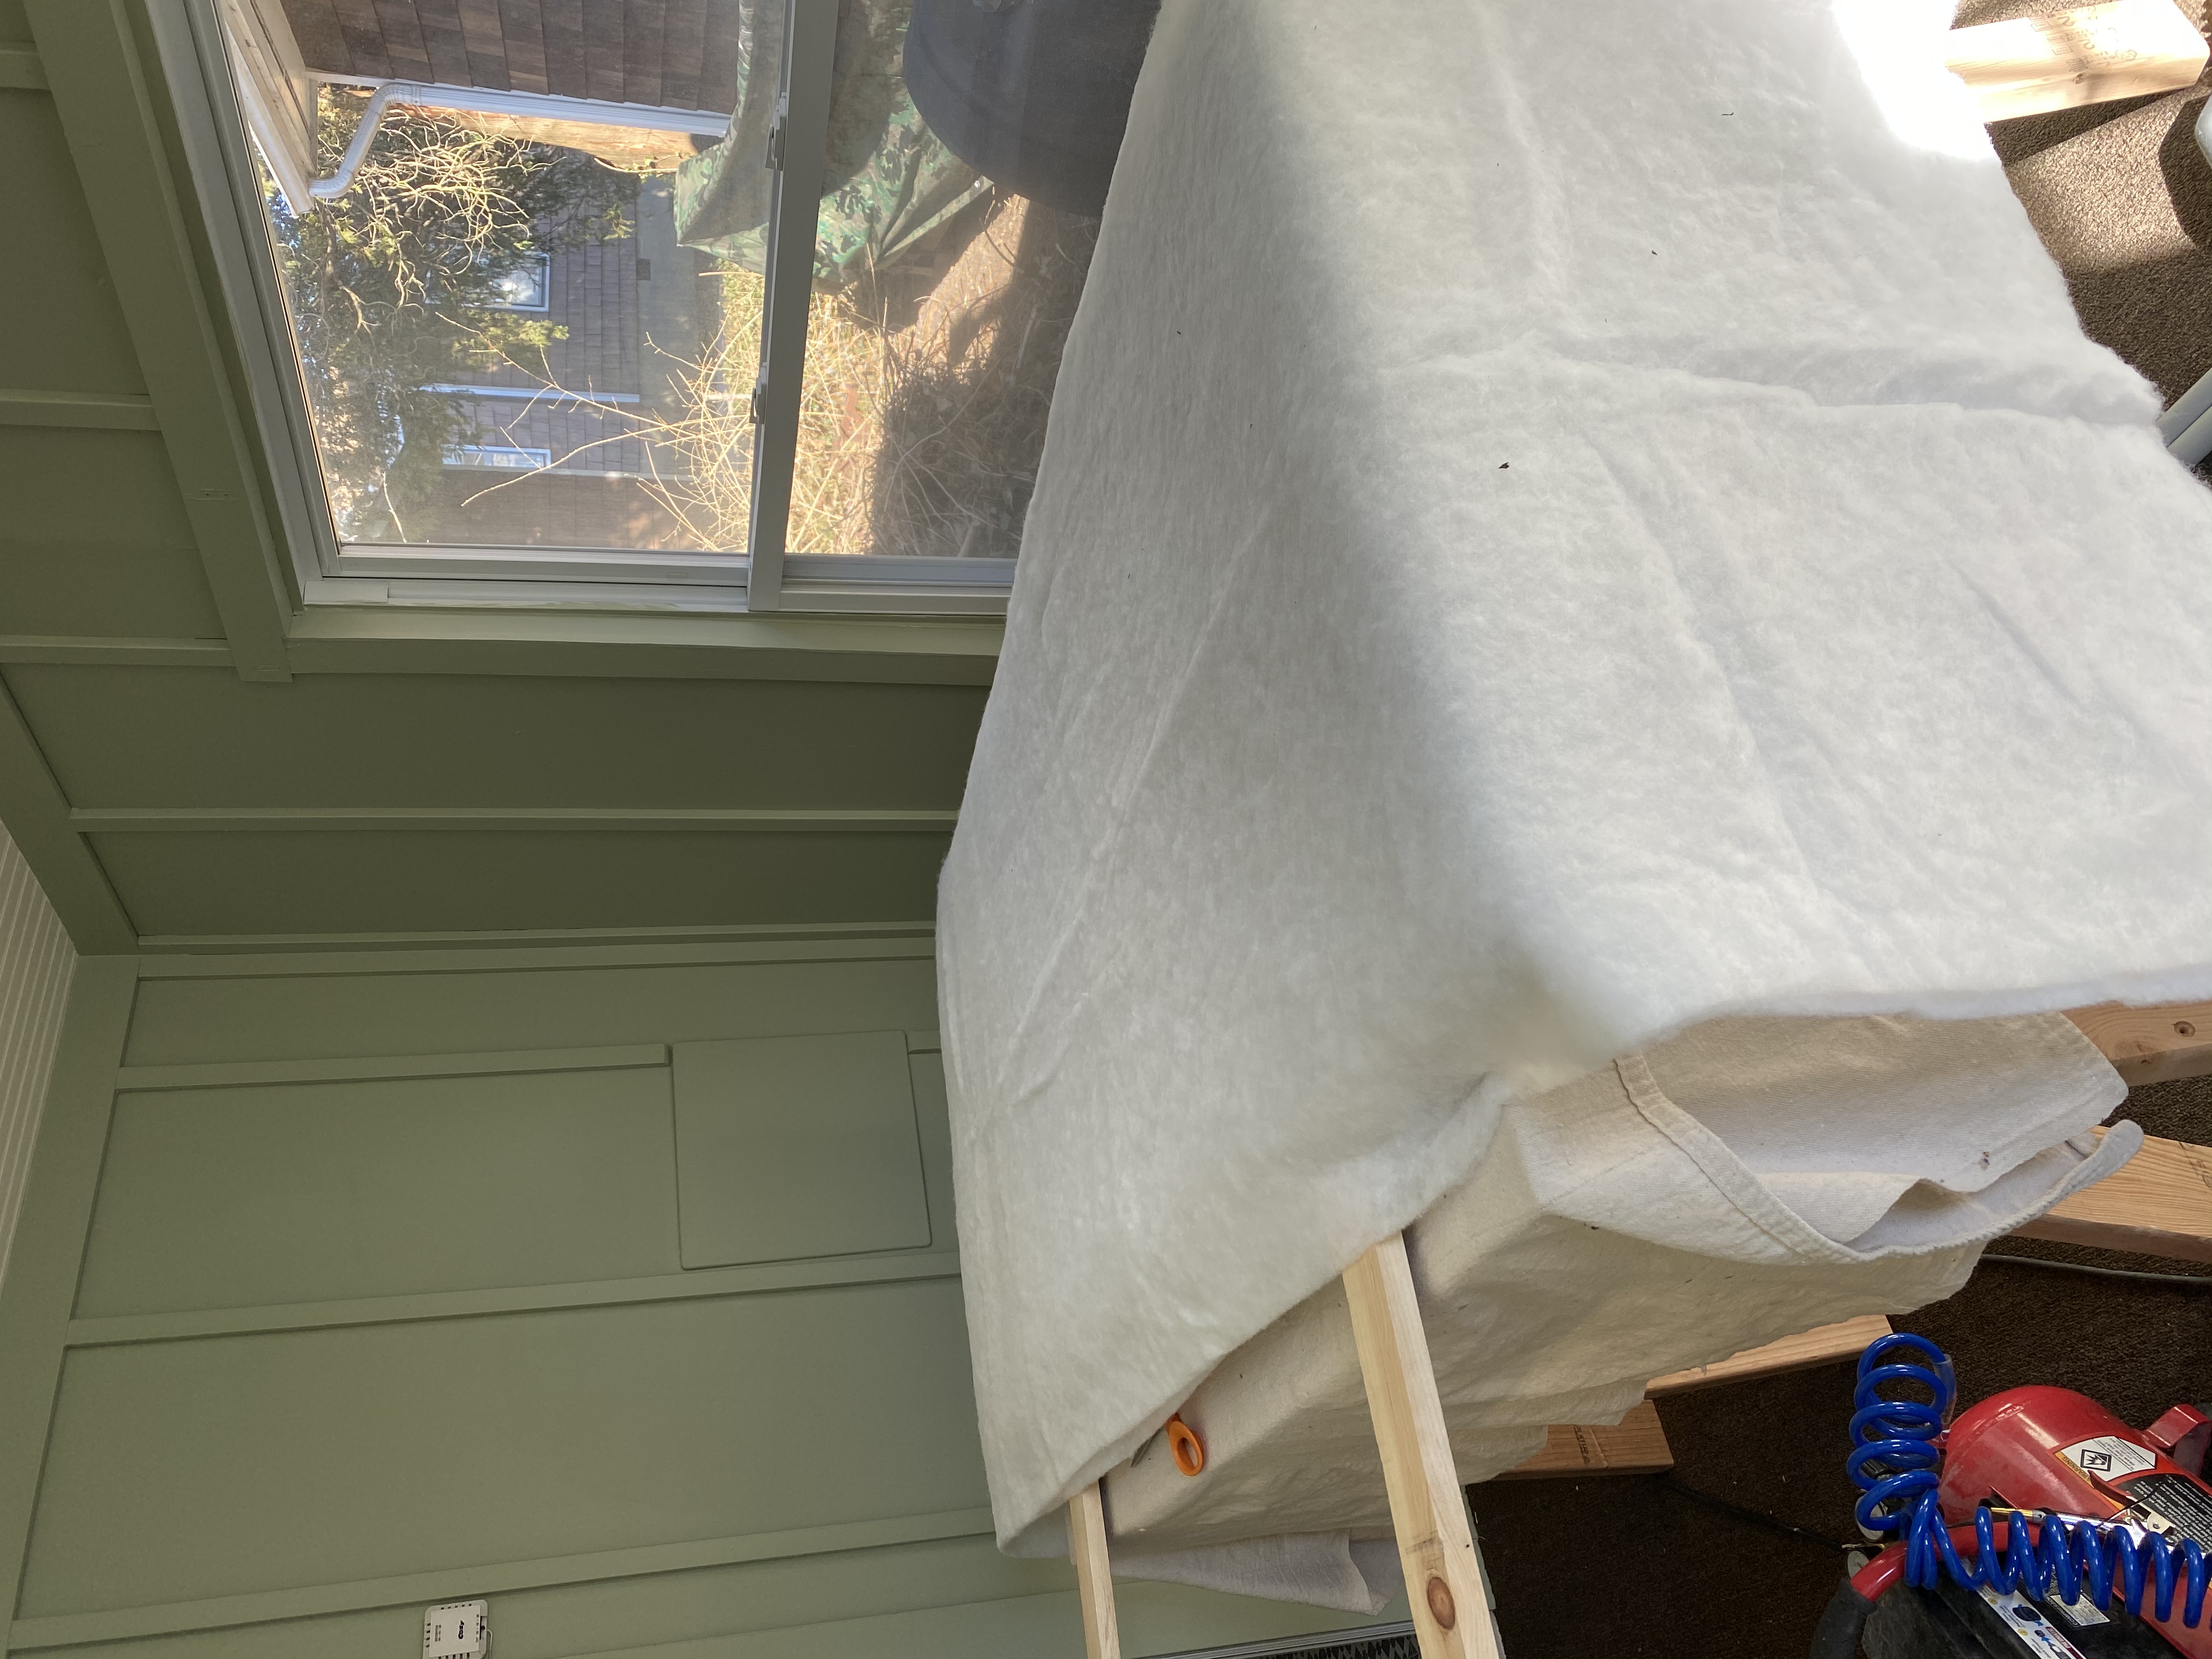
Then we added a layer of quilt batting in the same manner.
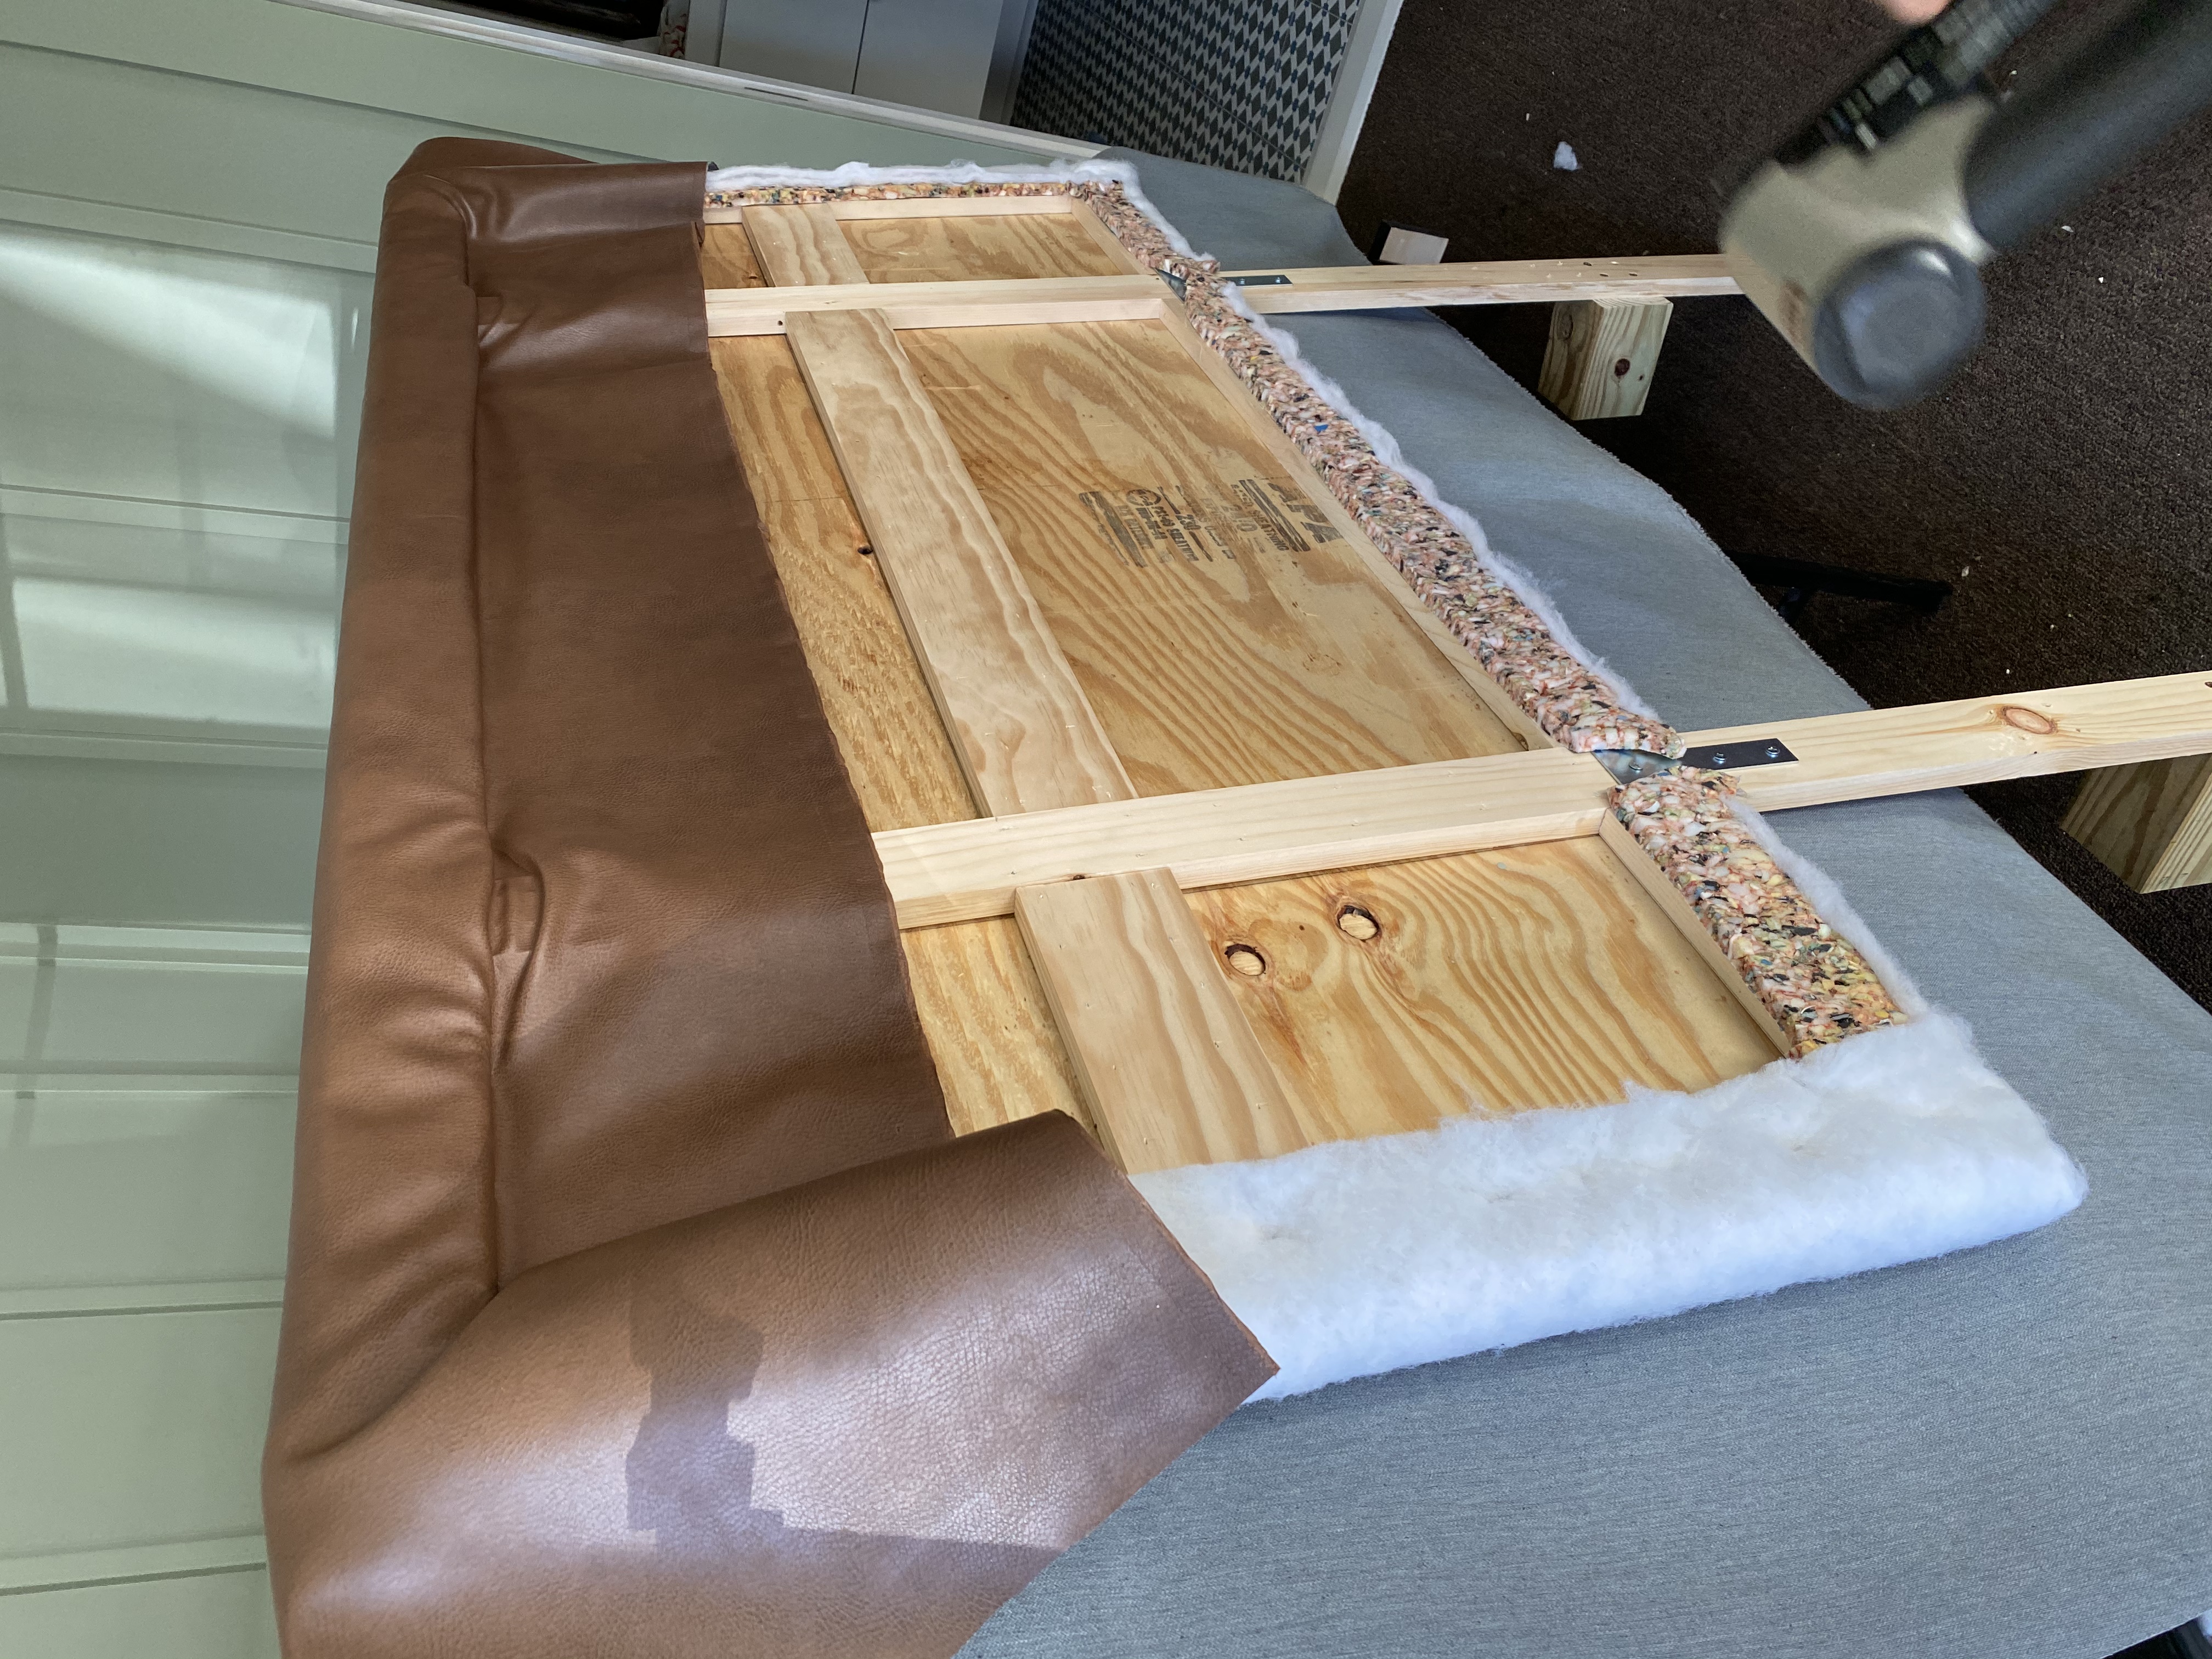
Finally, the last layer was the faux leather. We positioned it over the front of the headboard, wrapped the headboard around the edges and then secured it with our staple gun. Here it is important to pull the leather taut so that the end result looks professional.
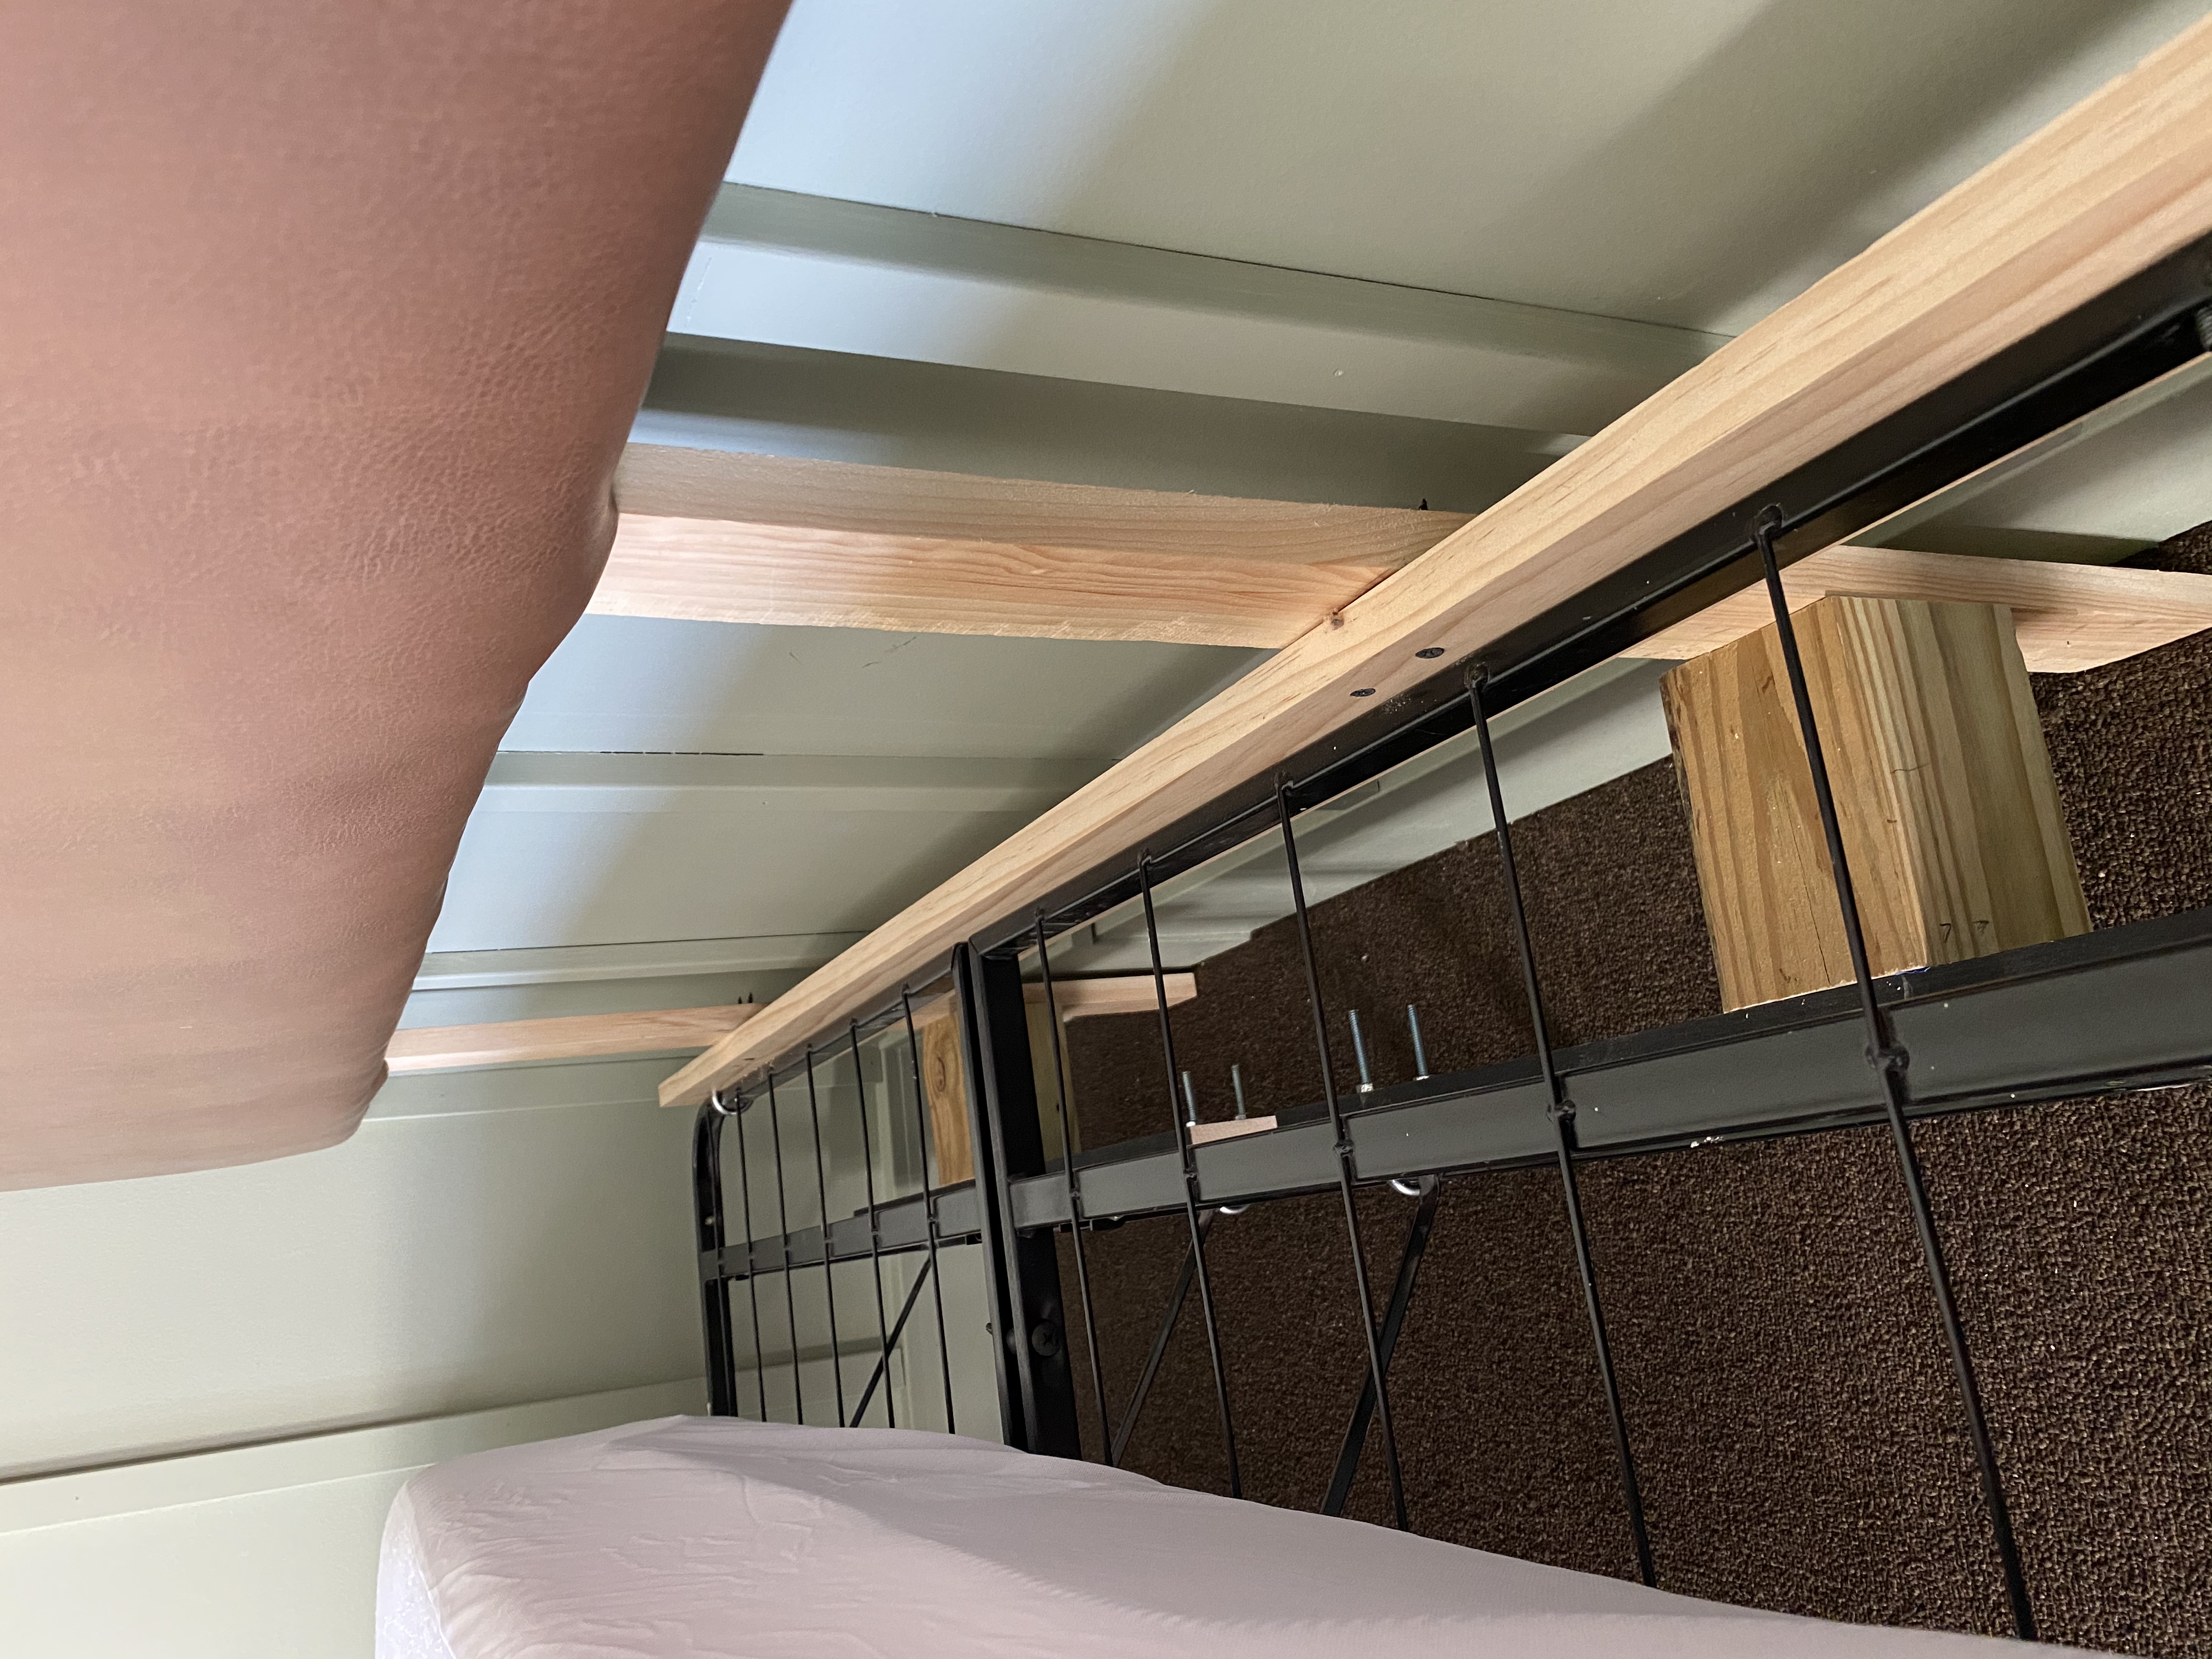
Now we were ready to secure the headboard to the bed frame. This will vary depending on your bed frame but this is how we did it. Mr. HomeSpunStyle first screwed a 1x4x60 inch board the to the two legs at the point at which the legs hit the bed frame. He then secured the board to the metal bed frame using two 1/4 inch U bolts. Finally he also screwed two 2×4 wood blocks to the legs and the bed frame to pad out the gap between the bed frame and the legs and provide added stability.
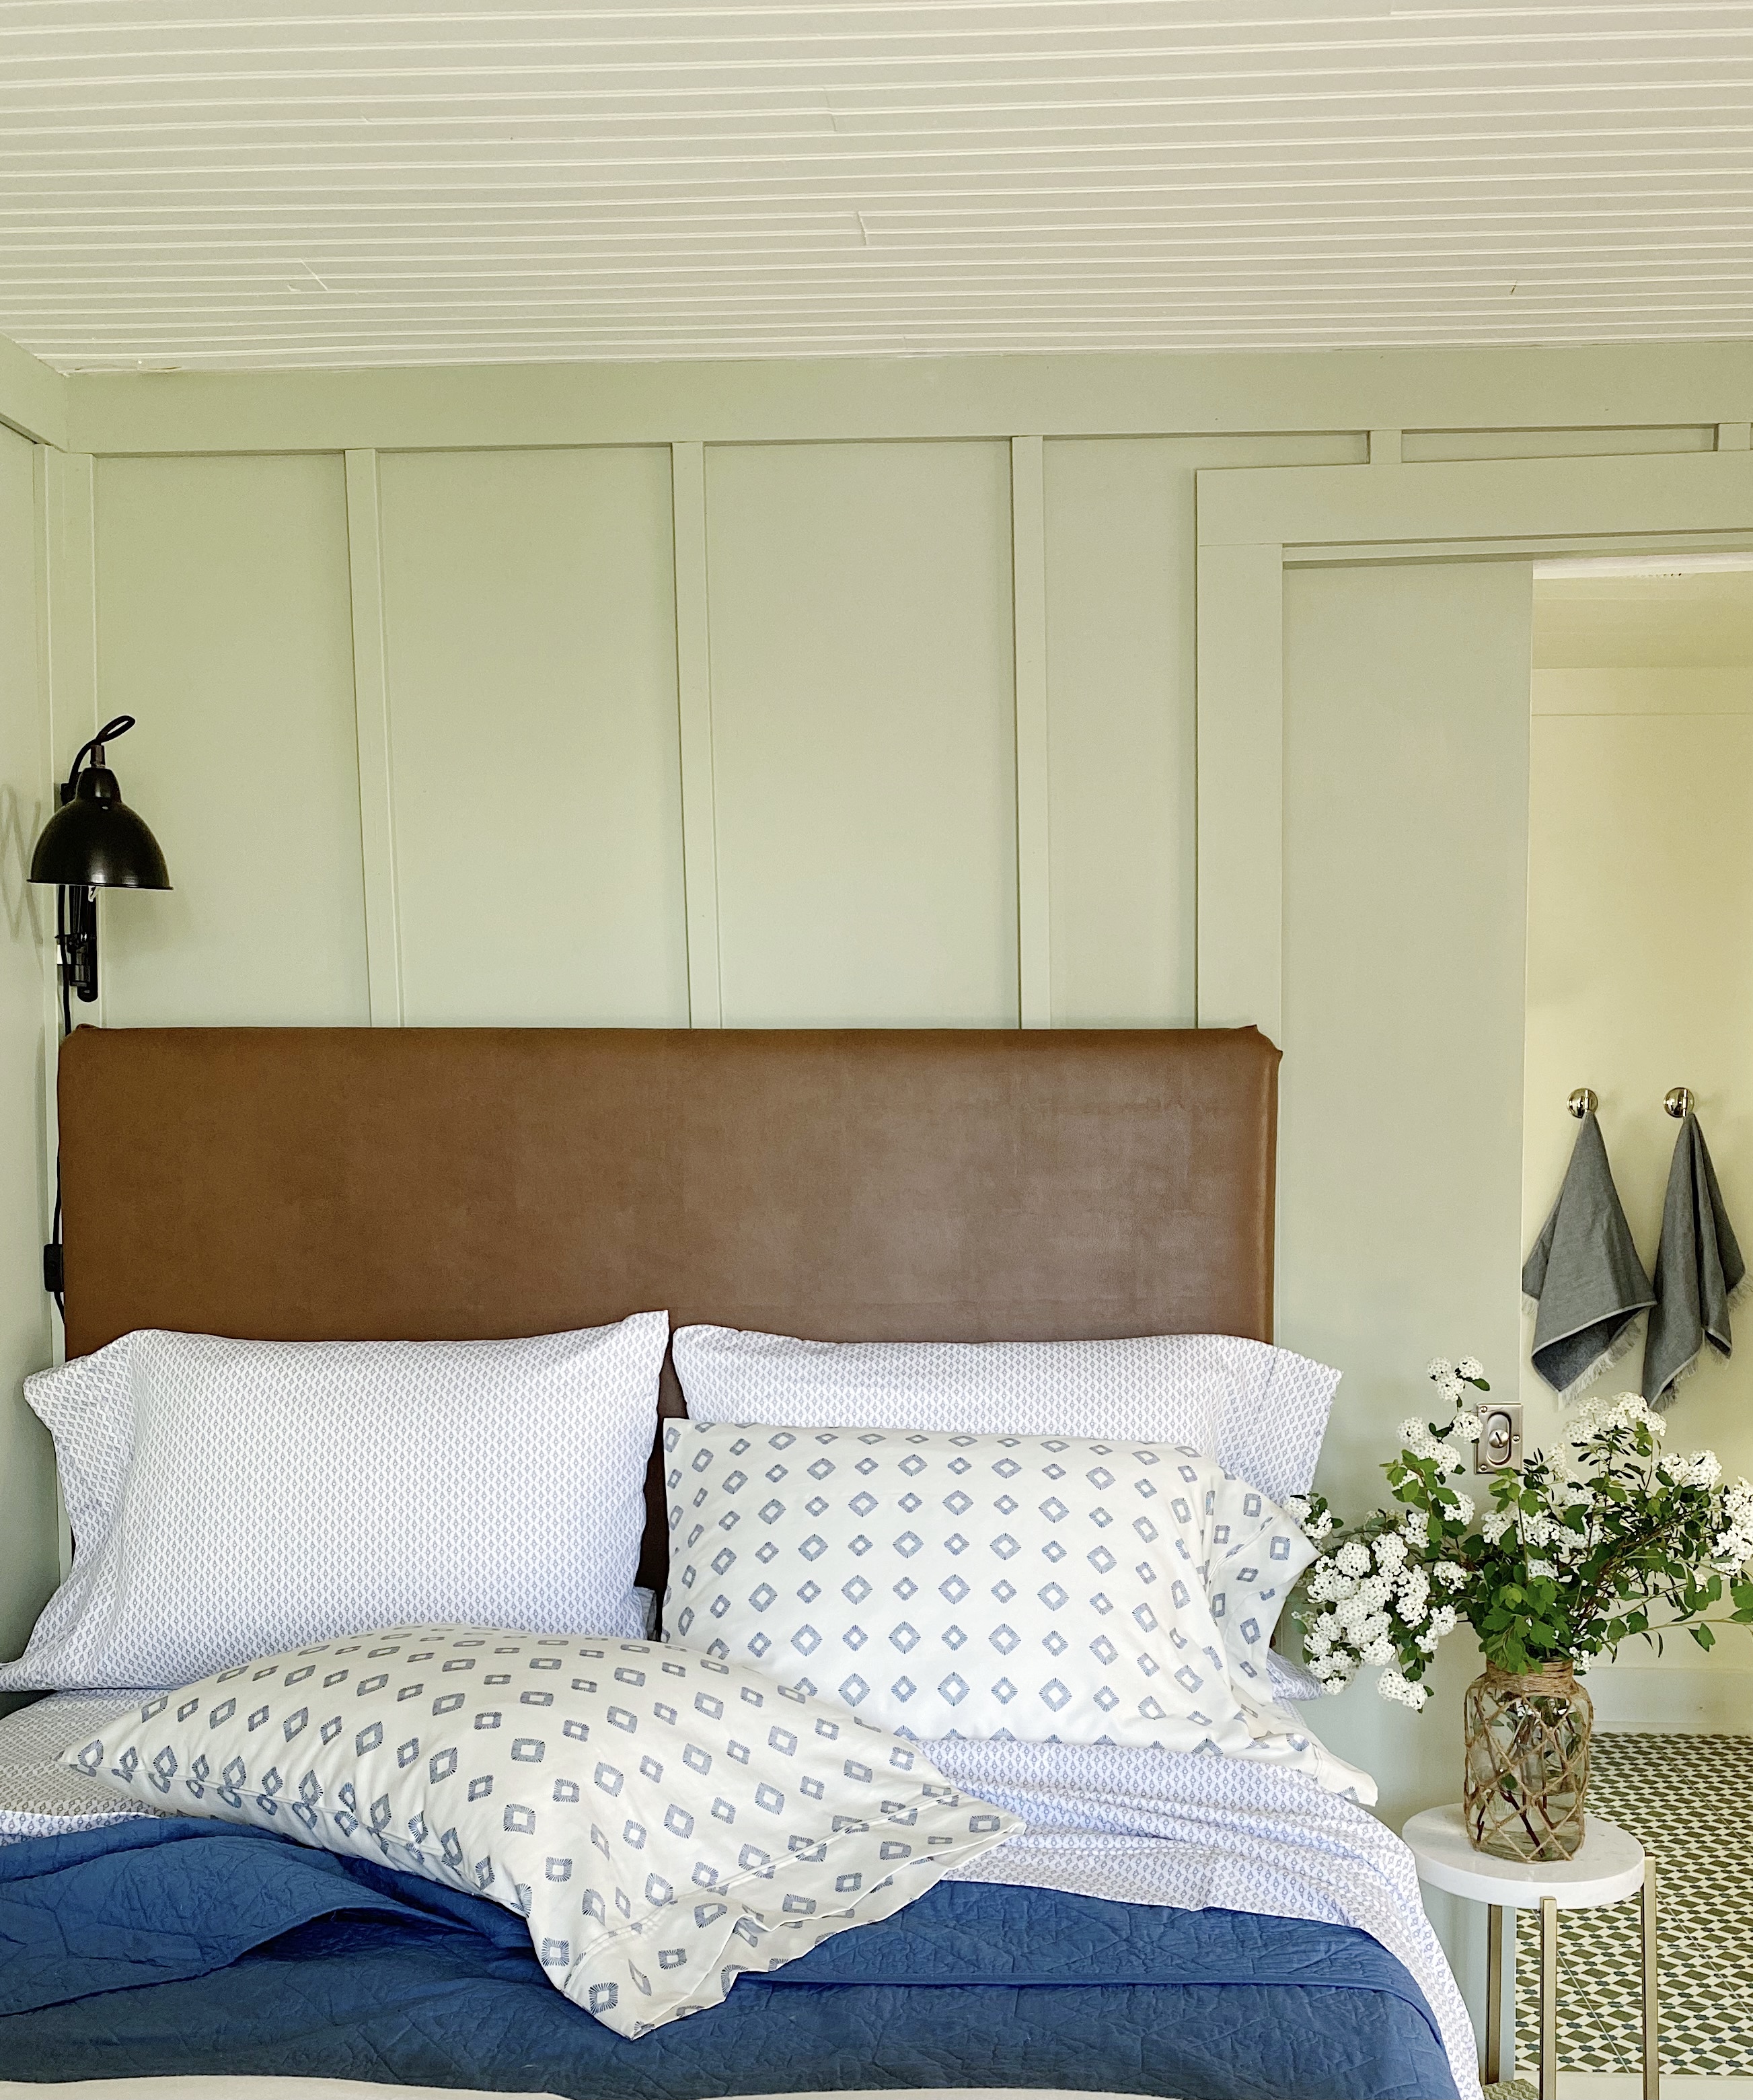

BEFORE 
AFTER
I’ll be back next Thursday with more progress on our guest cottage makeover. Be sure to check out all of the other Guest Participants in the One Room Challenge to follow along with their progress!
Thanks for stopping by!
Debra


