Hello everyone! This is week 5 of the One Room Challenge. If you are finding me through the One Room Challenge, welcome to my blog where I share my passion for creating comforting homes by thrifting, sewing and a little diy-ing along the way! While I’m not averse to buying new. I love being able to stretch a budget AND get that “layered over time” look that comes from incorporating pieces that have had a previous life! You can follow my decorating journey on the HomeSpunStyle Instagram.
If you missed my posts from Week 1 thru 4 where the renovation of our galley kitchen in our 1940s coastal cottage began, you can find them here:
- Week 1 – design plan
- Week 2 – cabinet/countertop/flooring selections
- Week 3 – vaulted ceiling and skylights
- Week 4 – shiplap and tile flooring
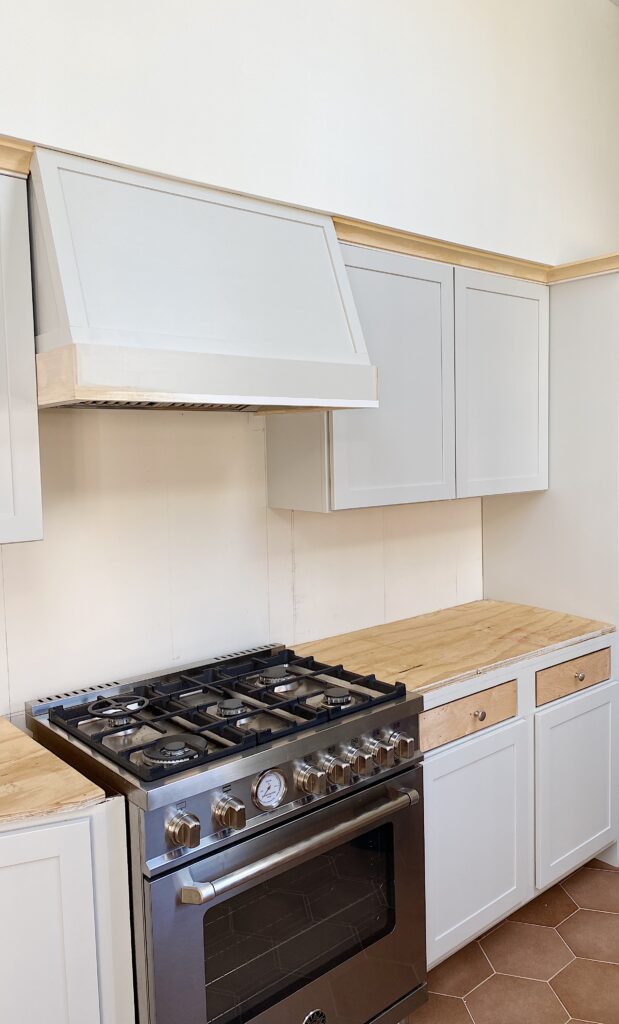
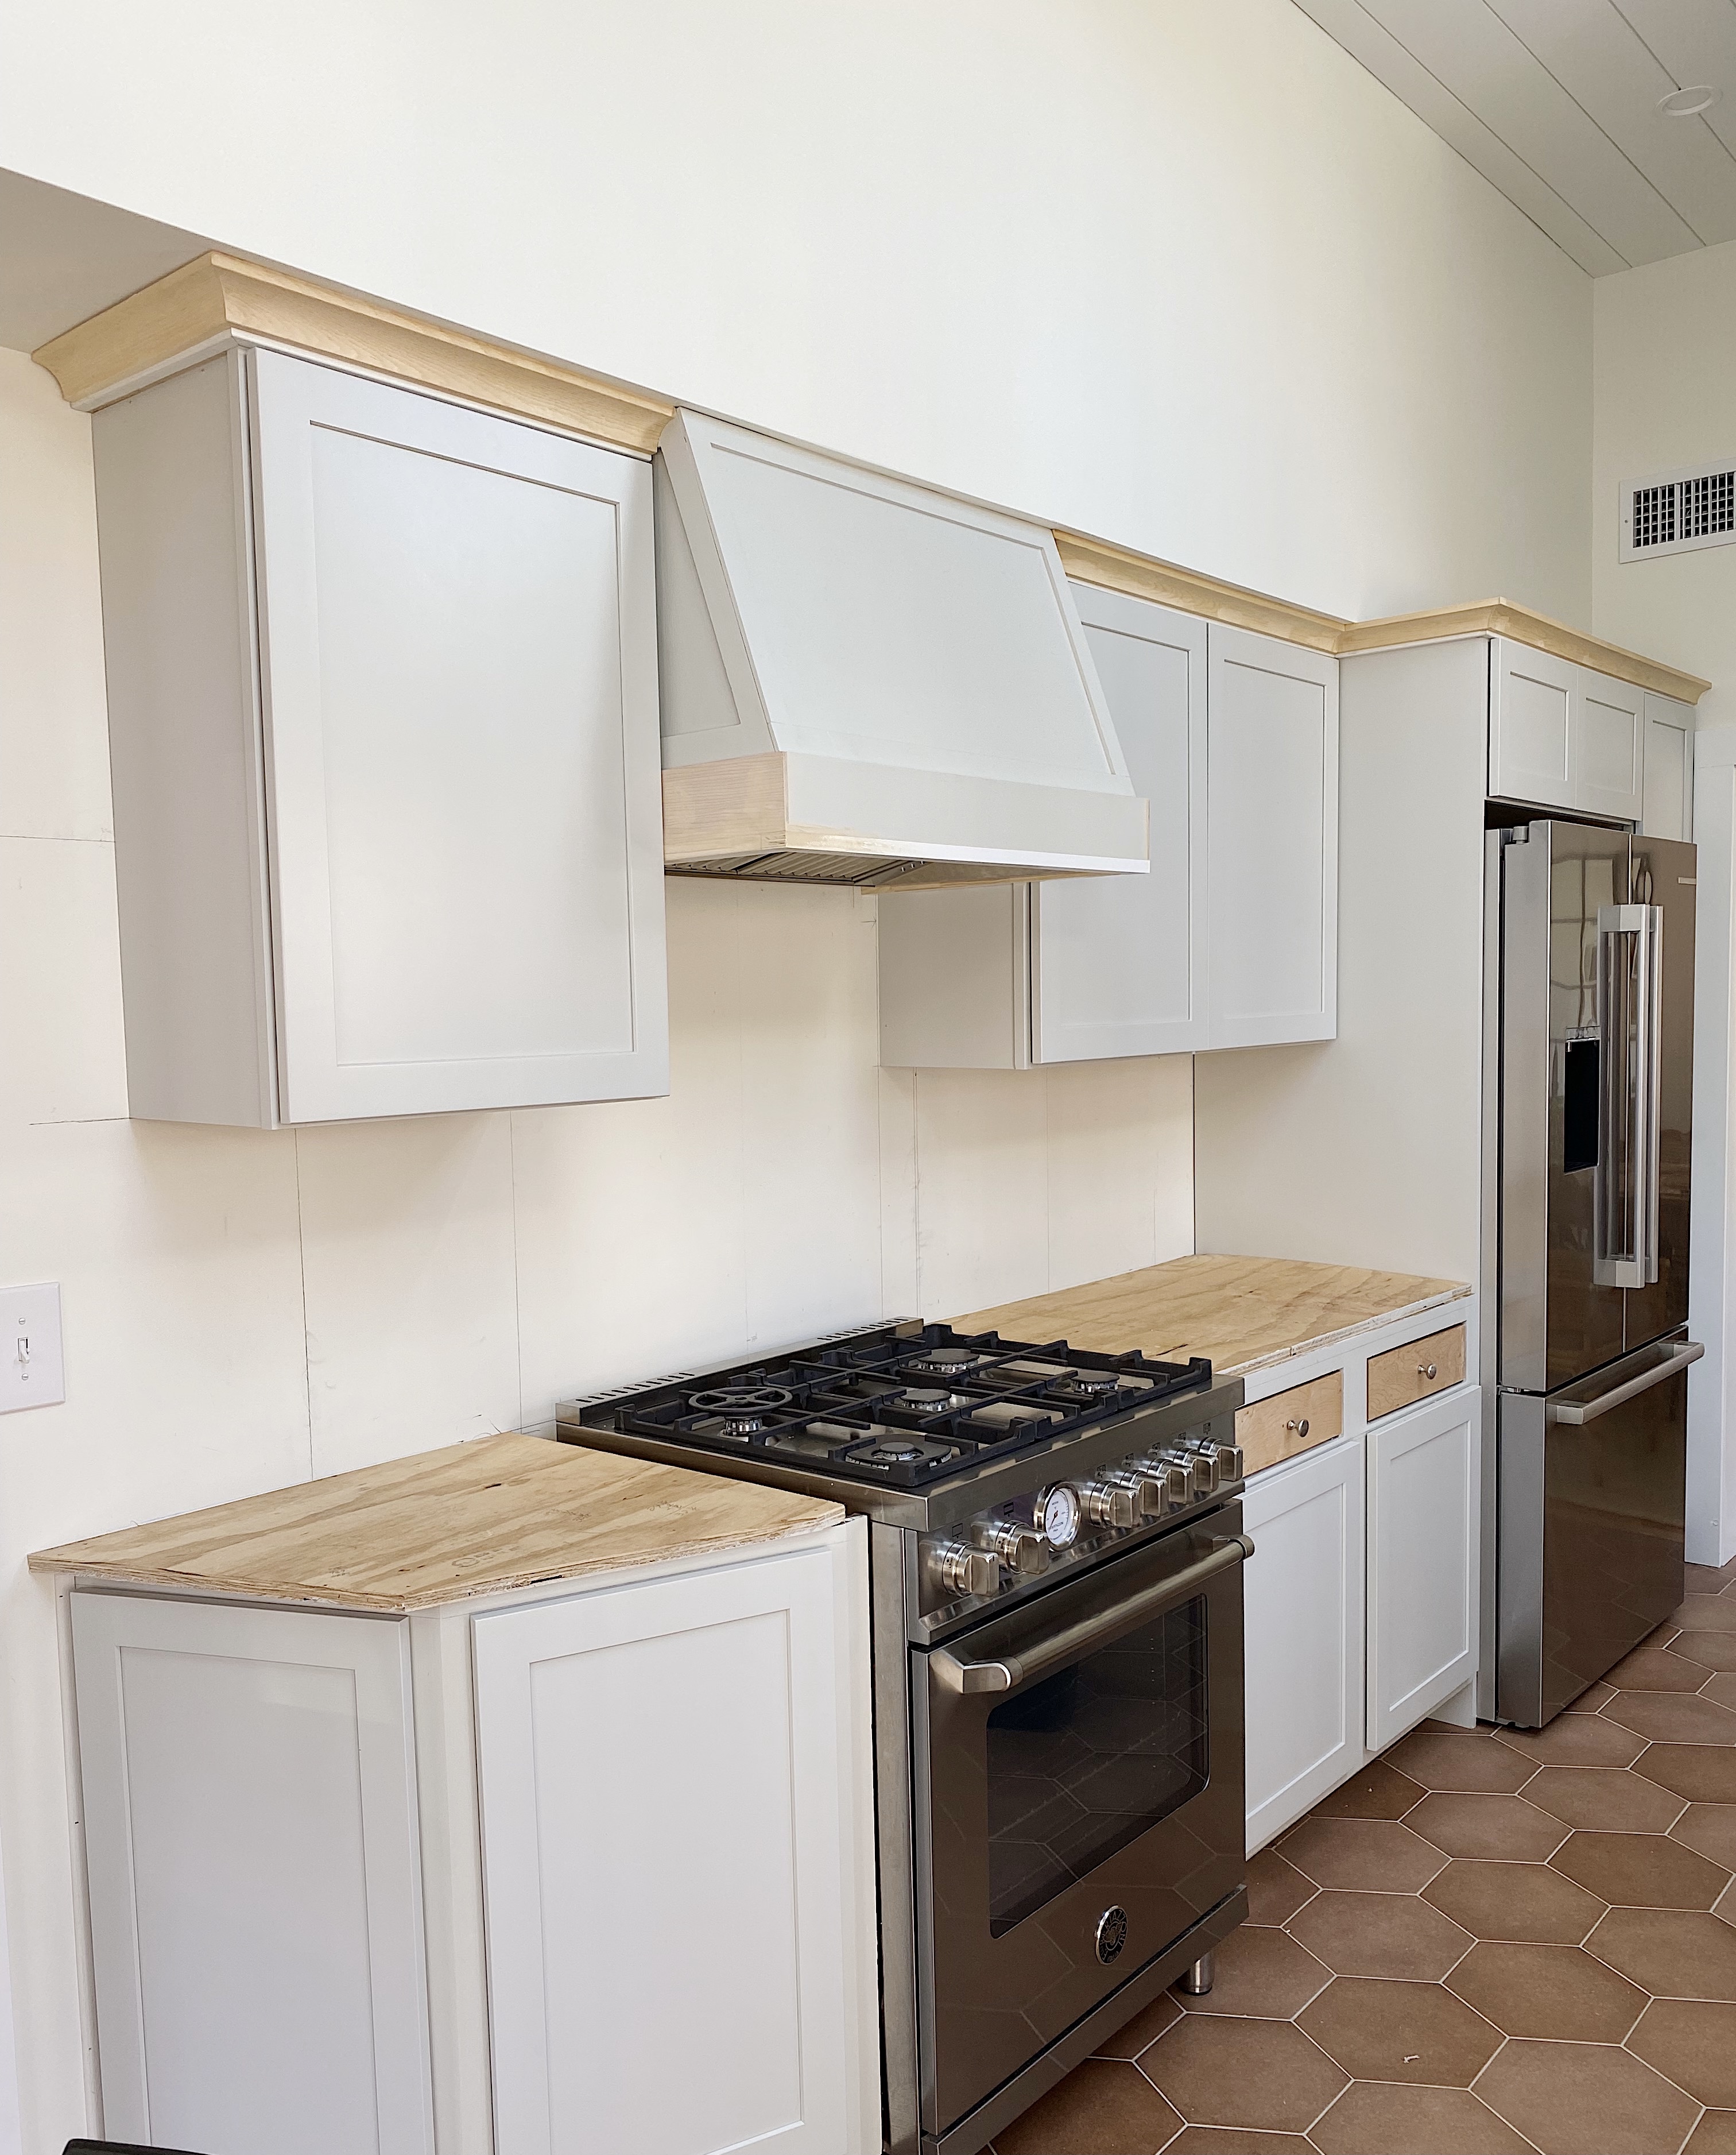
With the shell of our galley kitchen now complete, we’re installing our new cabinets. We ordered them from Lowes in December of last year, knowing that the lead time for delivery was 12 weeks. As I shared earlier, we are reusing the existing base cabinets and drawers so for these, we only ordered new doors and painted the bases to match. In total we needed 10 replacement doors, 4 replacement drawer fronts, and 7 new cabinets. We chose the Lowe’s Diamond line which offered both new cabinets and replacement fronts. The shaker style door is called “Jamestown” and the color we chose is “Icy Avalanche”. It’s a very pale gray which feels coastal. The cabinets are solid maple with a factory painted finish. The only issue we have is that the replacement drawer fronts are the wrong style. We’ve since reordered but it will be another 12 weeks to get the correct ones that match the shaker style cabinets.
Mr. HomeSpunStyle did the install which was pretty straightforward. Leveling them is the biggest headache but having had the floor leveled earlier, the cabinets didn’t need a whole lot of adjusting.
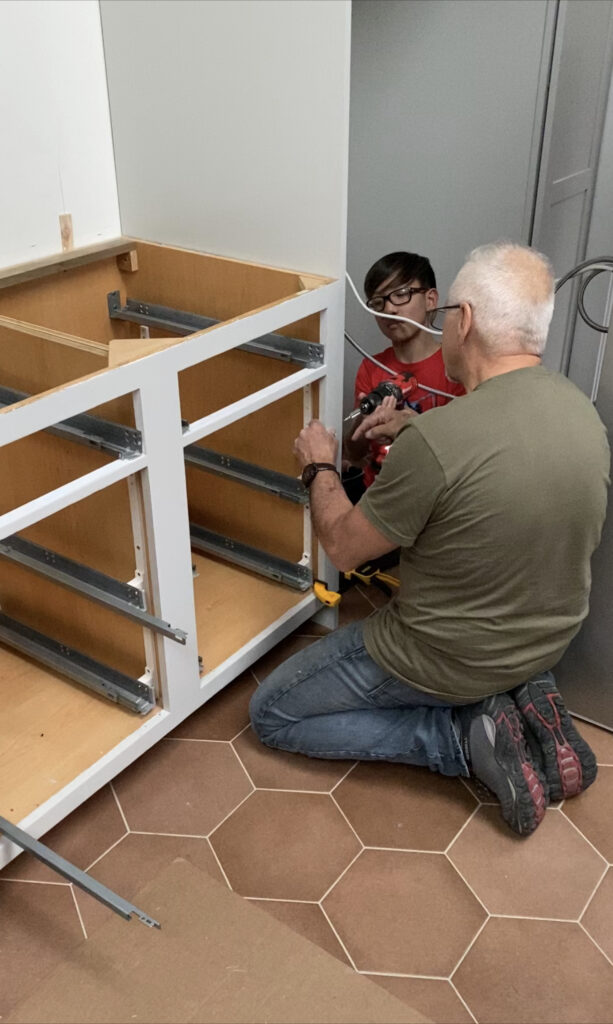
He also made the vent hood surround and installed crown molding as well as some finish strips to fill in small gaps where the cabinets meet a wall.
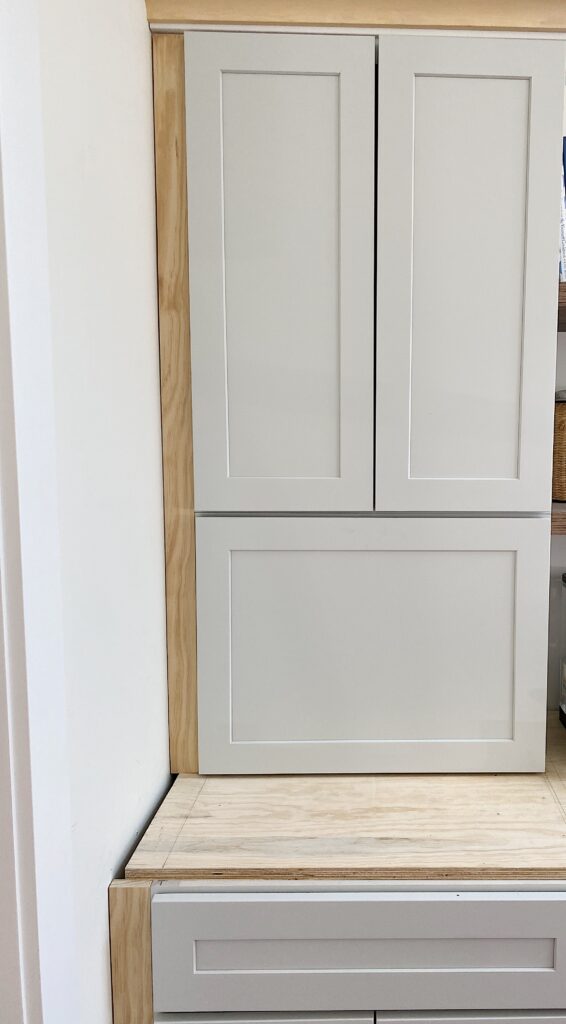
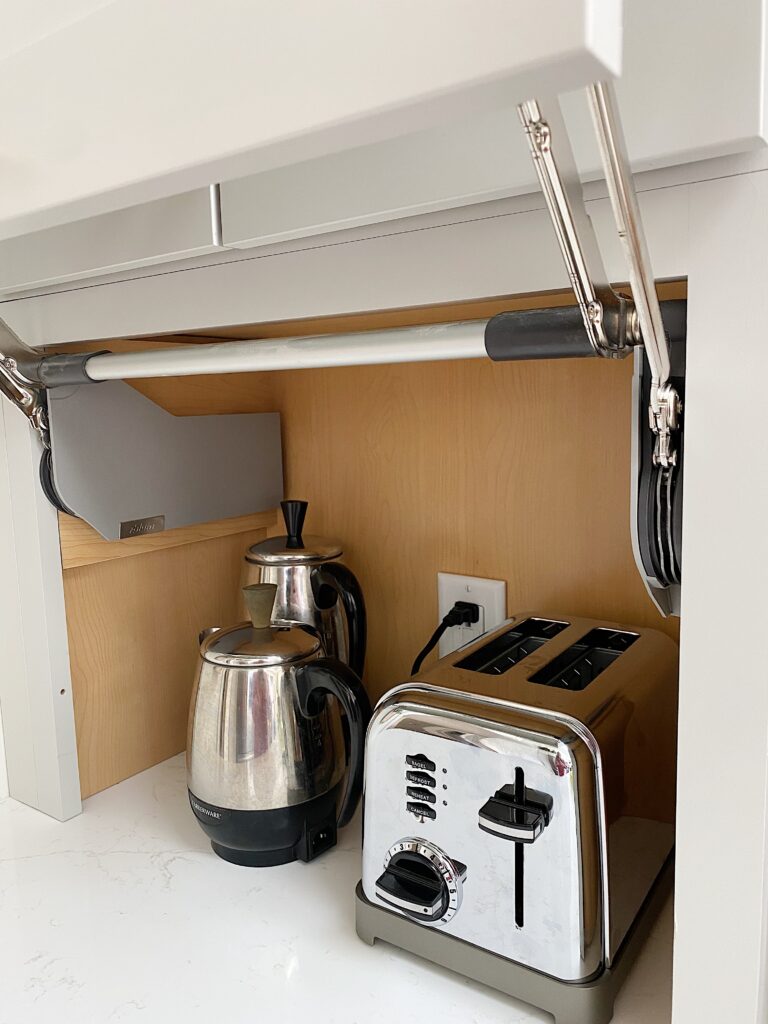
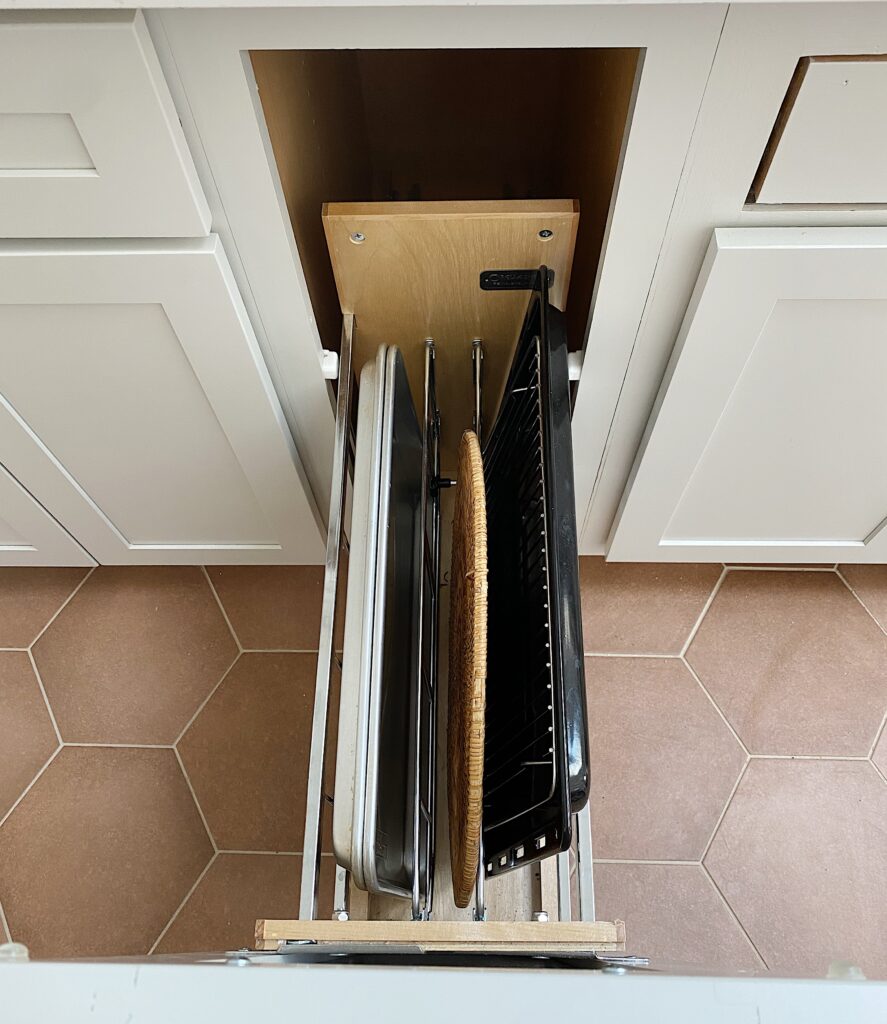
My favorite new cabinets are the appliance garage and a pullout base cabinet for trays and cutting boards. I love the functionality of both of these.
For the appliances we chose a Bertazzoni 5 burner gas range. Although it’s not huge, I like it because there is no bottom drawer which means more space inside the oven. The dishwasher is also a Bertazzoni and the refrigerator is a Bosch
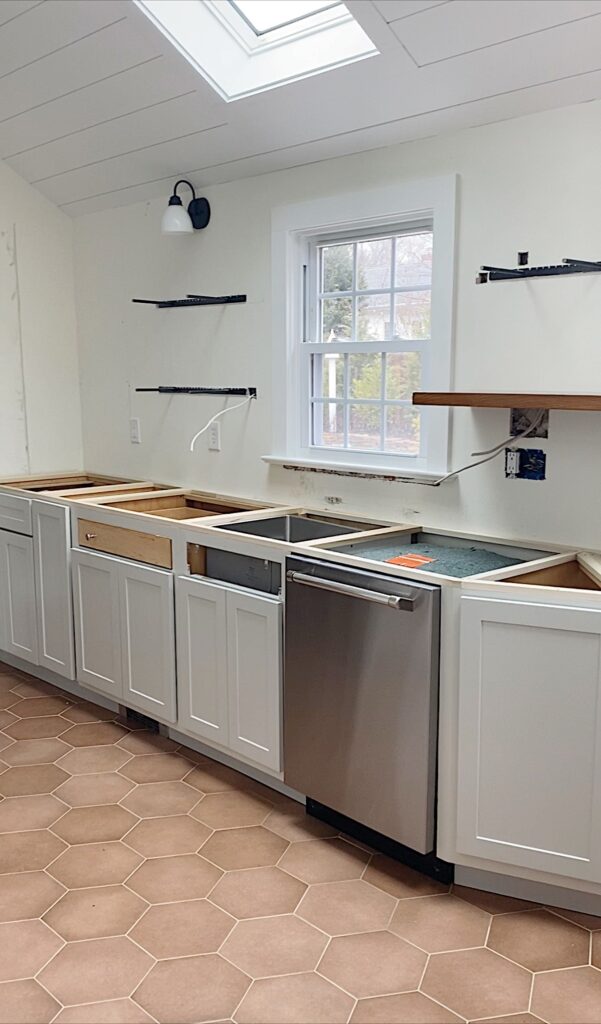
For the other side of the galley, we did floating shelves. I’ve had open shelving before and loved the convenience of having our everyday dishes in plain view and plain reach by everyone. And of course, they lend themselves beautifully to display. In this galley kitchen, it will help make the space feel wider.
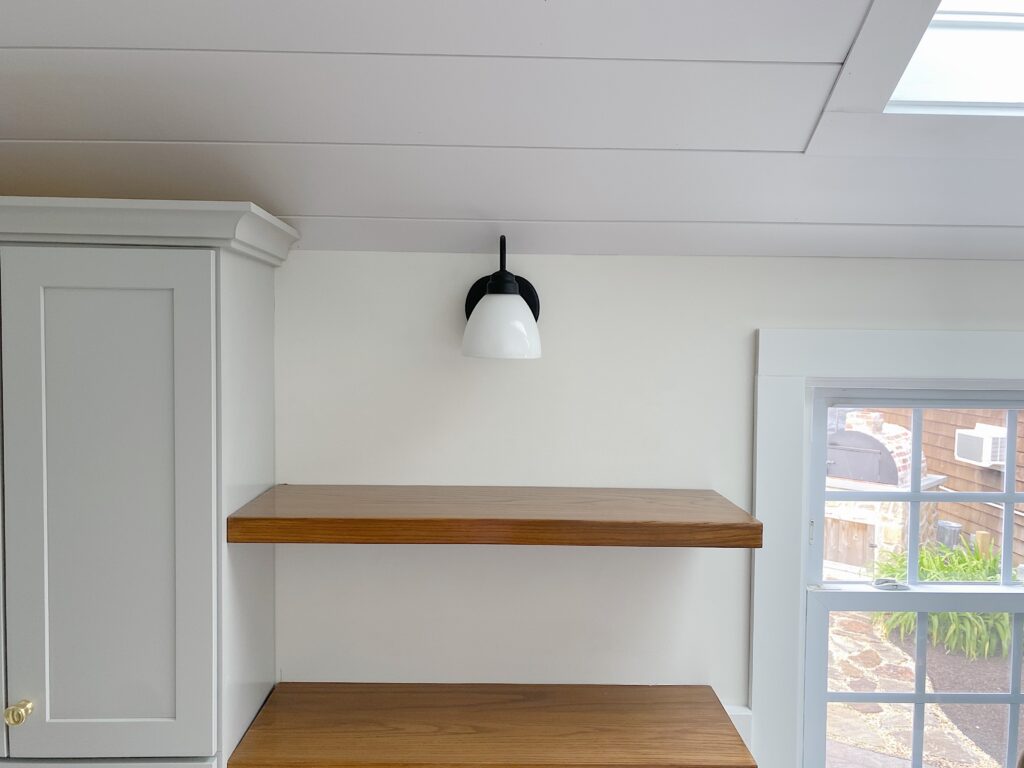
We chose solid wood floating shelves from J Thomas Home – a husband and wife team in Kansas that makes them. Their shelves were slightly narrower in depth and slightly less thick than Seminhandmade, both of which worked to our advantage in our small space. We ordered 4 red oak shelves in the lengths we needed (2 at 34 inches and 2 at 32 inches). Since we were staining them fairly dark, Emily suggested using red oak as opposed to the more expensive white oak.
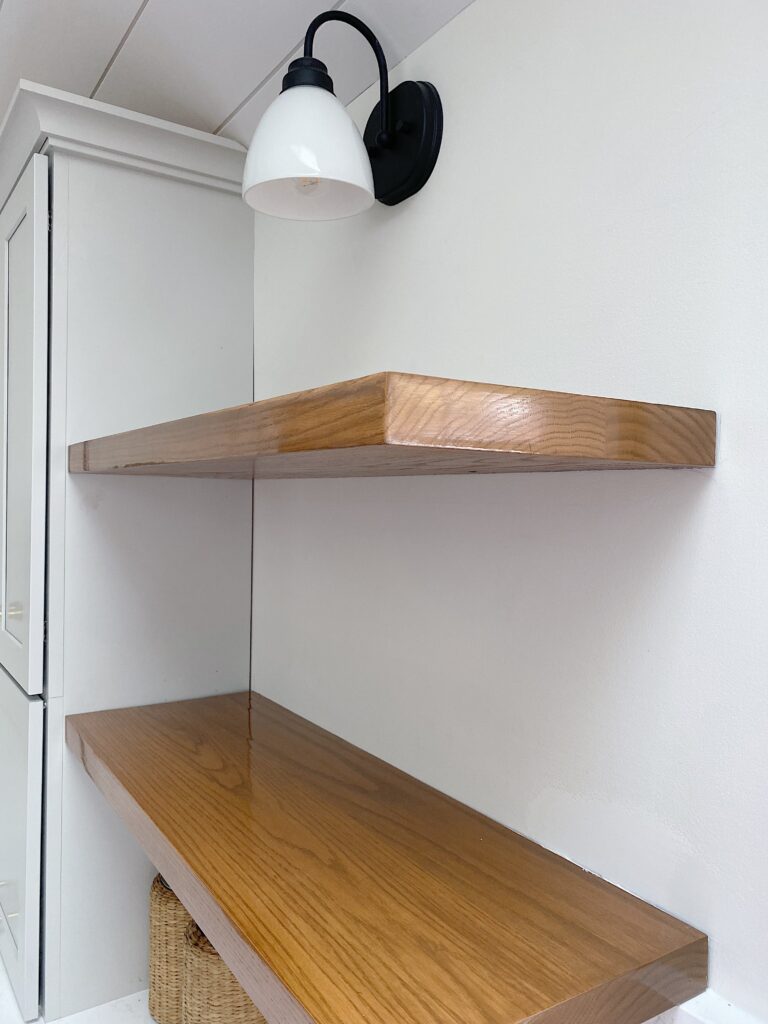
The shelves are supported by steel rods attached to studs in the wall. This gives the appearance that they are floating.
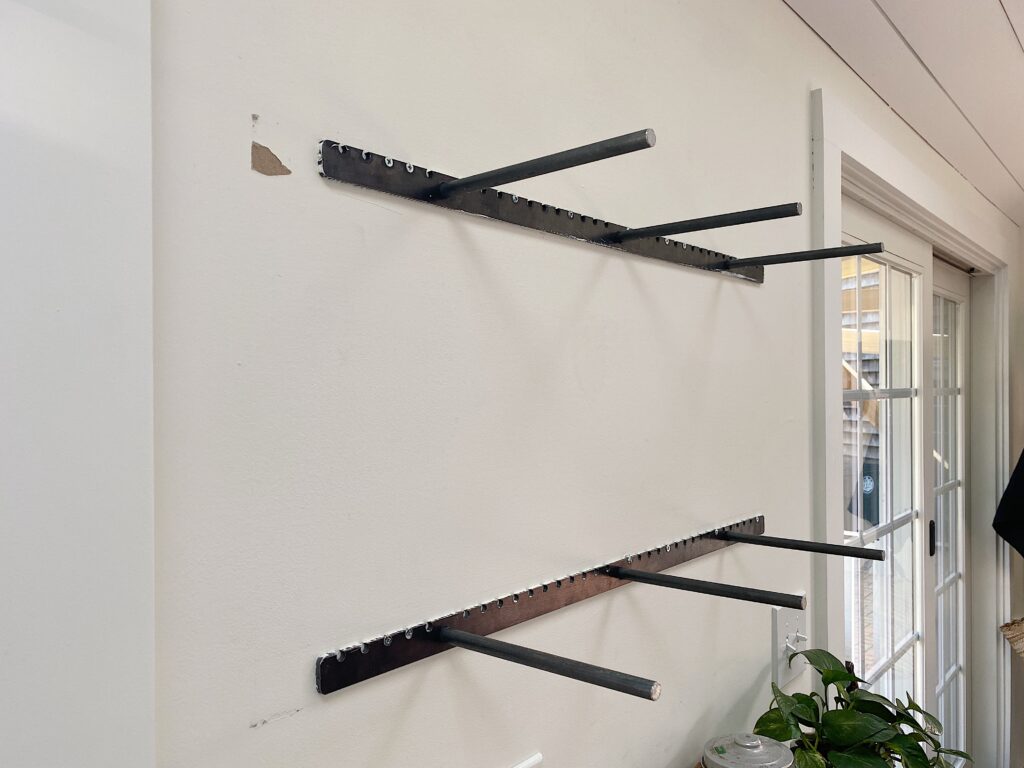
Weight was a primary concern as I plan on loading these shelves (they will be hardworking shelves as opposed to purely decorative). For this reason, when the walls were still open, we added additional 2×6 supports horizontally between the studs to be sure we had solid wood in multiple spots to attach to.

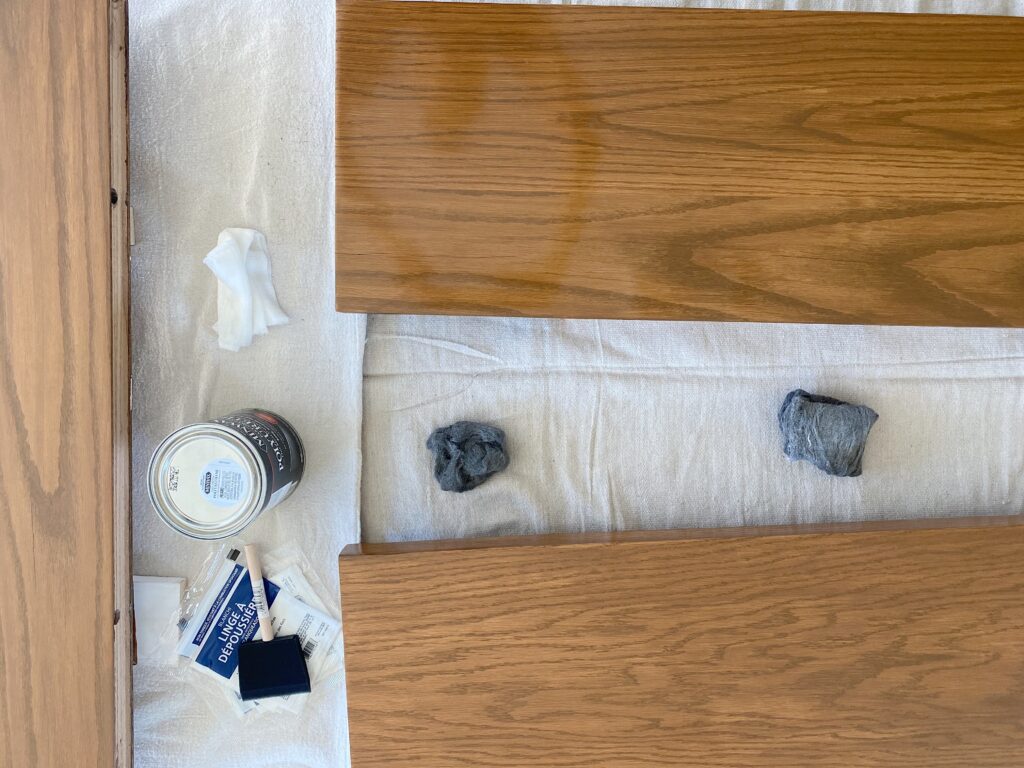
We coated the shelves with three coats of polyurethane to protect them from water marks and scratches.
Be sure to follow Home Spun Style on Instagram for sneak peaks of our progress. And stop back here on my blog for weekly updates where I’ll be sharing more photos and details. And you can check out the progress of the other guest designers on the One Room Challenge Blog.
Thanks for following along!
Debra


