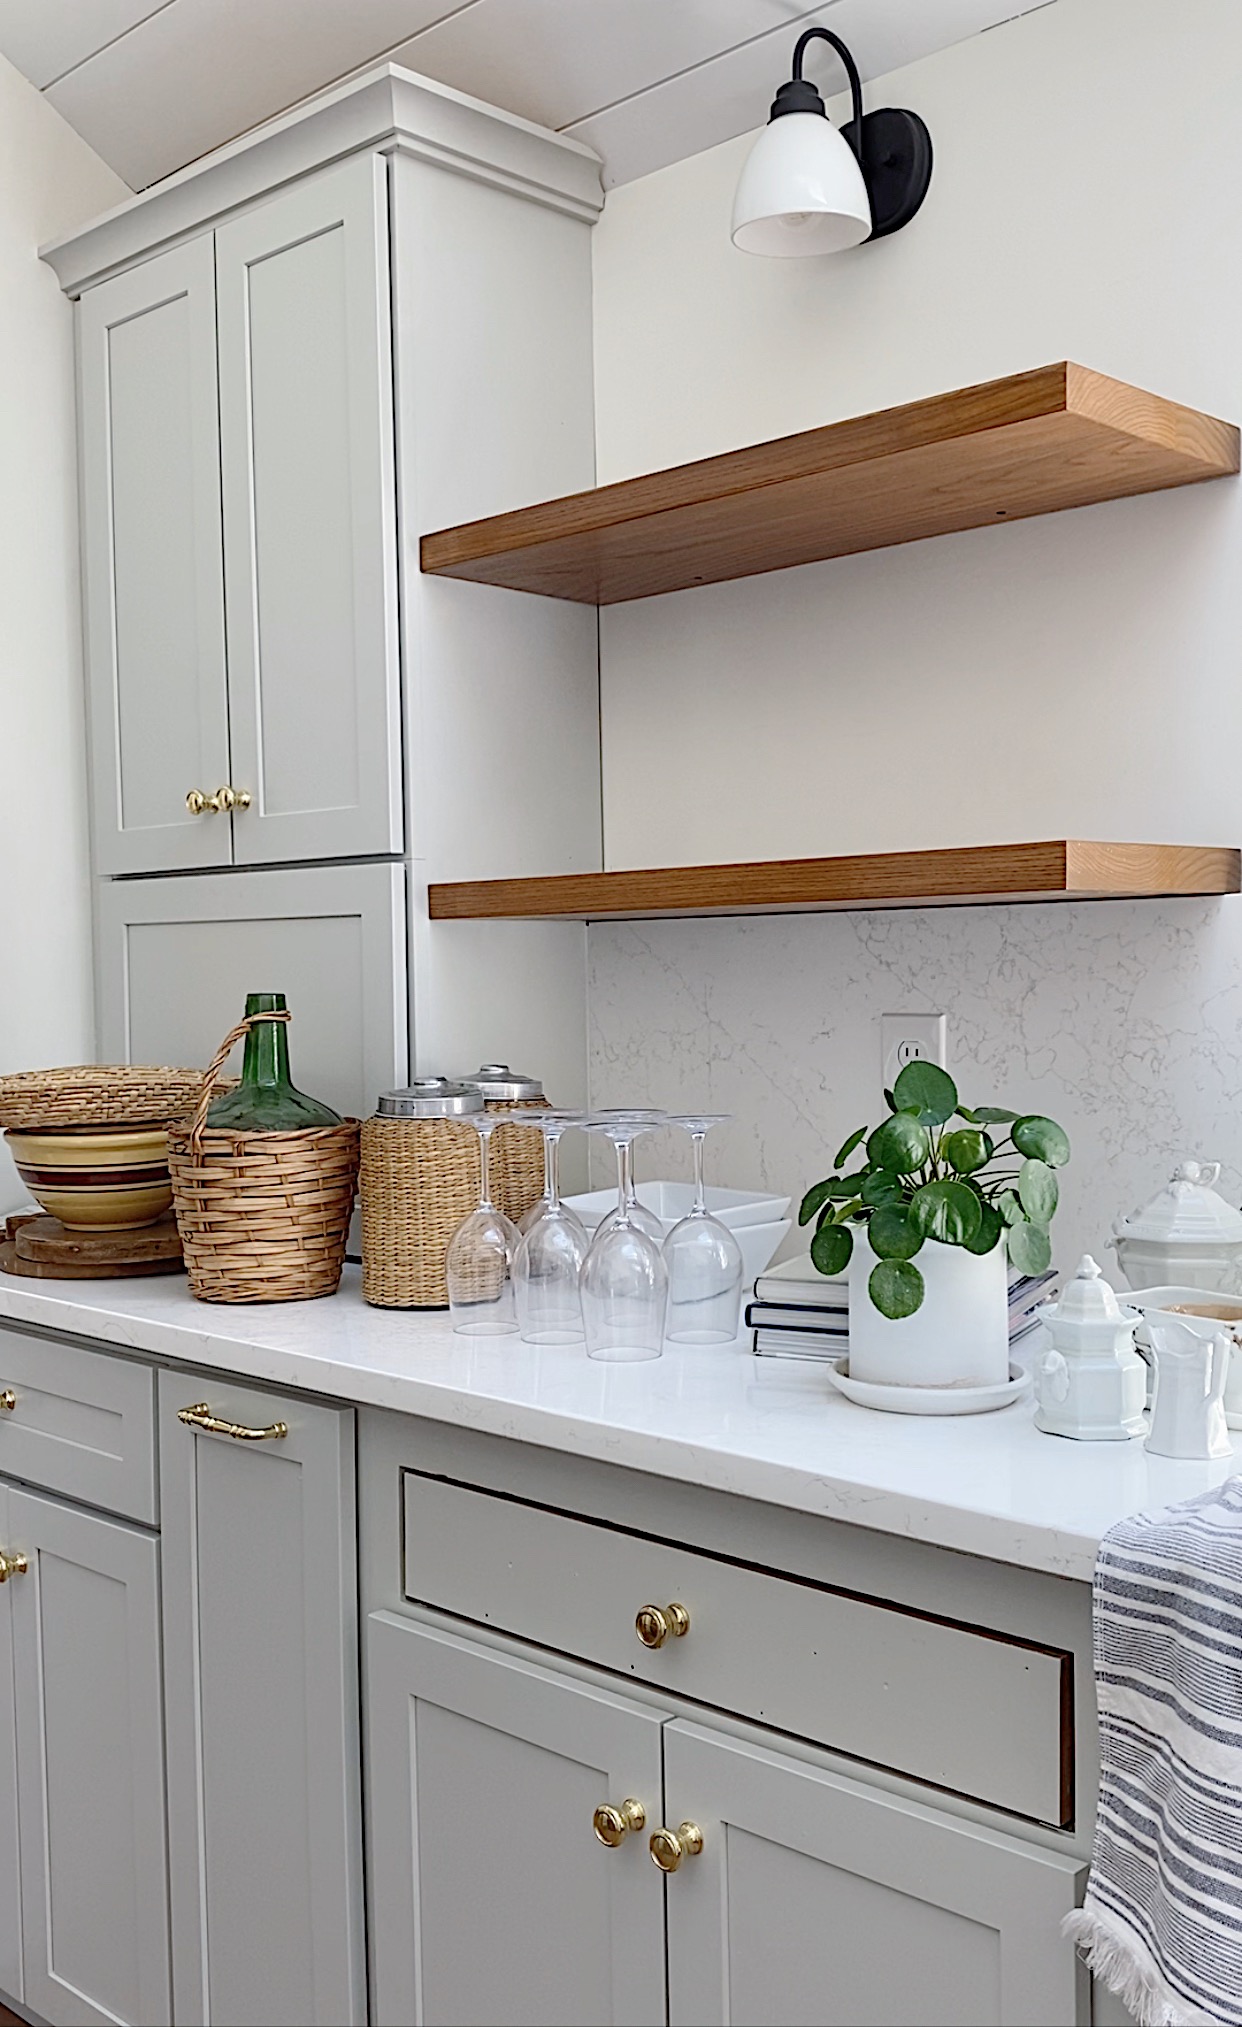
Hello everyone! This is week 6 of the One Room Challenge. If you are finding me through the One Room Challenge, welcome to my blog where I share my passion for creating comforting homes by thrifting, sewing and a little diy-ing along the way! While I’m not averse to buying new. I love being able to stretch a budget AND get that “layered over time” look that comes from incorporating pieces that have had a previous life! You can follow my decorating journey on the HomeSpunStyle Instagram.
If you missed my posts from Week 1 thru 5 chronicling where the renovation of our galley kitchen in our 1940s coastal cottage began, you can find them here:
- Week 1 – design plan
- Week 2 – cabinet/countertop/flooring selections
- Week 3 – vaulted ceiling and skylights
- Week 4 – shiplap and tile flooring
- Week 5 – cabinets and shelves install
While we wait for a few missing cabinet parts and pieces, I couldn’t help but get started on styling our floating shelves. In our small kitchen I had to strike a balance between functionality and decoration, with functionality taking precedence.
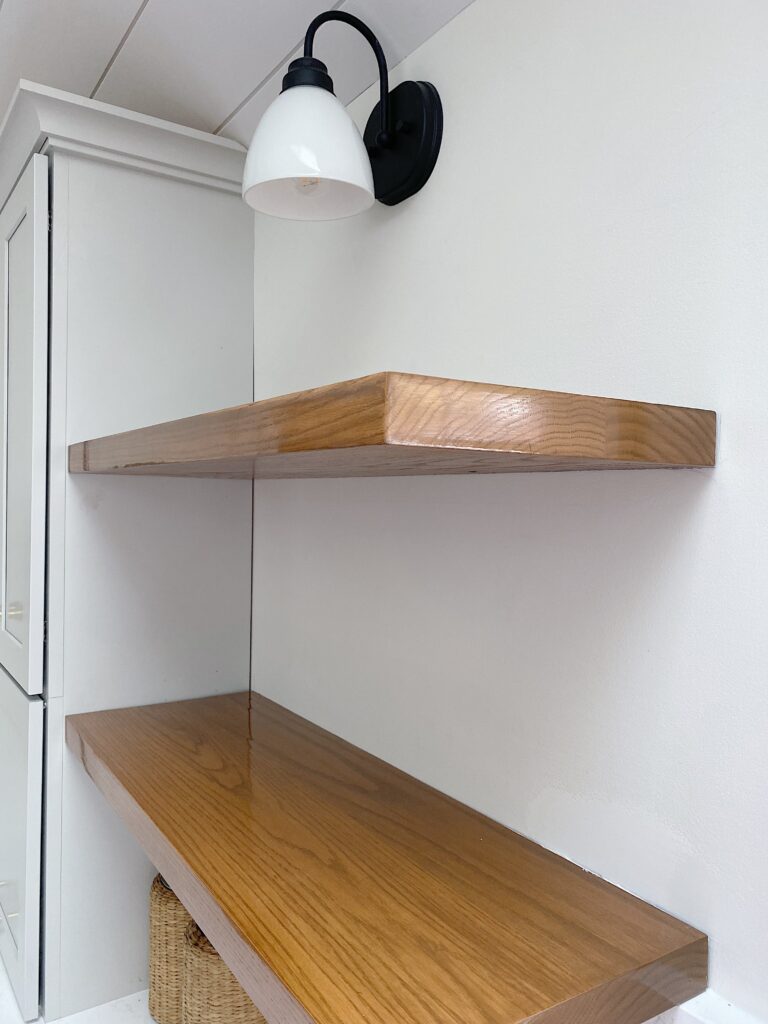
Styling shelves can be intimidating but I’ve got it down to a simple formula! So here we go …
TIP #1: Limit your display to no more than 5 categories of items.
For example:
- Books
- Wood/wicker
- Plants
- Glassware
- Pottery
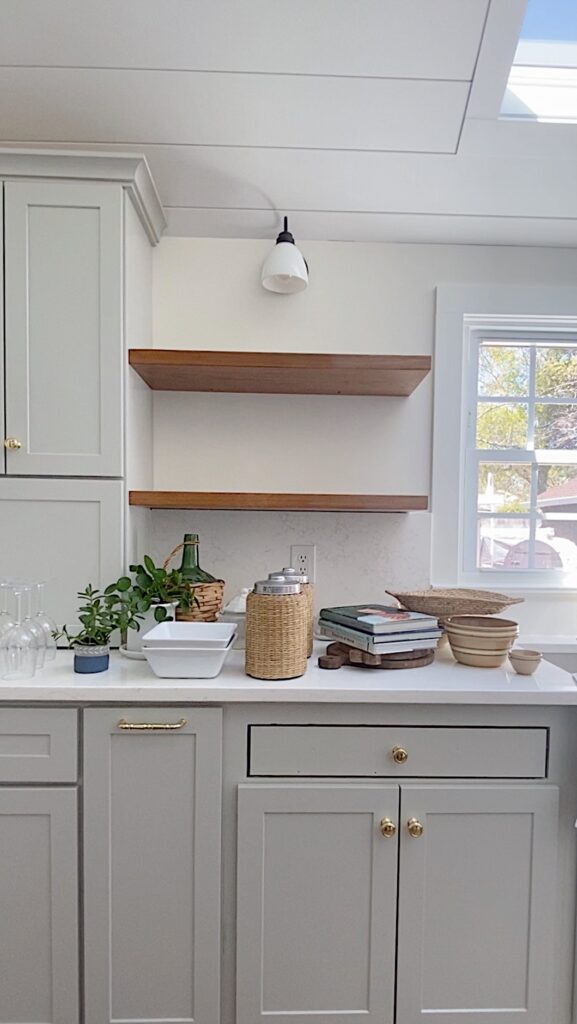
Other categories might be framed photos, clocks, seashells … you name it. Think about using items that give you pleasure to look at everyday!
TIP #2: Start with the largest items.
This will be the items that take up the most space and serve to anchor the display.
In my case, the largest items are my wicker canisters (regular coffee and decaf), cookbooks, serving bowls and one large plant.
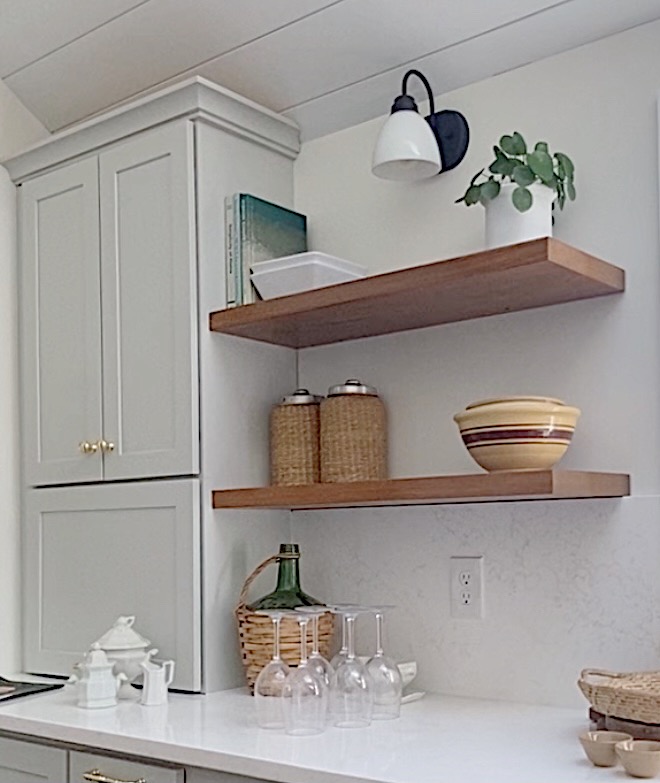
Whatever your largest items are, start placing them on the shelves in random ways. Some in the corners, some in the middle of the shelf. If its books, you can vary their position by standing or stacking them, or even placing them in a bowl or basket.
Then add your second largest items, then your third items and so on.
In my case, the second category is glassware and some random pieces of china.
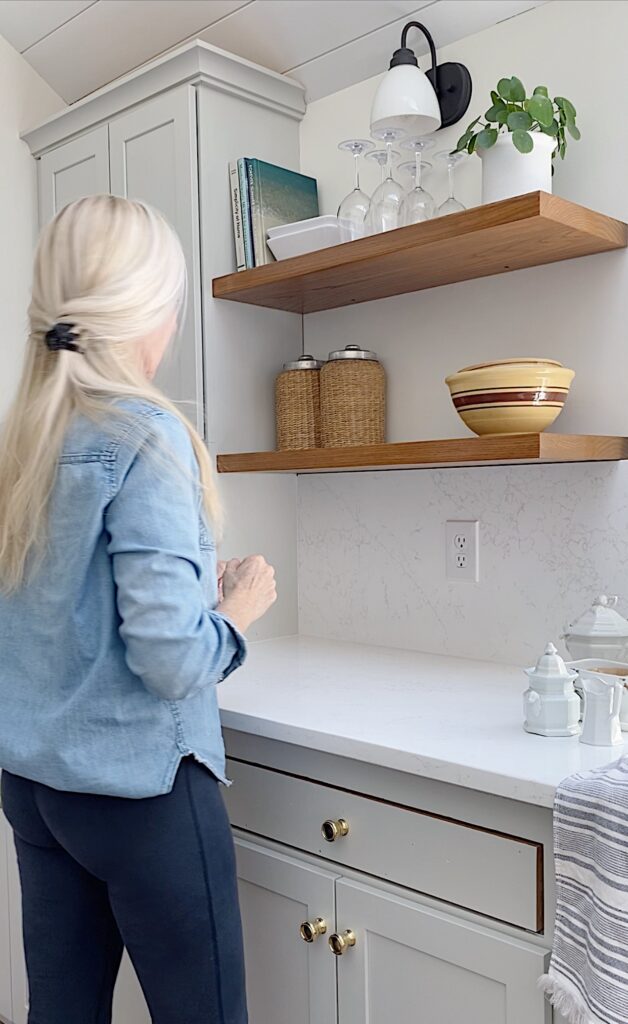
TIP #3: Layer your display.
By the time you get to your 4th and 5th categories, it’s time to layer!
Think how you layer your clothes to really pull together an outfit. You start with the major pieces, then the shoes, purse and belt perhaps, and finally the jewelry. Now take the same approach with shelves by layering smaller items in front or on top of the larger items.
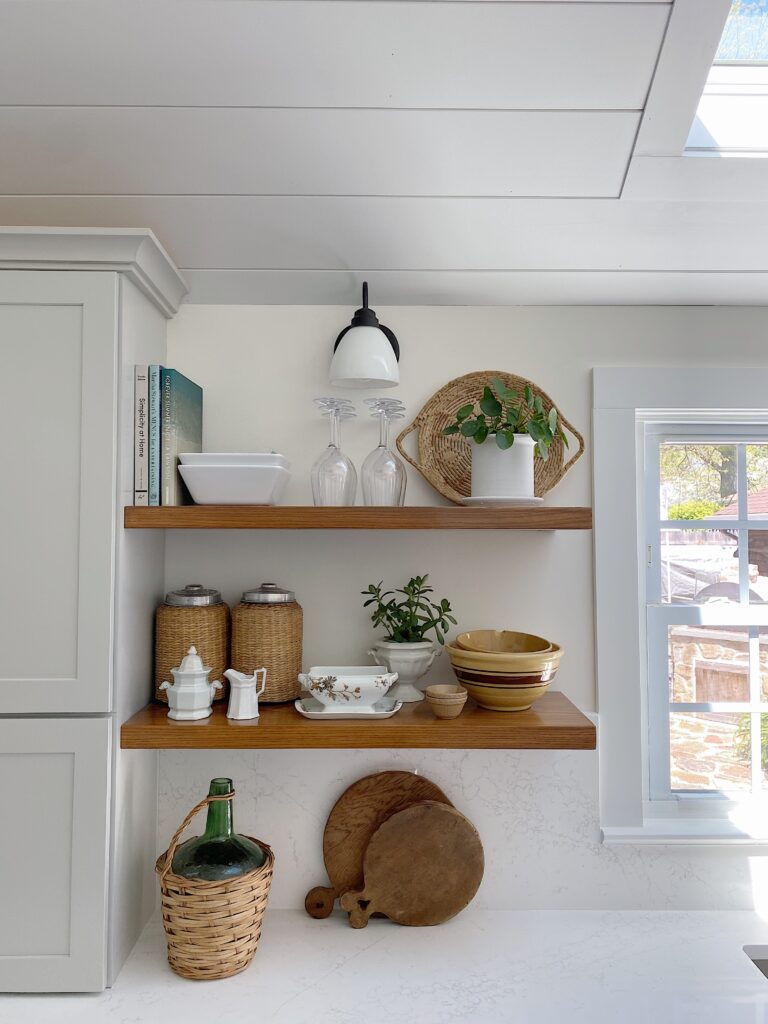
TIP #4: Take a picture of your shelves,
When you think you’ve got a pretty good layout, take a picture. It’s amazing what the camera sees that your eyes don’t! This tip will help you see empty spots, where there are too many dark tones bunched together and where certain areas are too light and floaty and others are too heavy. This tip really helps to balance out your display!
TIP #5: Hit the thrift stores!
Thrift stores are a great place to find books and other interesting items for your shelves. Although I used things I already had, many of them were thrifted – the cookbooks, yellow ware bowls, ironstone pieces, and wicker basket tray were all thrifted
Now have fun decorating your shelves. They can add so much personality and interest to your room!
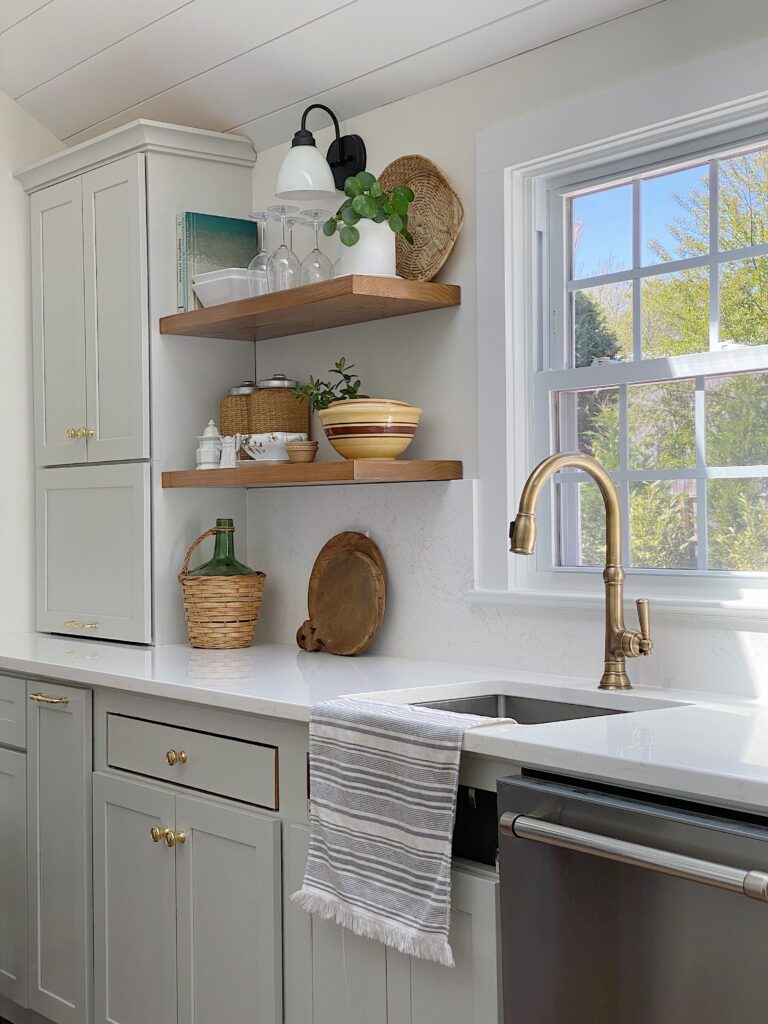
Be sure to follow Home Spun Style on Instagram for sneak peaks of our progress. And stop back here on my blog for weekly updates where I’ll be sharing more photos and details. And you can check out the progress of the other guest designers on the One Room Challenge Blog.
Thanks for following along!
Debra


