

I have been working on a smaller version of the vintage hymnal cross I made last week. I plan to teach how to make this mini hymnal cross at a craft workshop during the upcoming Women’s Retreat so I needed to get it down to a science! An hour and a cup of coffee later, I came up with this:

Here’s how to make this smaller version:
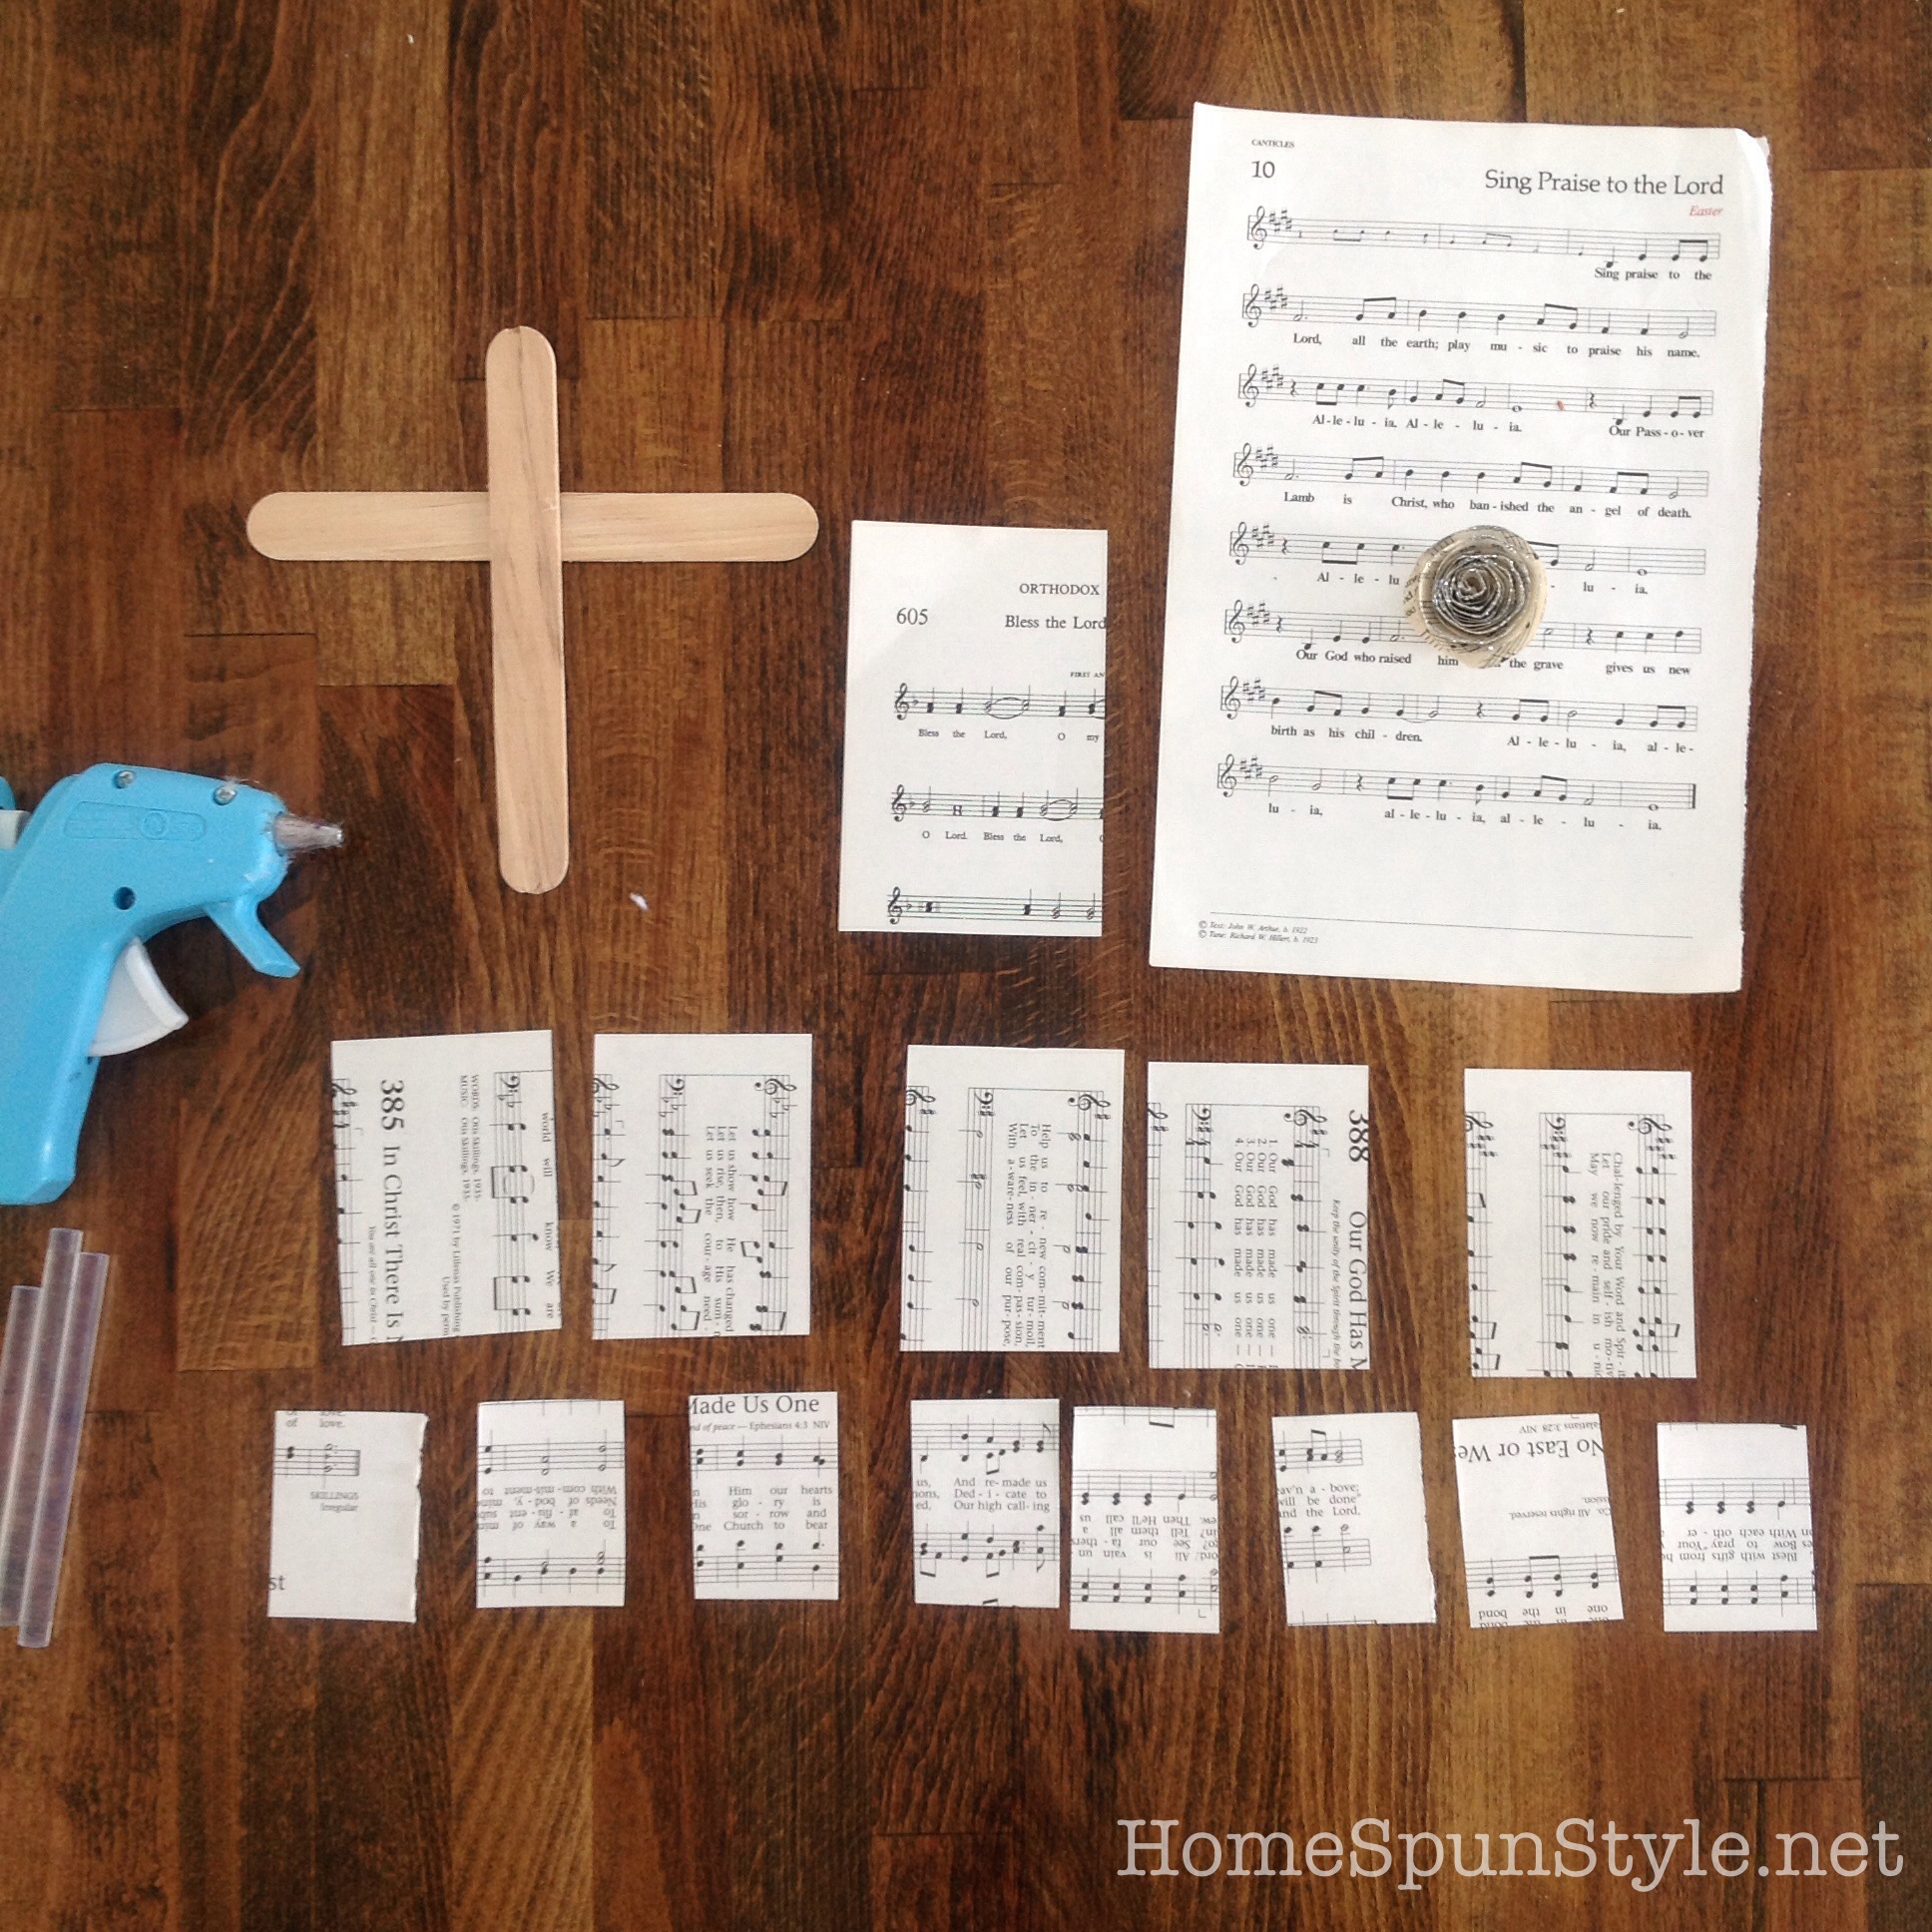
Supplies:
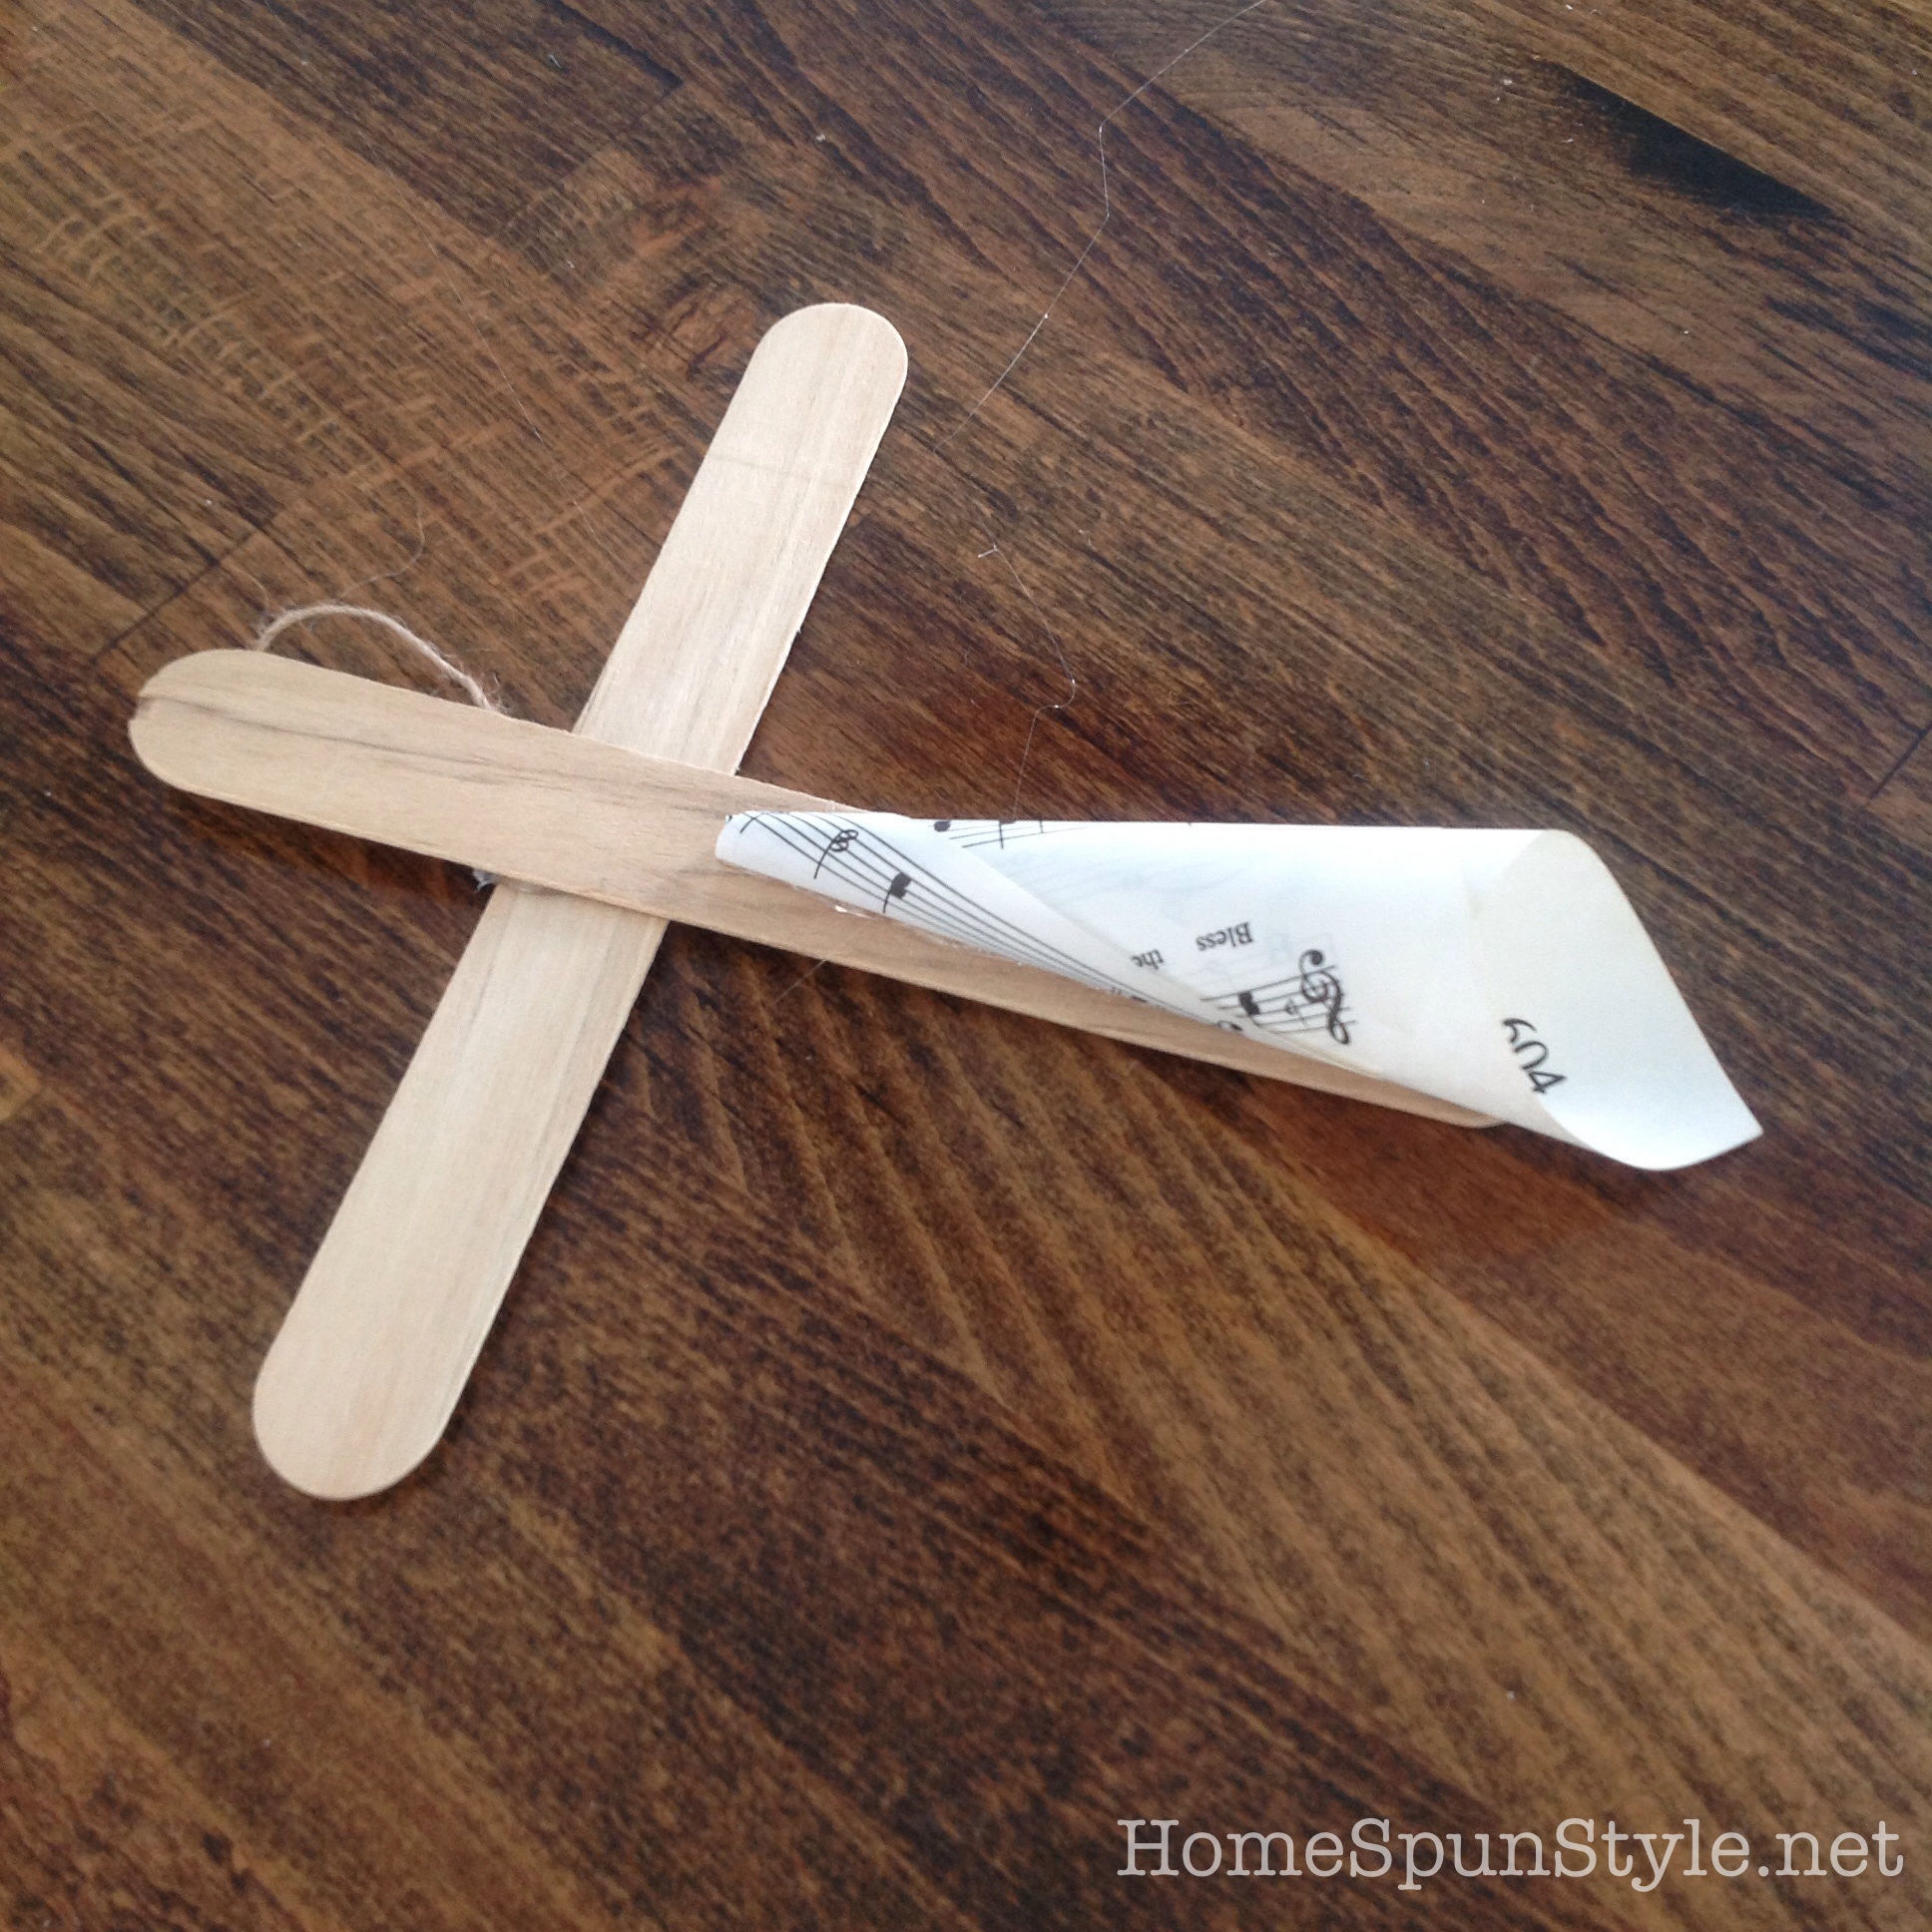
2 large popcicle sticks glued together in a cross formation
pages from an old church hymnal, sized as follows:
one 1/4 page
five 1/8 page
eight 1/16 page
one full page for the rosette
glitter (optional)
You will need to make 14 “cones” in total. Here is a link to how we make the cones.

Before beginning, you will want to glue on a simple hangar or magnet to the back of your cross. I used some threads of burlap.

Then glue the largest cone on the bottom part of the cross. Overhang it a bit to be sure to cover up the popcicle stick.
Then glue on the five 1/8 page cones: 2 on each arm of the cross, 1 on the top of the cross, and 2 on each side of the bottom cone. Again, be sure to extend them a bit beyond the popcicle stick.

The eight 1/16 page cones will now be used to fill in the gaps and add texture and depth to the cross.

You will glue 2 on each side of the arms and the top. The remaining 2 cones get glued to the bottom of the cross, on top of the existing cones.
Using a paper rosette in the center is nice way to cover up any imperfections in the ends of the cones.

Here is link to making a rosette. If you want to glitter it, “dip” the face of the rosette in some white glue and then dip it again in some glitter. Then glue the rosette to the center of your cross.
That is the science of how to make the mini hymnal cross. The “art” part comes when you do your own thing from here, adding more cones in more sizes until you achieve a look that pleases you. Have fun and hope to see you at the Retreat!
Discover more from
Subscribe to get the latest posts sent to your email.
