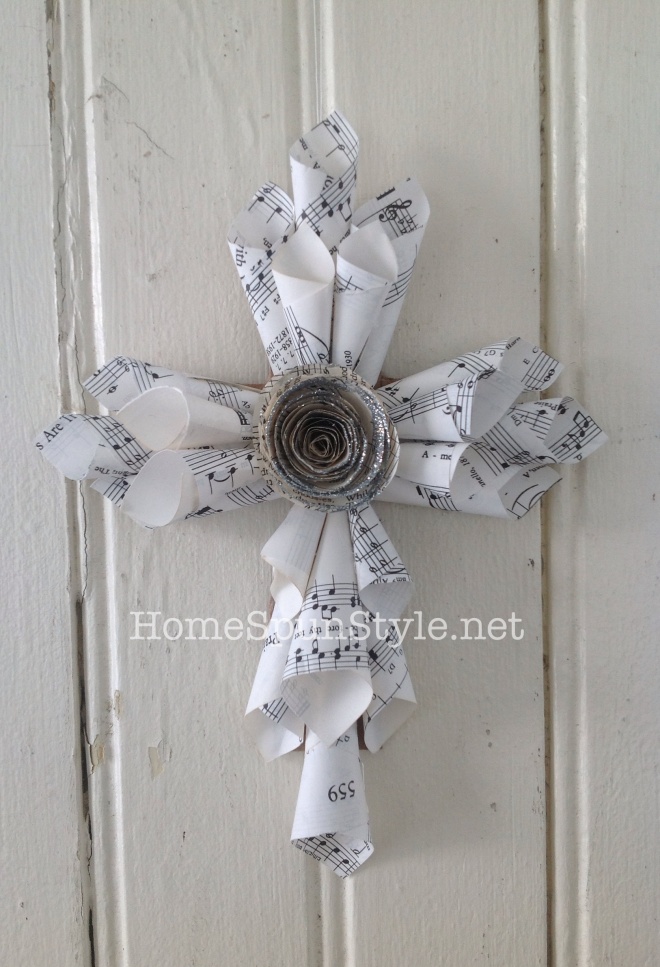
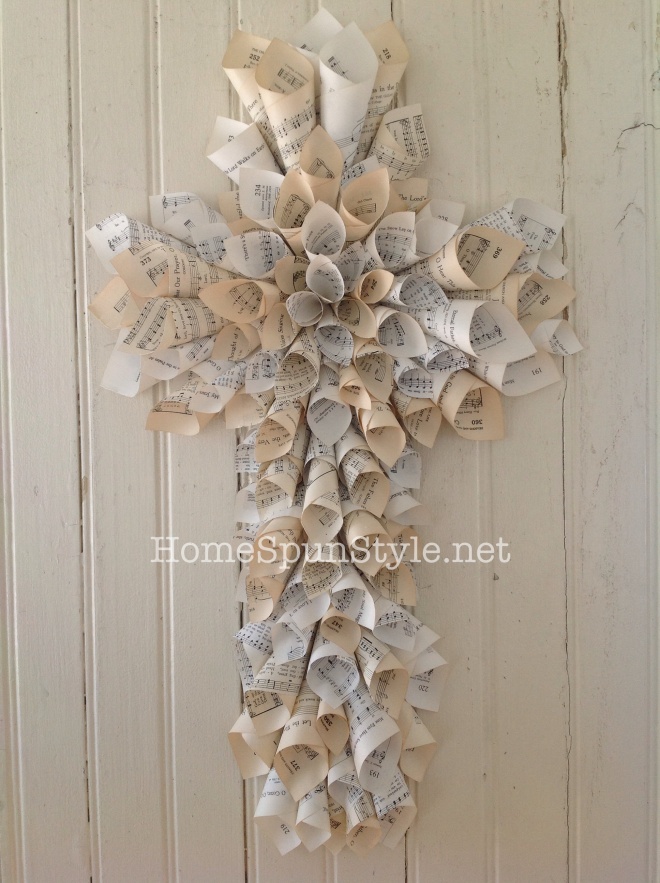
I had a great time at the annual women’s retreat a couple weekends ago I led a couple of paper craft workshops where the women learned how to make a vintage hymnal cross ornament . It was nice to see their creative juices flowing and their satisfaction with their finished crosses!
For our display , we kept it fairly neutral in shades of creams and tans ,but brought in lots of texture with our burlap pillows and banners, our chunky upcycled sweater pillows and our paper wreaths and pompom wreaths.
We added a few pops of green with wood boxes filled with wheat grass. I was worried that the booth might look too wintry but with it being so frigid outside that weekend, it actually felt cozy and warm.
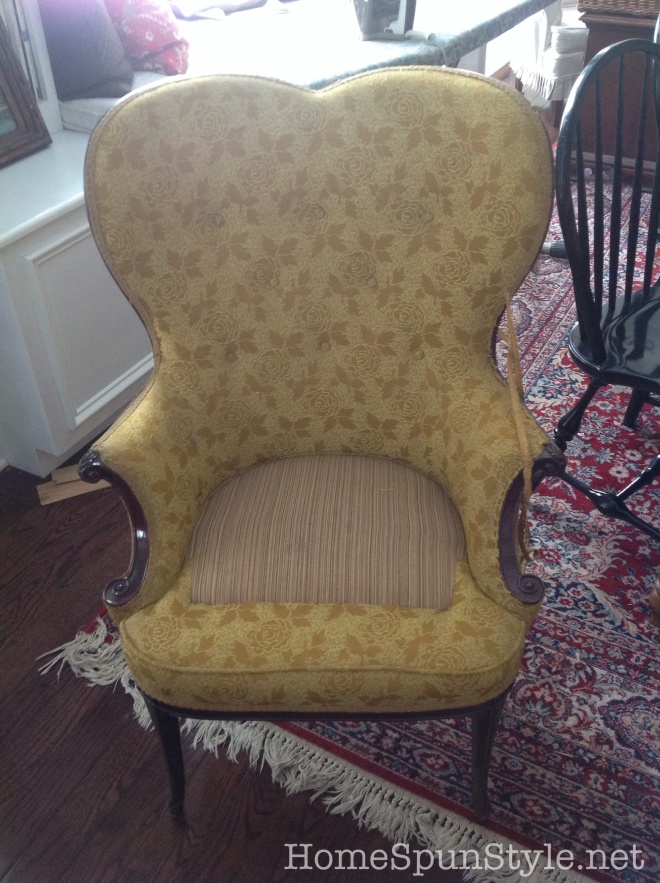
The chair that is piled with pillows started out looking like this:
I spotted it out for the garbage while I drove my son to school. It was structurally sound except that it was missing the seat cushion. Incidentally, I always give an upholstered piece a good sniff to be sure that it is free of any offensive odors before hauling home. This one passed the sniff test!
I really liked the shape of this chair, particularly the heart shaped back.
I am new to upholstery and I admit that I don’t really enjoy the process … but I sure do enjoy the finished product. The most time consuming part is removing all of the staples that hold the fabric on. I use an upholstery staple remover along with pliers for this task.
This chair had obviously been reupholstered before but I decided to keep the under fabric and apply my new fabric over it. The batting was also still in tact and in good shape so I didn’t remove that either.
It is important to save each piece fabric as these become the templates for cutting the new fabric pieces. Also, taking pictures as you dissassemble the chair is really helpful when it comes time to put it back together!
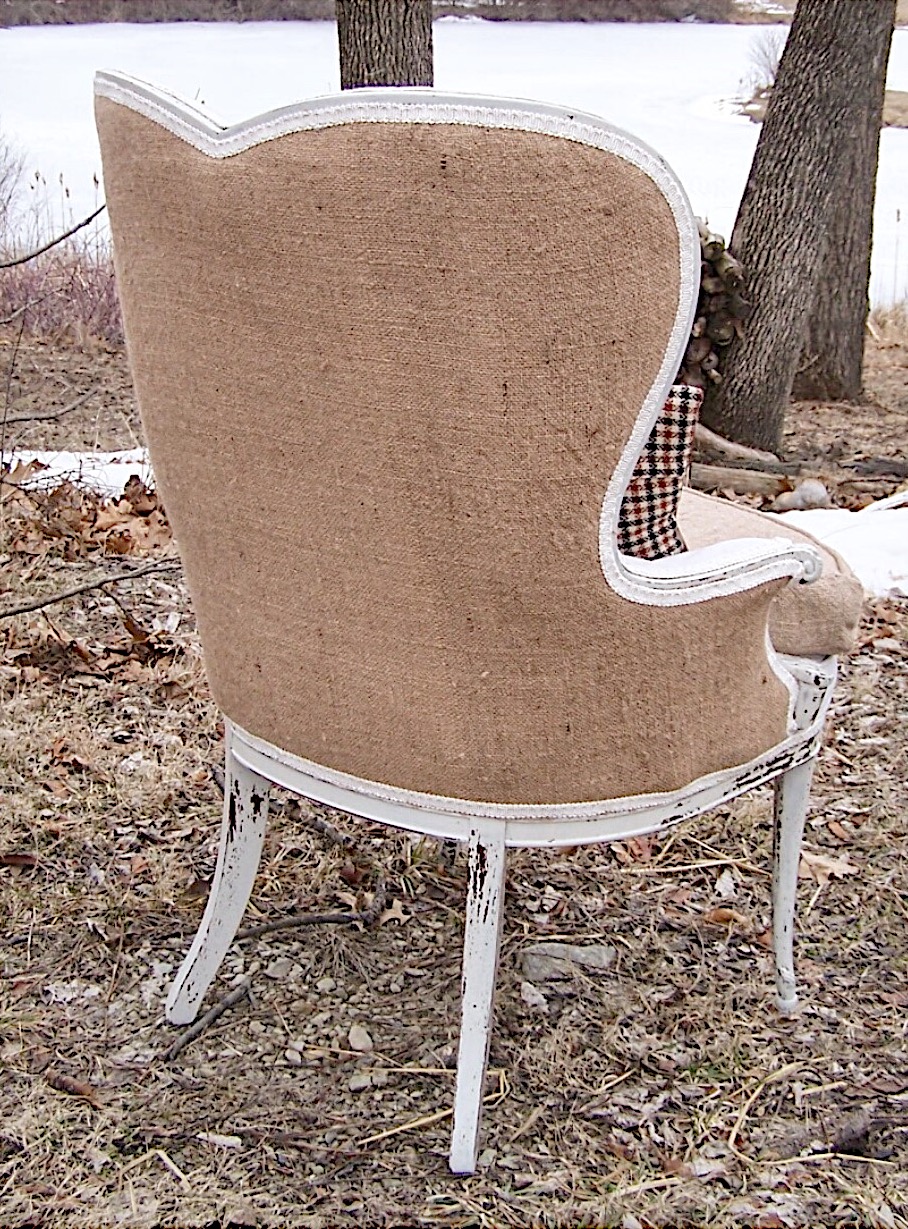
Once I had all the fabric off, I worked on the frame of the chair. I painted it using Miss Mustard Seed’s milk paint in “grain sack”. After it did its amazing chippy thing (which milk paint is known for), I lightly sanded it and finished up with two coats of polyacrylic to keep it from chipping any further.
For the fabric, I used burlap for the back and and new seat cushion. I used a heavy duty canvas drop cloth for the front. Both burlap and canvas are inexpensive fabrics and until I feel more confident in my upholstery skills, I am staying away from pricey fabrics.
I also was inspired by this photo I saw on Pinterest ( the fabric may actually be linen but it has the look of burlap), Aren’t these chairs amazing!

My “go to” blogger for upholstery projects is Miss Mustard Seed. She has a good series of video tutorials on how to upholster a chair here.
The process went fairly well although I did learn that you need to use a fabric that has some stretch to it. The burlap worked fine but the heavy weight canvas didn’t stretch well. This made it difficult to get the little ripples and wrinkles out. A pneumatic upholstery gun is a must for stapling the fabric to the frame. I purchased my Porter + Cable gun a few years ago for about $90 and it works great.
To cover all the staples I used gimp trim that I purchased here. A hot glue gun is all that is needed to apply the trim.
The chair was piled high with pillows in the booth so it didn’t get much attention. It made a great prop though and I will be using it for some photo shoots until it sells.
One more day to Spring…
hard to believe as the snow is falling once again!
Debra

