Hello everyone! This is week 4 of the Spring ’24 One Room Challenge. If you are finding me through the ORC, welcome to my blog where I share my passion for creating comforting homes by thrifting, sewing and a little diy-ing along the way. While I’m not averse to buying new, I love being able to stretch a budget and get that “layered over time” look by incorporating vintage pieces. You can follow my decorating journey on the HomeSpunStyle Instagram.
If you missed my earlier posts where we started an English Coastal Style makeover of our master bedroom, you can find them here:
- Week 1 – Design Plans
- Week 2 – Shiplap Walls
This week I’ve been focused on bedding and more specifically, pillows. Since this is our master I want to keep the daily bed making routine simple. I love the look of a bed layered with pillows but because we are using this bedroom full time (unlike a guest room) I don’t want the fuss of arranging pillows every morning! Instead I’m opting for one giant decorative body pillow that will hide our two sets of sleeping pillows.
I always use down/feather pillow inserts for my decorative pillows. They feel luxurious and never ever get lumpy. They come out beautifully when I machine wash (delicate setting) and machine dry them. I don’t understand why the tag often says “dry clean only”! After all, ducks get wet all the time so I figured I could wash them. I’ve never had a problem machine washing and drying my inserts. It does take a while to get them completely dry in the dryer and sometimes I let them finish drying outside on a warm day. Wet duck feathers have a funny smell but that soon goes away after they are completely dry.
For my 20 x 52 inch size pillow, a down/feather insert is $$$. I decided to make mine using the feathers from two euro shams that I have from my last house. Incidentally, down/feather inserts are very easy to find at thrift stores, usually for $1-$4 compared to buying new for $20 and up depending on the size. Don’t let the cover turn you off! Give them a squeeze or unzip the zipper to see if there’s a down insert inside. If so, grab it! As soon as I get my pillows home, I discard the cover (or put in the donate bag) and throw the inserts in the washer and then into the dryer.
Here’s how I made my giant down/feather body pillow insert. Only simple sewing skills are needed as you are essentially sewing just 4 straight seams!
Step 1: Purchase pillow ticking. True pillow ticking fabric is featherproof. Its tight weave keeps feathers from poking through the cover. It comes in white and off-white and has a shiny finish. The word “ticking” is also sometimes used to describe a decorative striped fabric which is NOT featherproof. True ticking works beautifully. For my 20 x 52 inch body pillow I purchased 2 yards of fabric. I really only needed 1 1/2 yards but it is sold online in 1 yard increments. Not a problem as I can use it in the future. I purchased true pillow ticking at OnLineFabricStore.com for $5.85/yard.
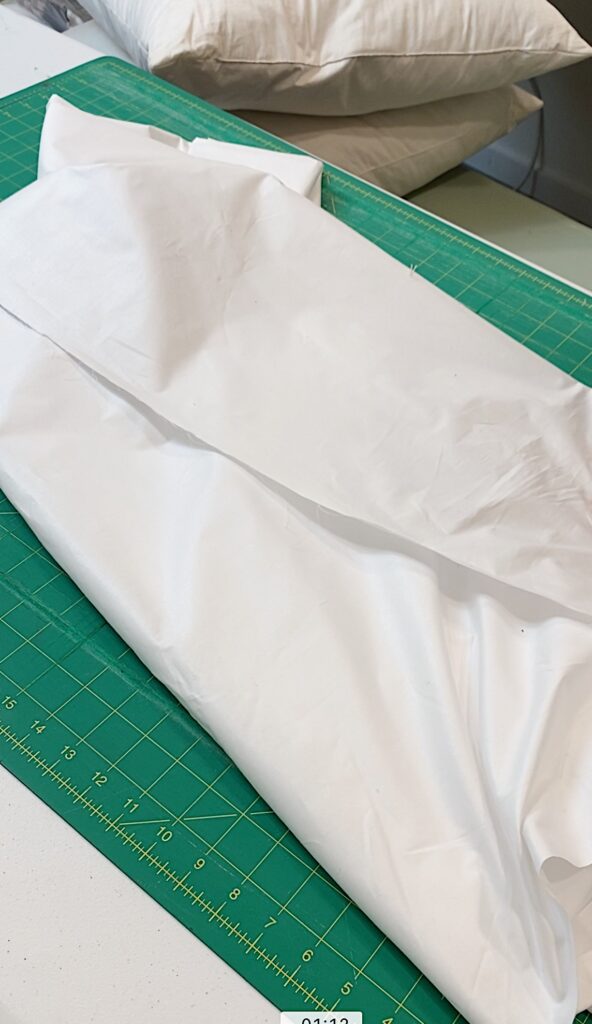
Step 2: Cut two pieces of ticking fabric one inch wider and longer than the size you need. For my 20 x 52 inch pillow, I cut my pieces to be 21 x 54 ( I wanted an extra 2 inches at the top just to make sure I had enough fabric to tuck under and sew after I stuffed it).
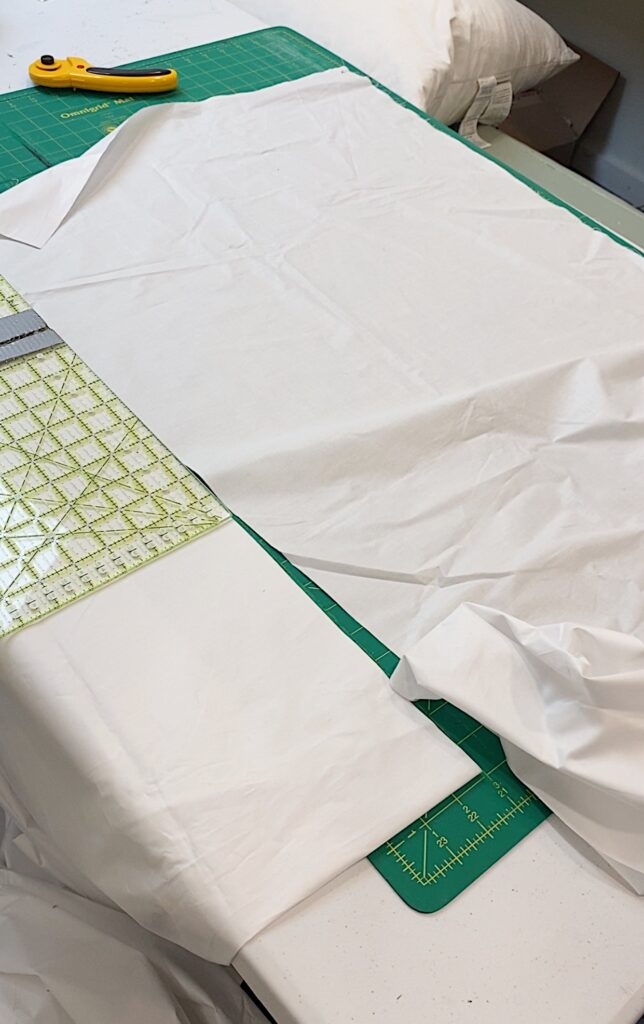
Step 3: Match and pin the sides and one end of your two pieces of ticking, right sides together. The right side is shinier.
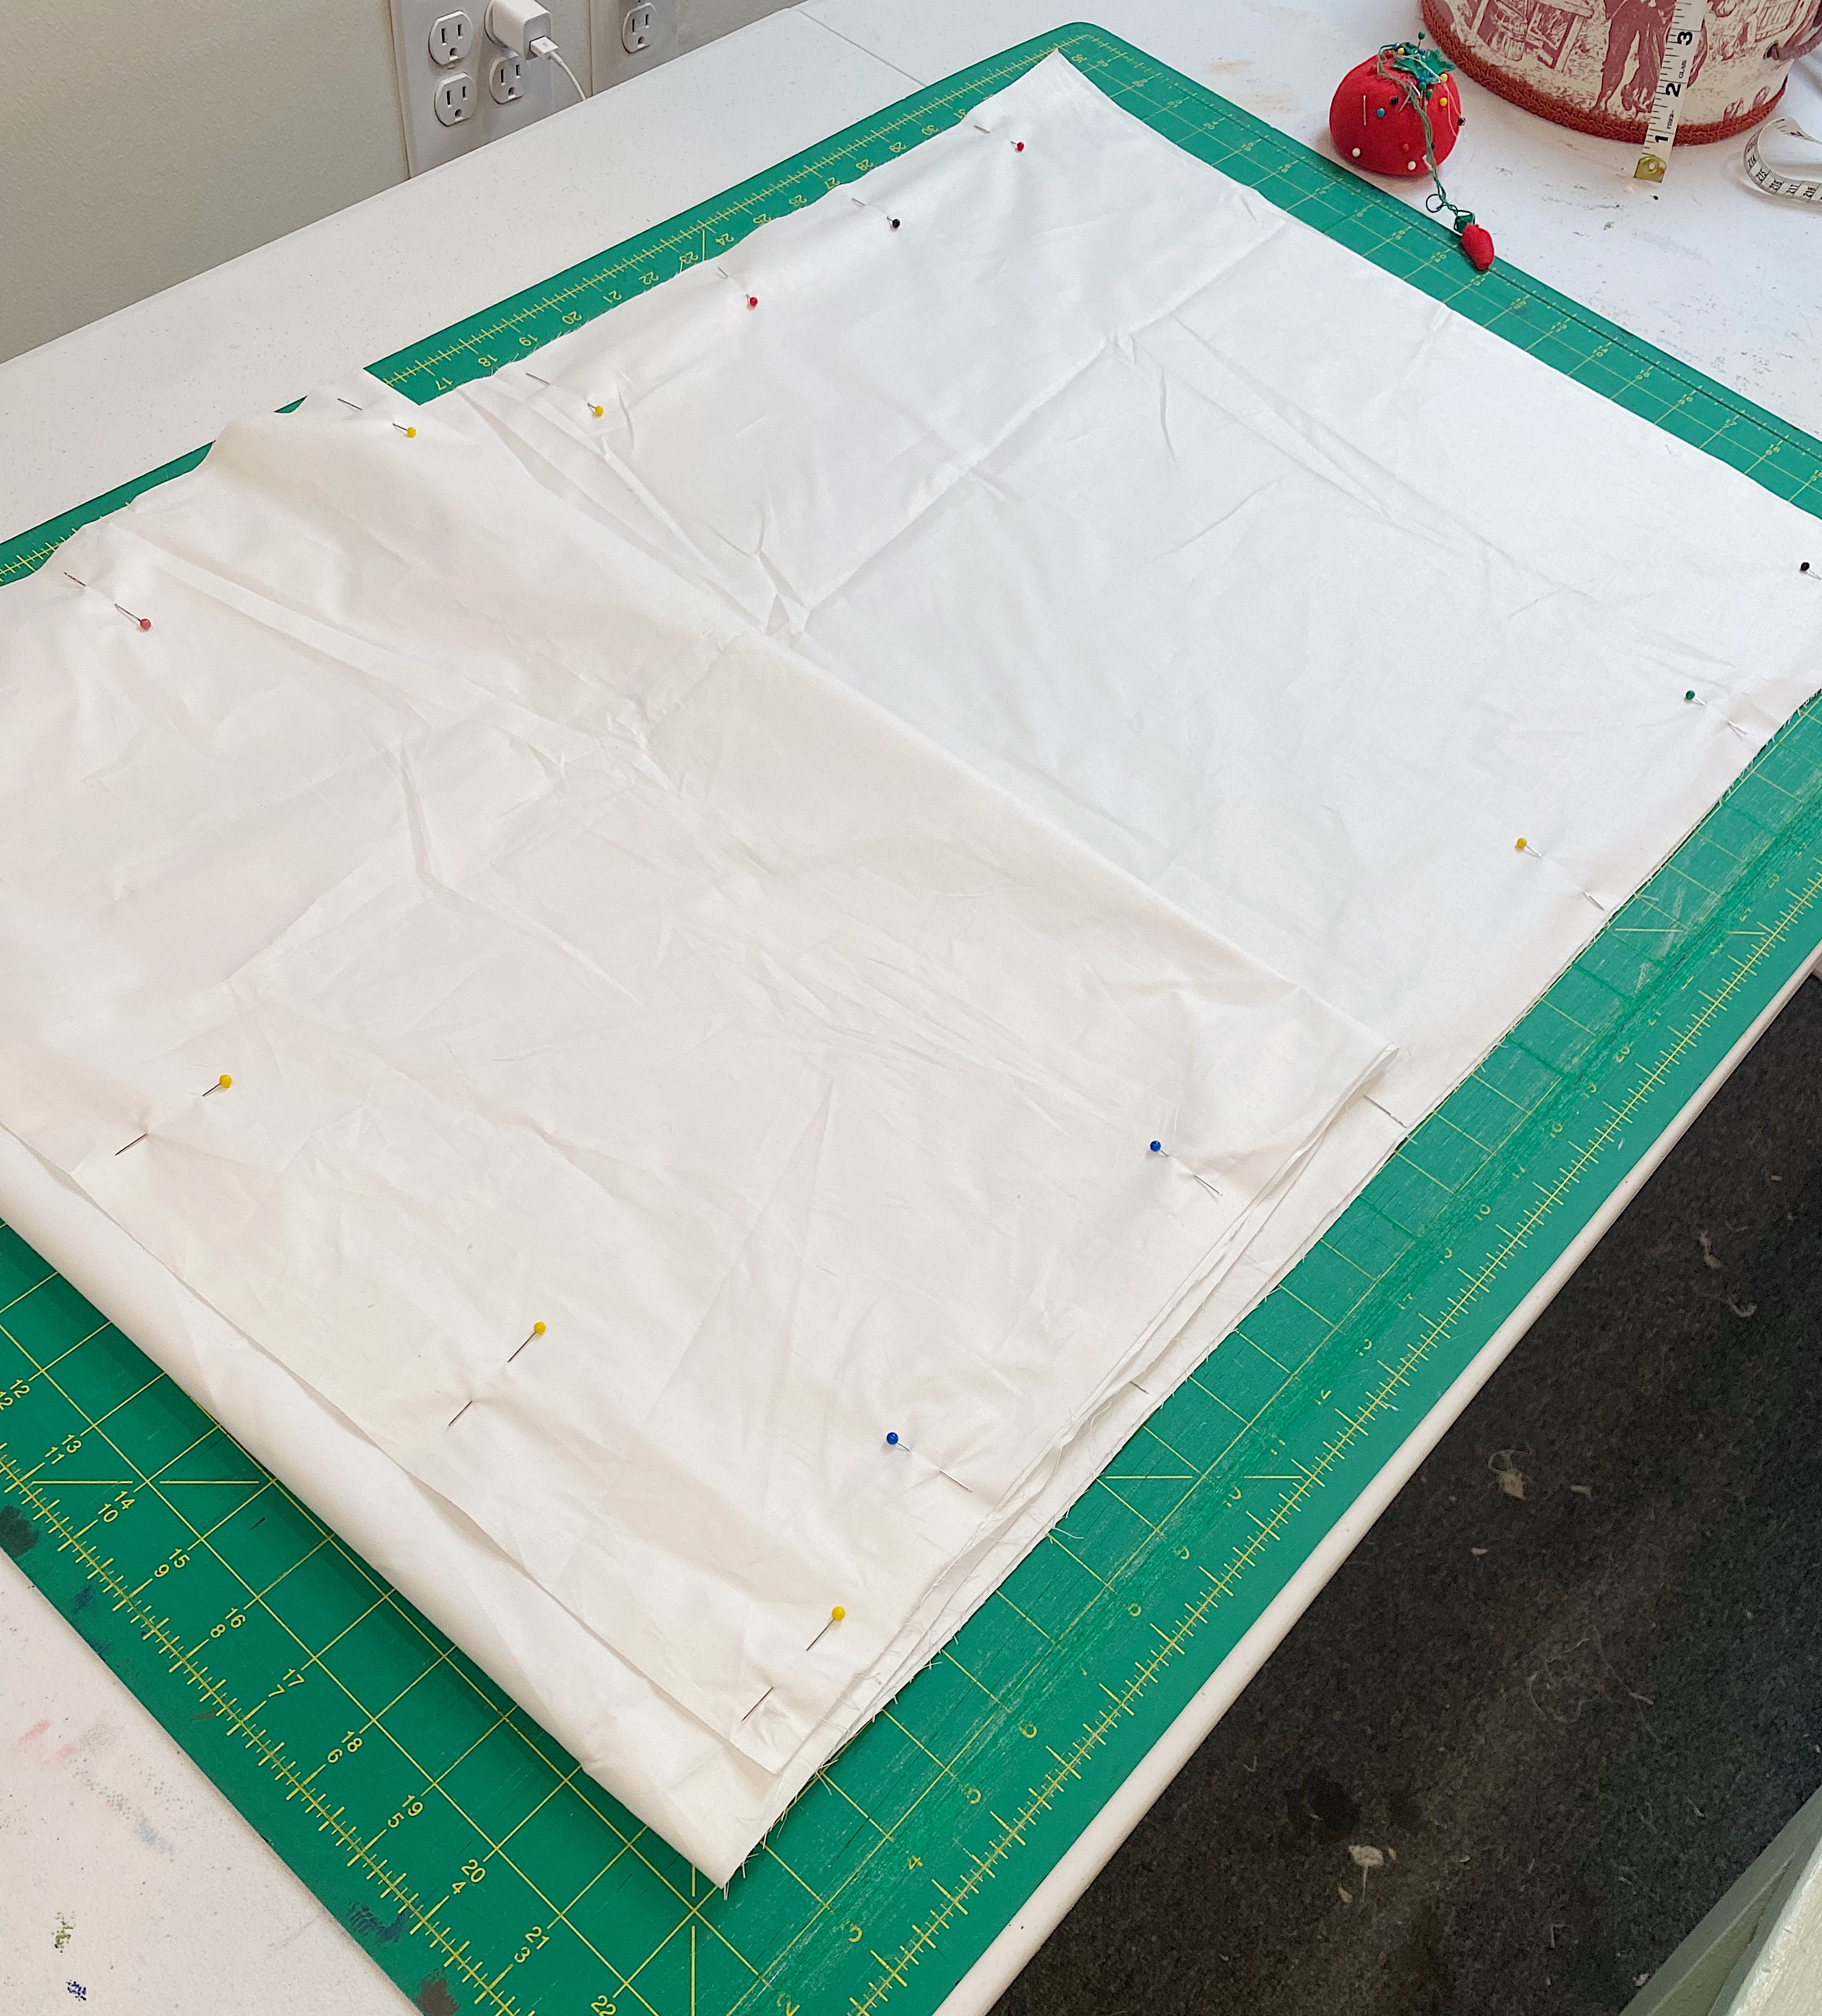
Step 4: Sew the two sides and one end with a 1/2 inch seam allowance.
Step 5: Flip to the right side. It should look like a pillowcase at this point.
Step 6: Stuff your cover with feathers to the desired fullness. As I mentioned I used the feathers from two euro shams that I already had. It took about 1 1/2 euro shams to fill my body pillow. This step is a little messy so I suggest doing it outside on a non-windy day.
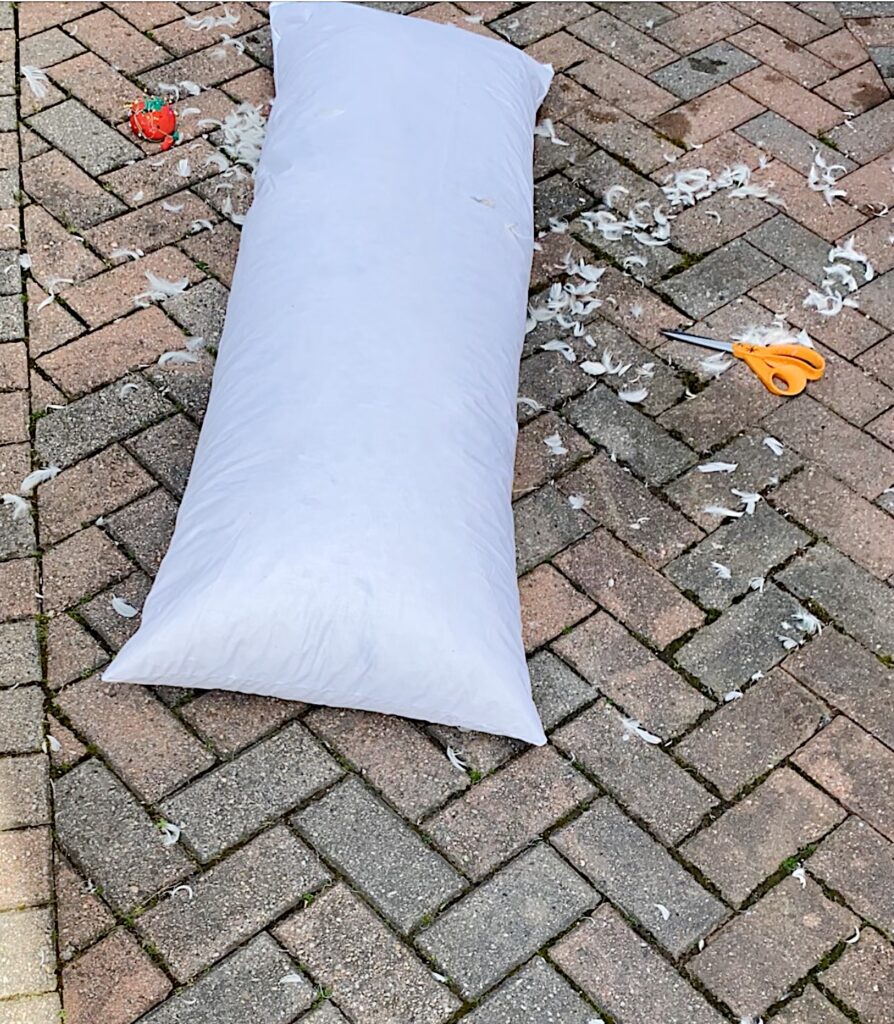
Step 7: Turn the ends of the open end to the inside and pin.
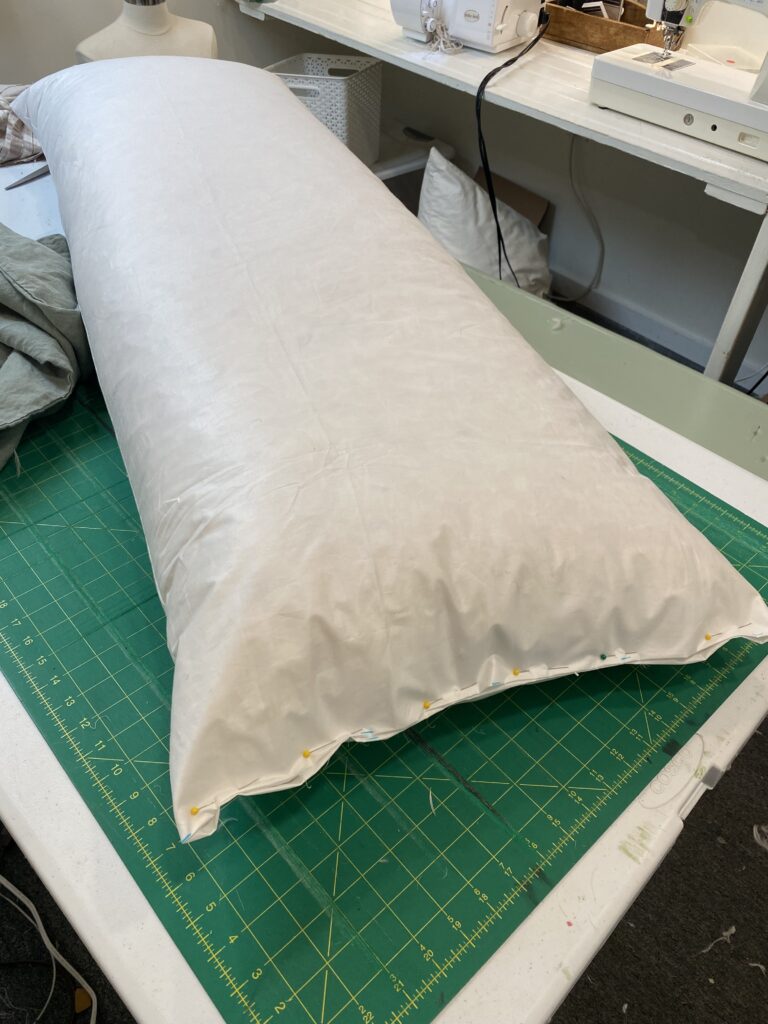
Step 8: Sew closed by machine or hand stitch.
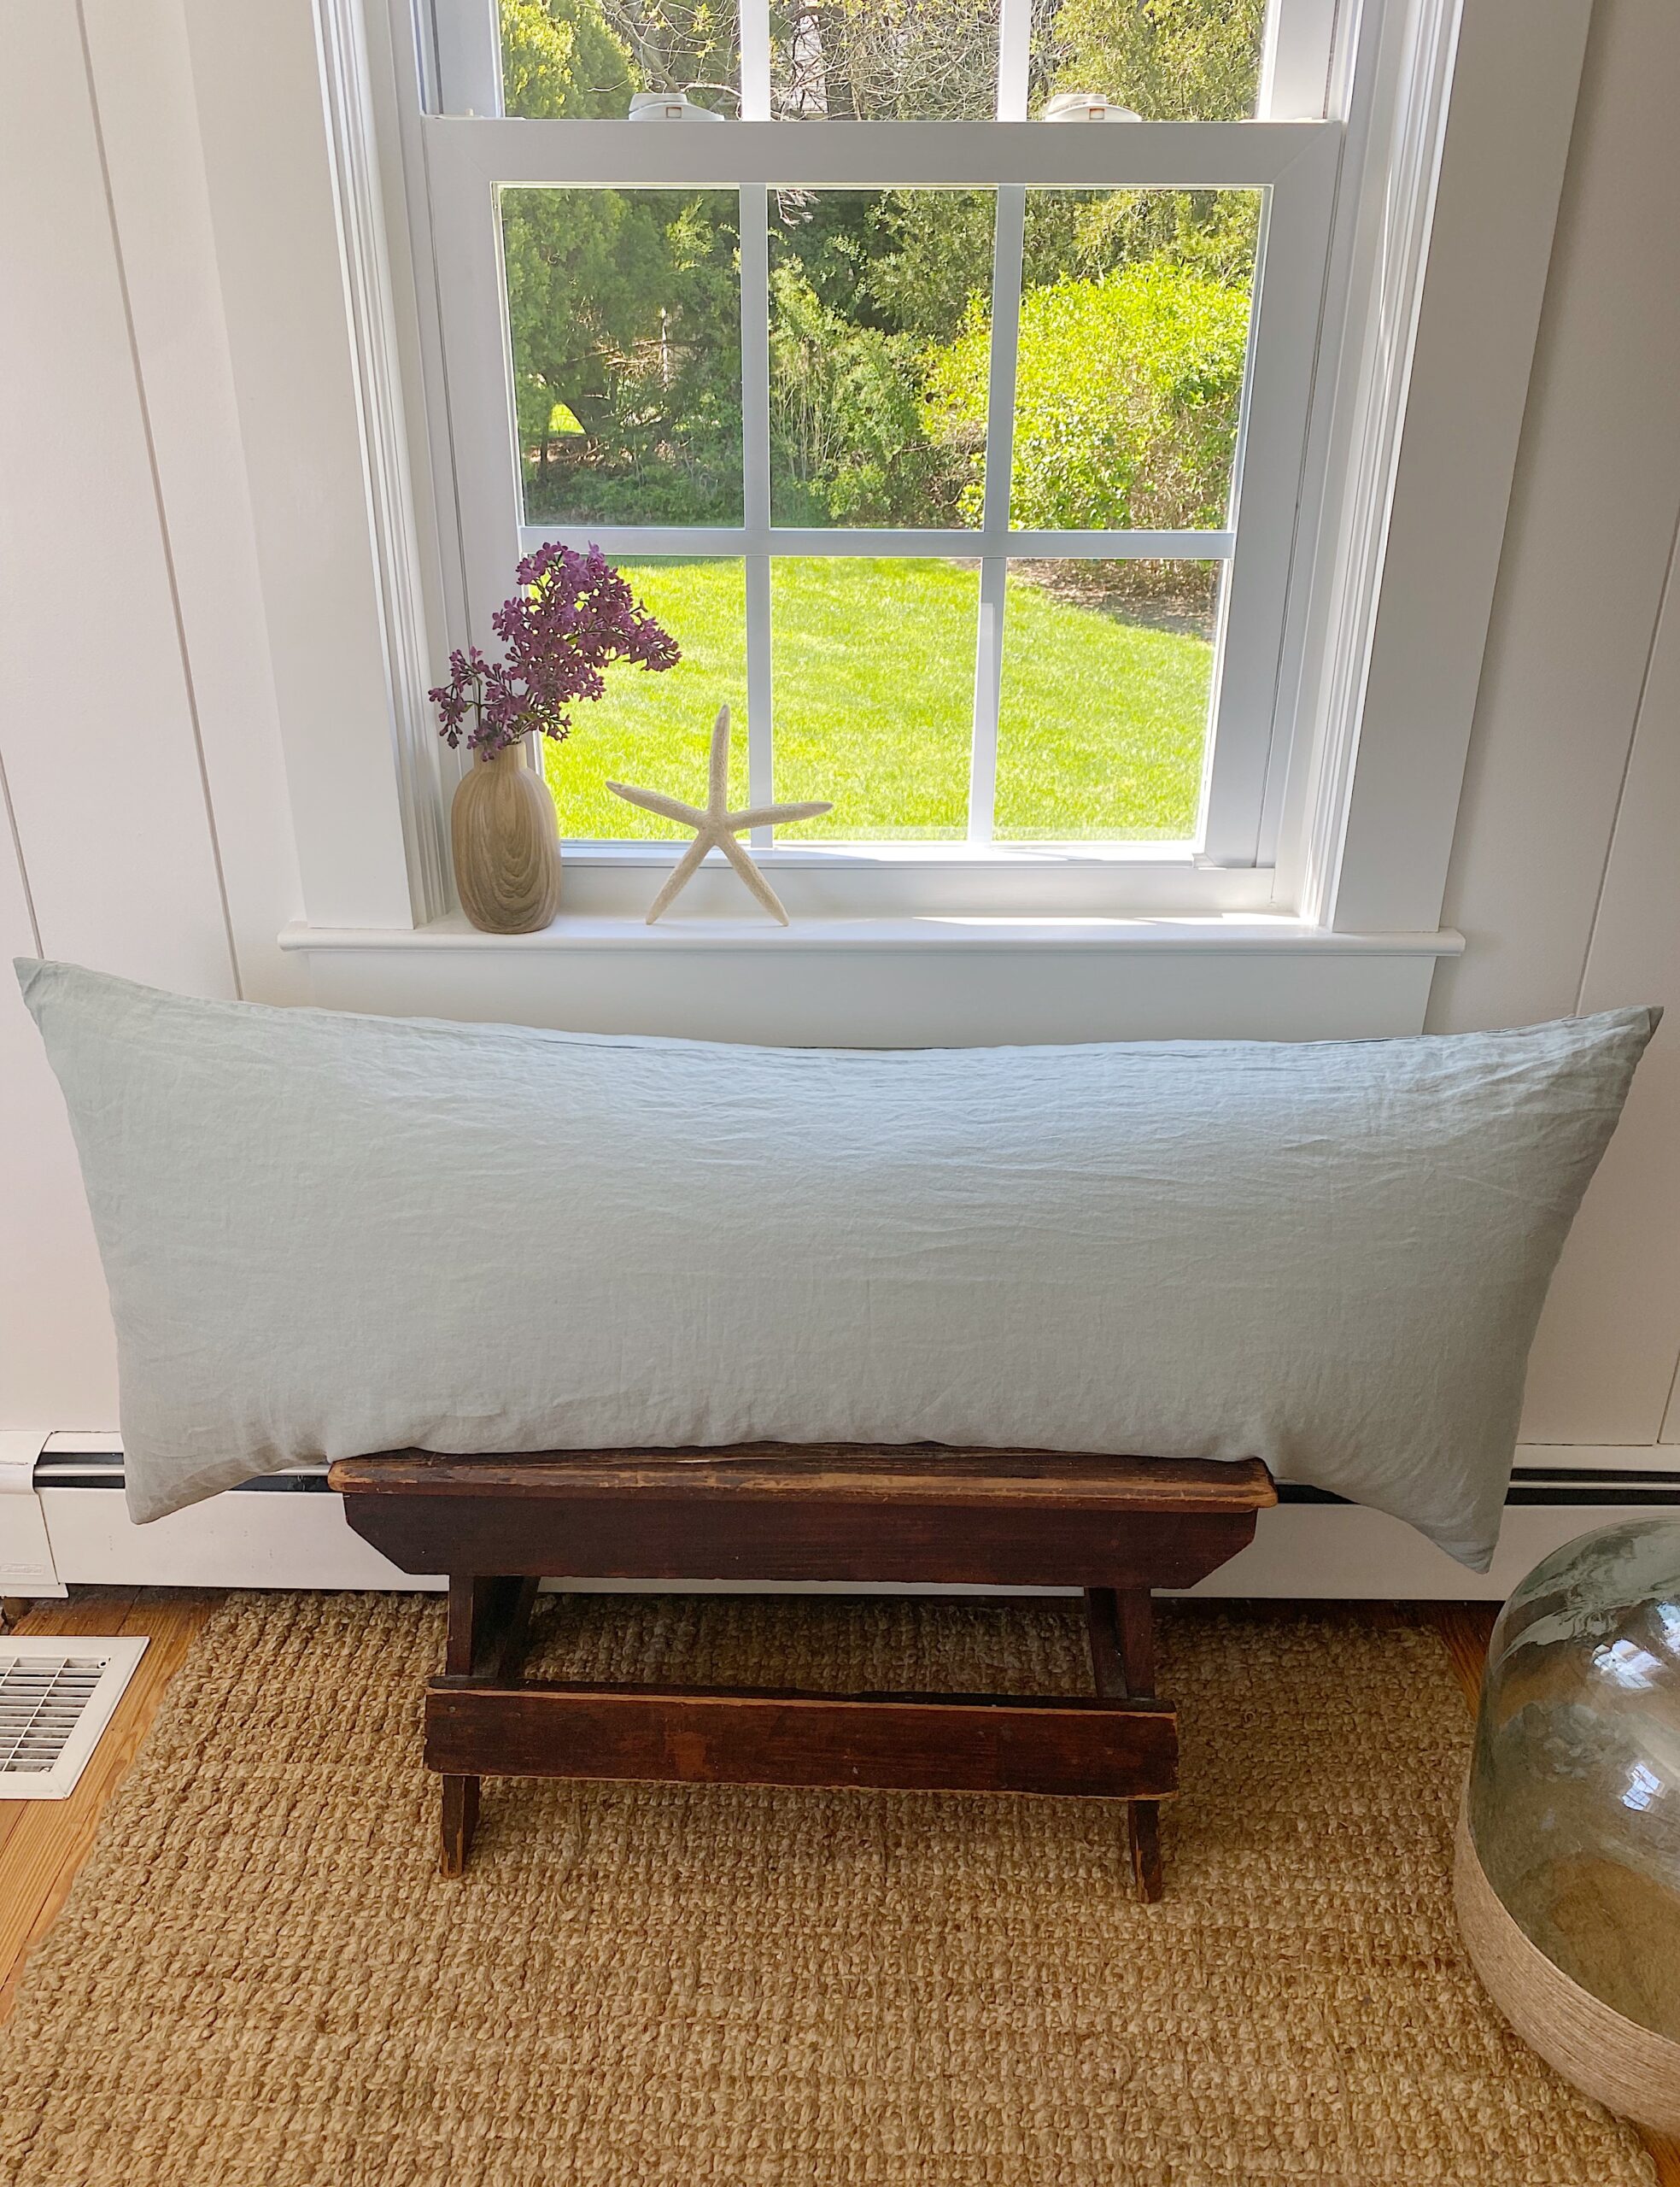
Once you have your insert made, use a purchased decorative pillow cover of your choice or you might choose to make that too! For my application, I’m using a linen body pillow cover in sage green. It’s from the Casaluna line at Target and sells for just $15 – a fabulous price for linen!
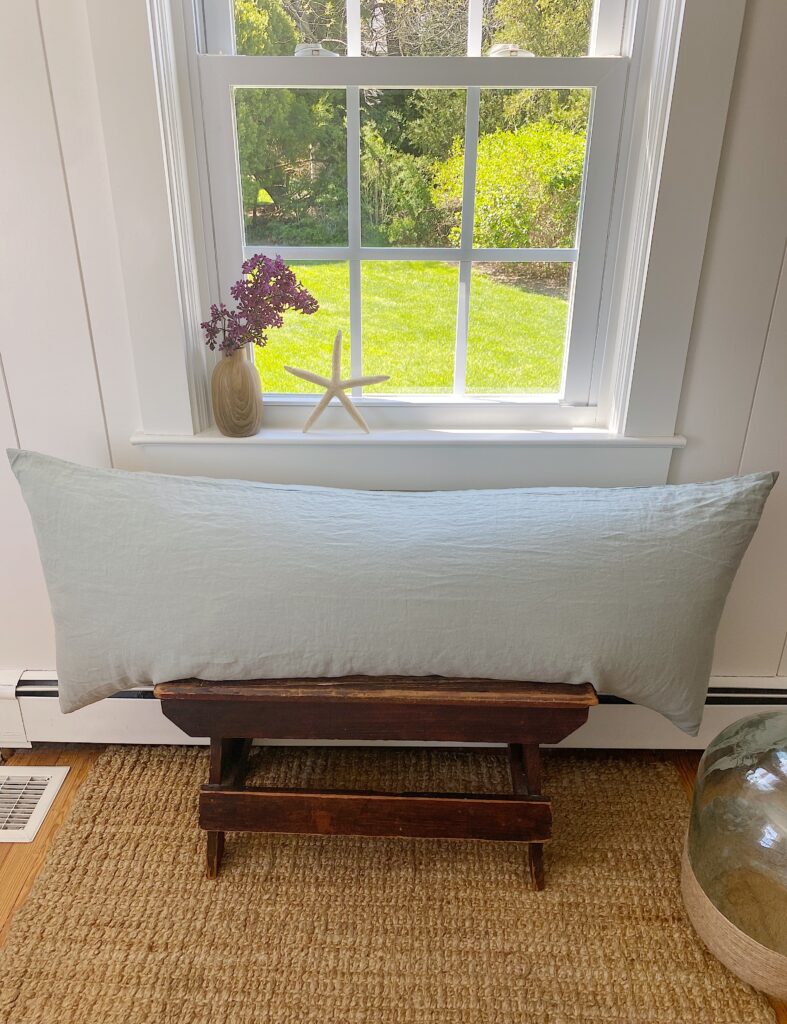
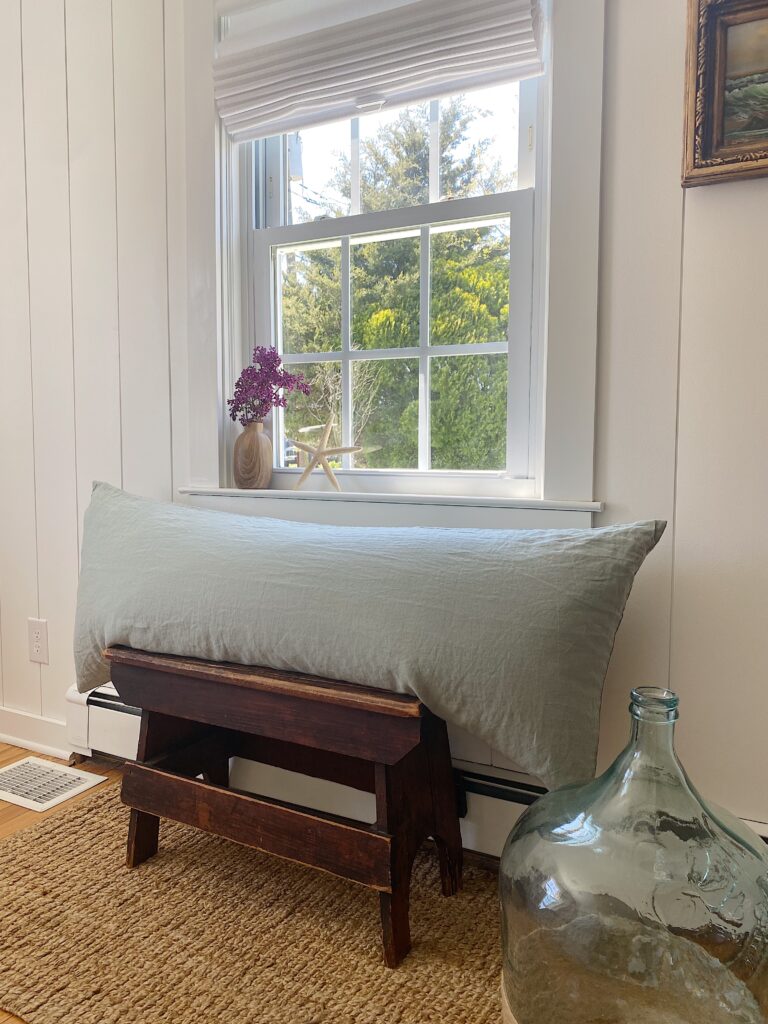
I hope you are inspired to hit the thrift stores for down/feather pillow inserts!
Be sure to follow the Home Spun Style on Instagram for daily progress stories. And stop back here on my blog for weekly updates where I’ll be sharing more photos and details.
If you’d like to check out the design plans of the other participants, you can find them at the One Room Challenge Blog.
Debra




This is such an informative tutorial for how to make down feather pillow inserts. I never even considered making inserts before. You have so many great ideas. I want next week to come fast so I can see more!!!