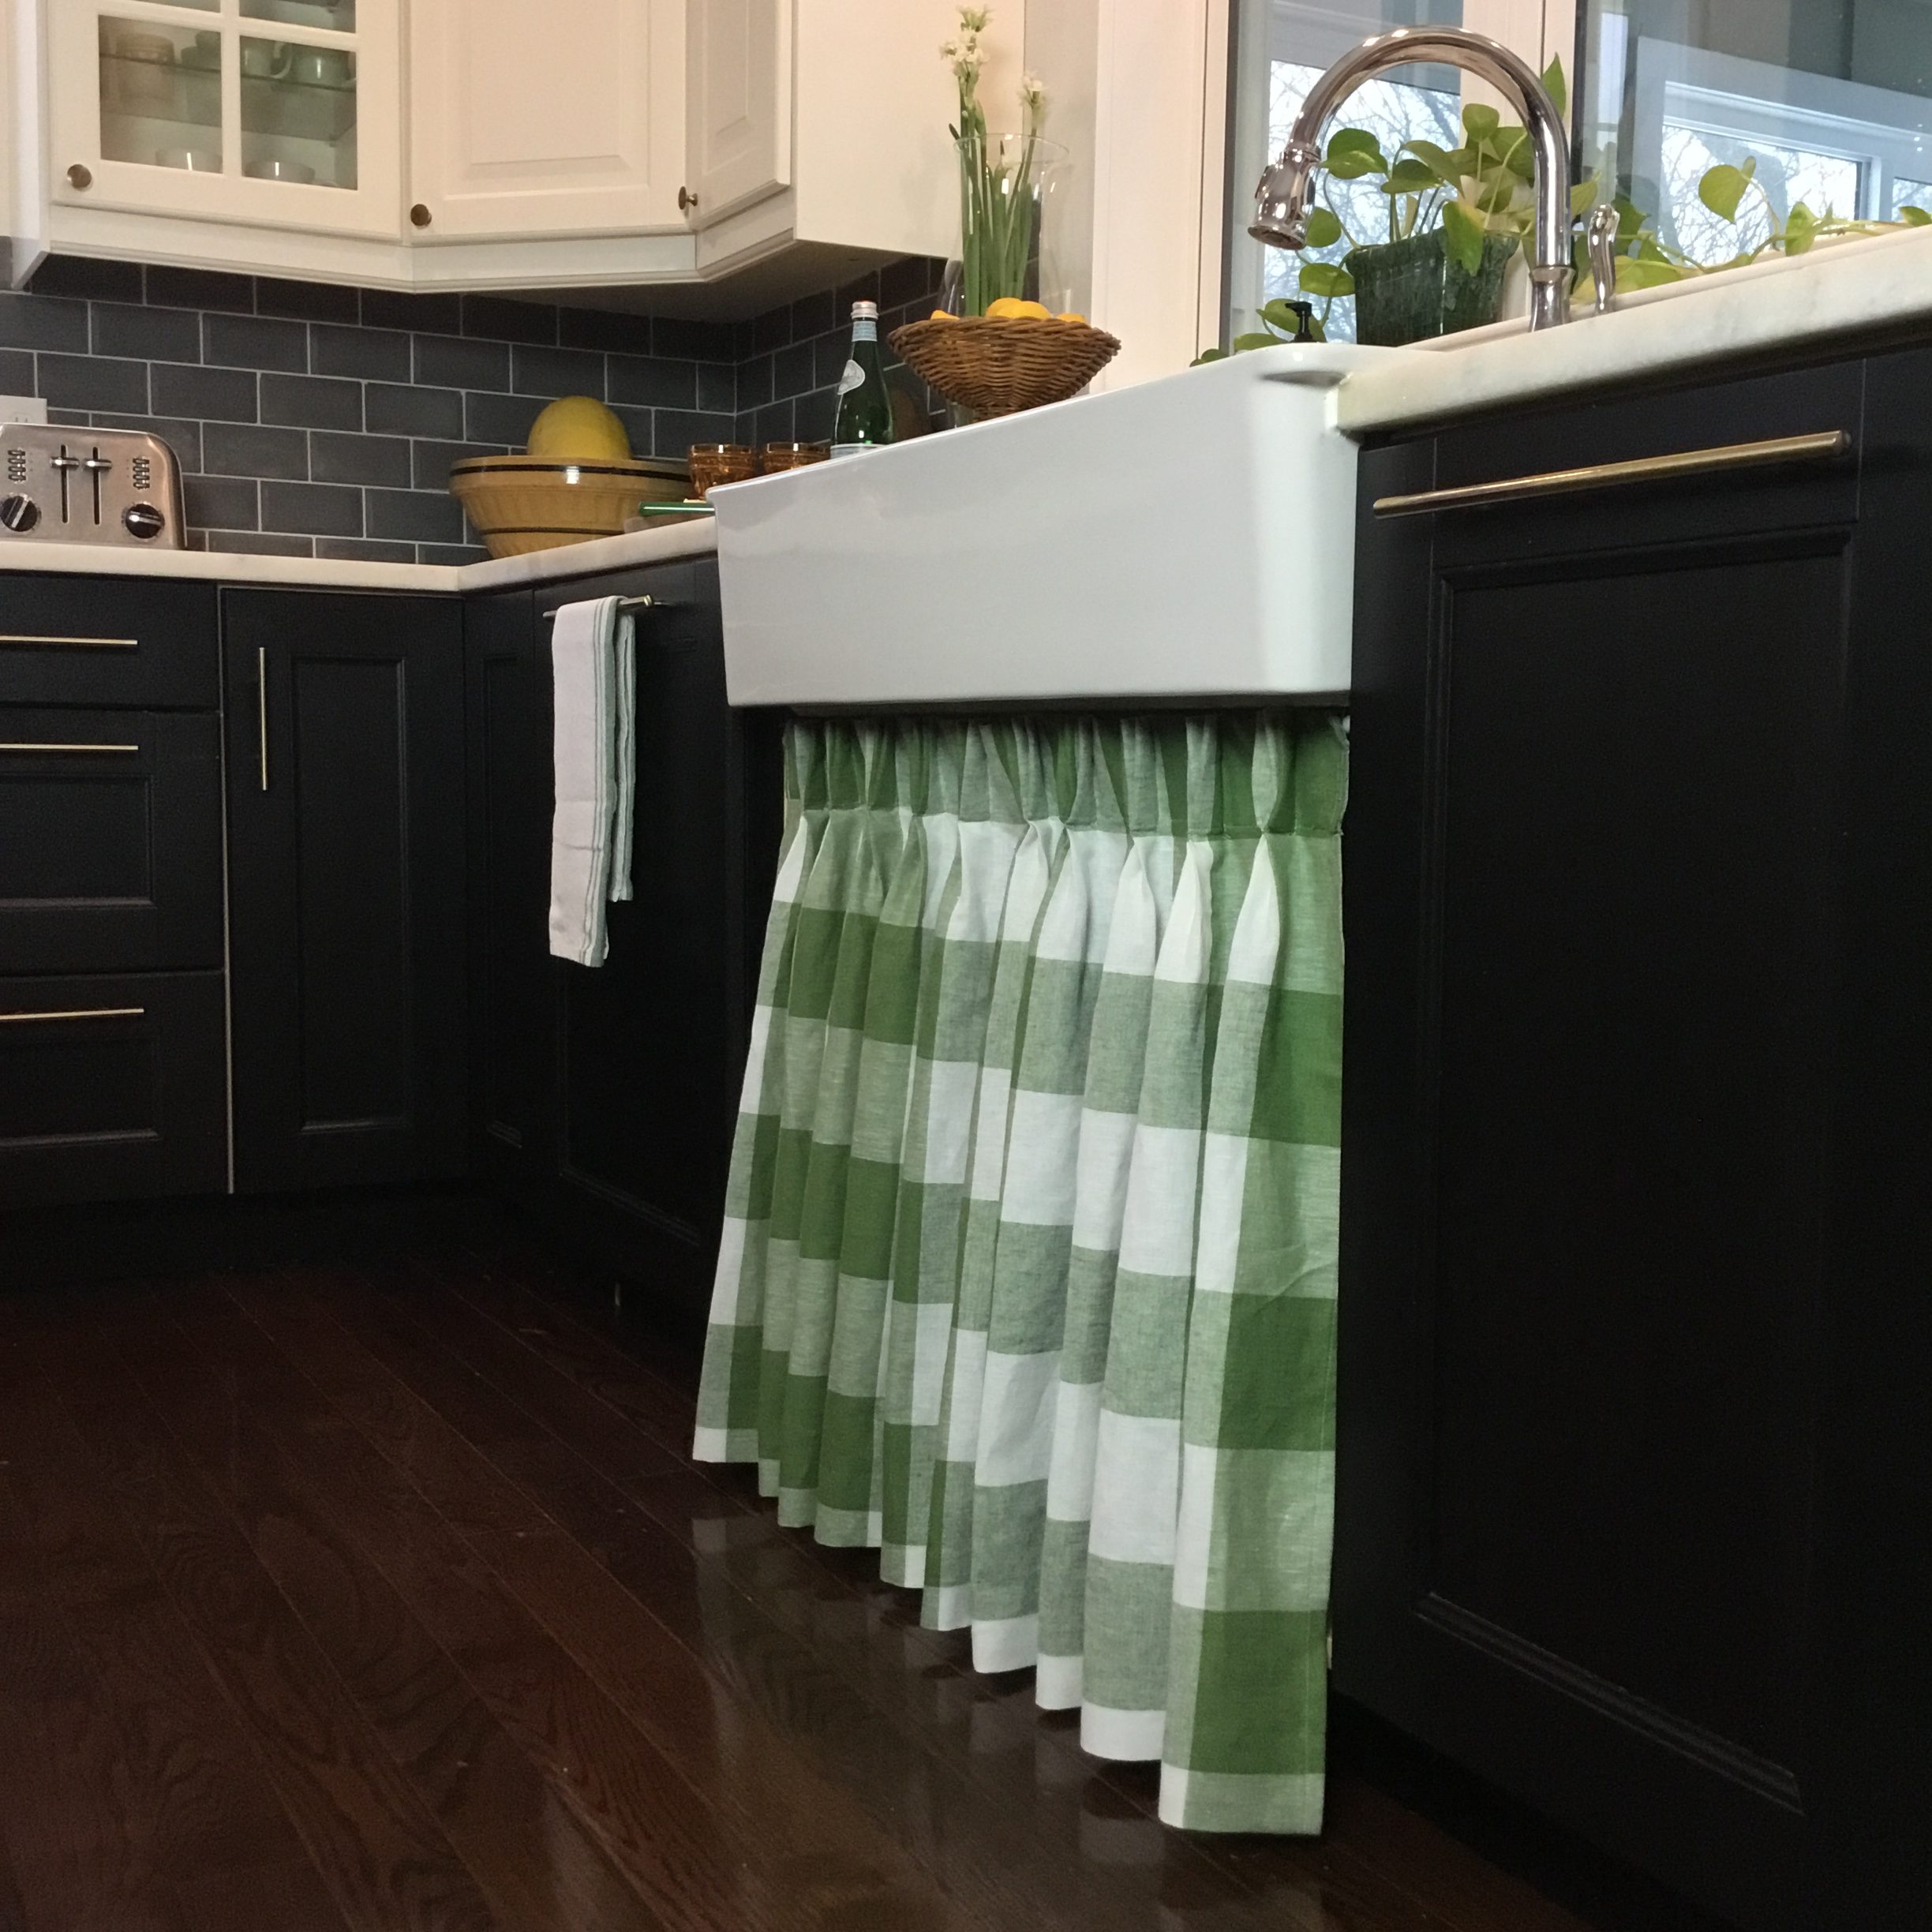
In Part I, I shared different style sink skirts paired with different style sinks and different ways to install a skirt sink from Velcro, to a tension rod to an outside mounted curtain rod. Ultimately, I decided on a pinch pleated skirt because I like the more formal, classic look of pinch pleats for my modern-rustic kitchen. I also decided to use a simple tension rod so I could switch back to doors if I wanted a change.
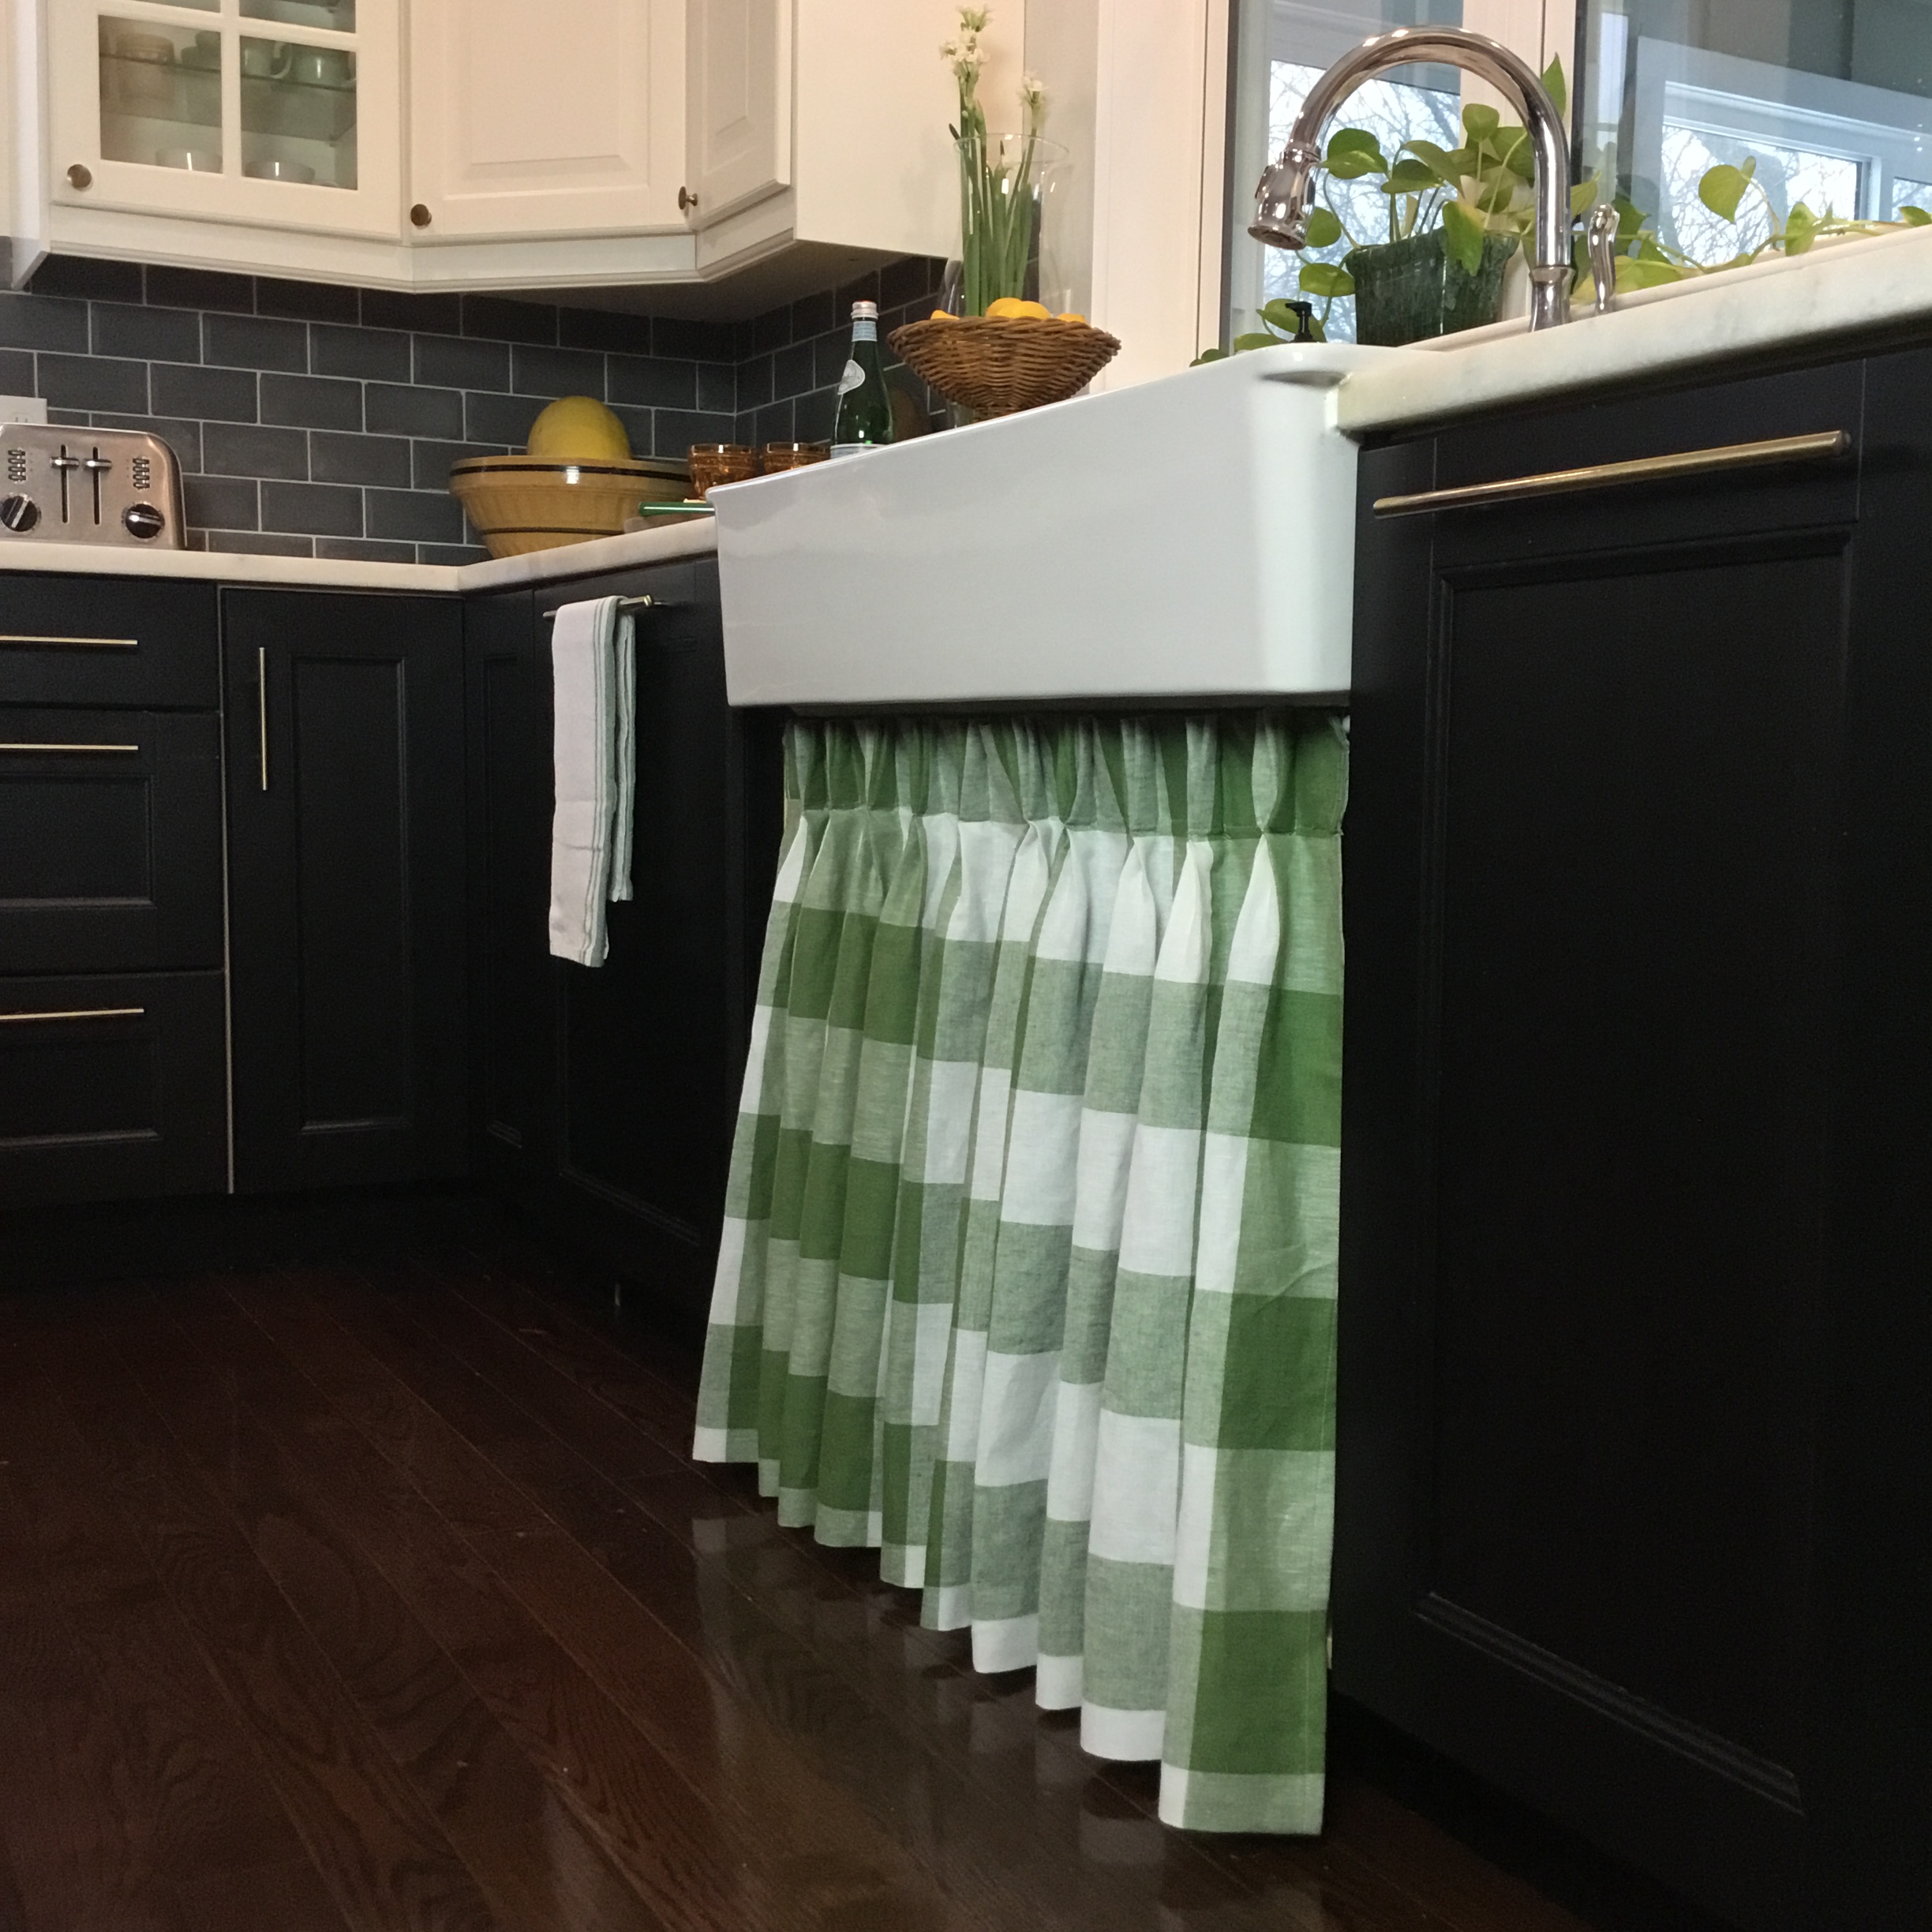
In this post, I’m sharing how to make a pinch pleated skirt. The process is similar to making a drapery panel, with a few exceptions: 1) it is much smaller so there is less fabric to deal with; 2) you don’t have to account for overlaps (where drapes close) or returns (the sides where the drape wraps around to the wall), and 3) you don’t need to line it as light shining through is not an issue. Bottom line — the process is easier!
RULES OF THUMB
After studying several drapery how-to sites and YouTube videos, I put together the following rules of thumb for making a pinch pleated sink skirt:
- Fabric width – You’ll need 2.5 times the width of your opening plus an additional 3 inches for side seams. If your fabric isn’t this wide (most likely the case), you’ll need to sew several pieces together – right sides together, 1/2 inch seams, pressed open. Here’s my measurements:
36 inch opening x 2.5 = 90 + 3 inches for side seams = 93 inches total fabric width
- Fabric length – Add 8 inches to your vertical opening measurement. You’ll need to decide whether you want your skirt floor length or the length of a lower cabinet door. I chose floor length. Whatever length you choose, add 8 inches to it. My opening measured 28 inches tall:
28 inches + 8 inches = 36 inches total length
- Pinch pleat length – sink skirts are short compared to a drape so the pleats should be short as well. 3 to 3.5 inches is a good pleat length.
- Number of pleats – About 1 pleat for every 4 inches of opening width. The more pleats, the fuller the curtain. I chose 10 pleats (1 extra) for my 36 inch wide opening.
36 divided by 4 = 9 pleats (I chose to do 10 to make it fuller)
- Number of spaces between pleats – always 1 less than the number of pleats. So for 10 pleats, you would have 9 spaces.
- Width of spaces between pleats – the rule of thumb for spacing is 3 to 5 inches between pleats.
CALCULATIONS
Here’s how to do all the calculations, using my skirt has an example:
1. Subtract 3 inches from the opening width because your first and last pleats need to be about 1.5 inches in from the ends.
36 (width of opening) – 3 = 33
2. Subtract the number from step 1 above from the total fabric width after sewing the side seams.
90 – 33 = 57 inches
3. Divide the number from step 2 above by the number of pleats
57 divided by 10 pleats = 5.7 inches per pleat
This means each pleat will take 5.7 inches of fabric width. The number should not be larger than 6 inches. If it is, then add a pleat.
4. To calculate how big to make each space, take the number from step 1 and divide it by the number of spaces.
33 inches divided by 9 spaces = 3.67 inches
If the spacing between the pleats falls outside of the range of 3 to 5 inches, then you need to adjust by making the size of the pleat smaller or larger or adding or subtracting pleats.
You can also round up or down to make the measurements easier to work with. I rounded 5.7 up to 6 inches per pleat and rounded my spaces down to 3 inches. It’s best to work this out on paper before marking your fabric. Like this:
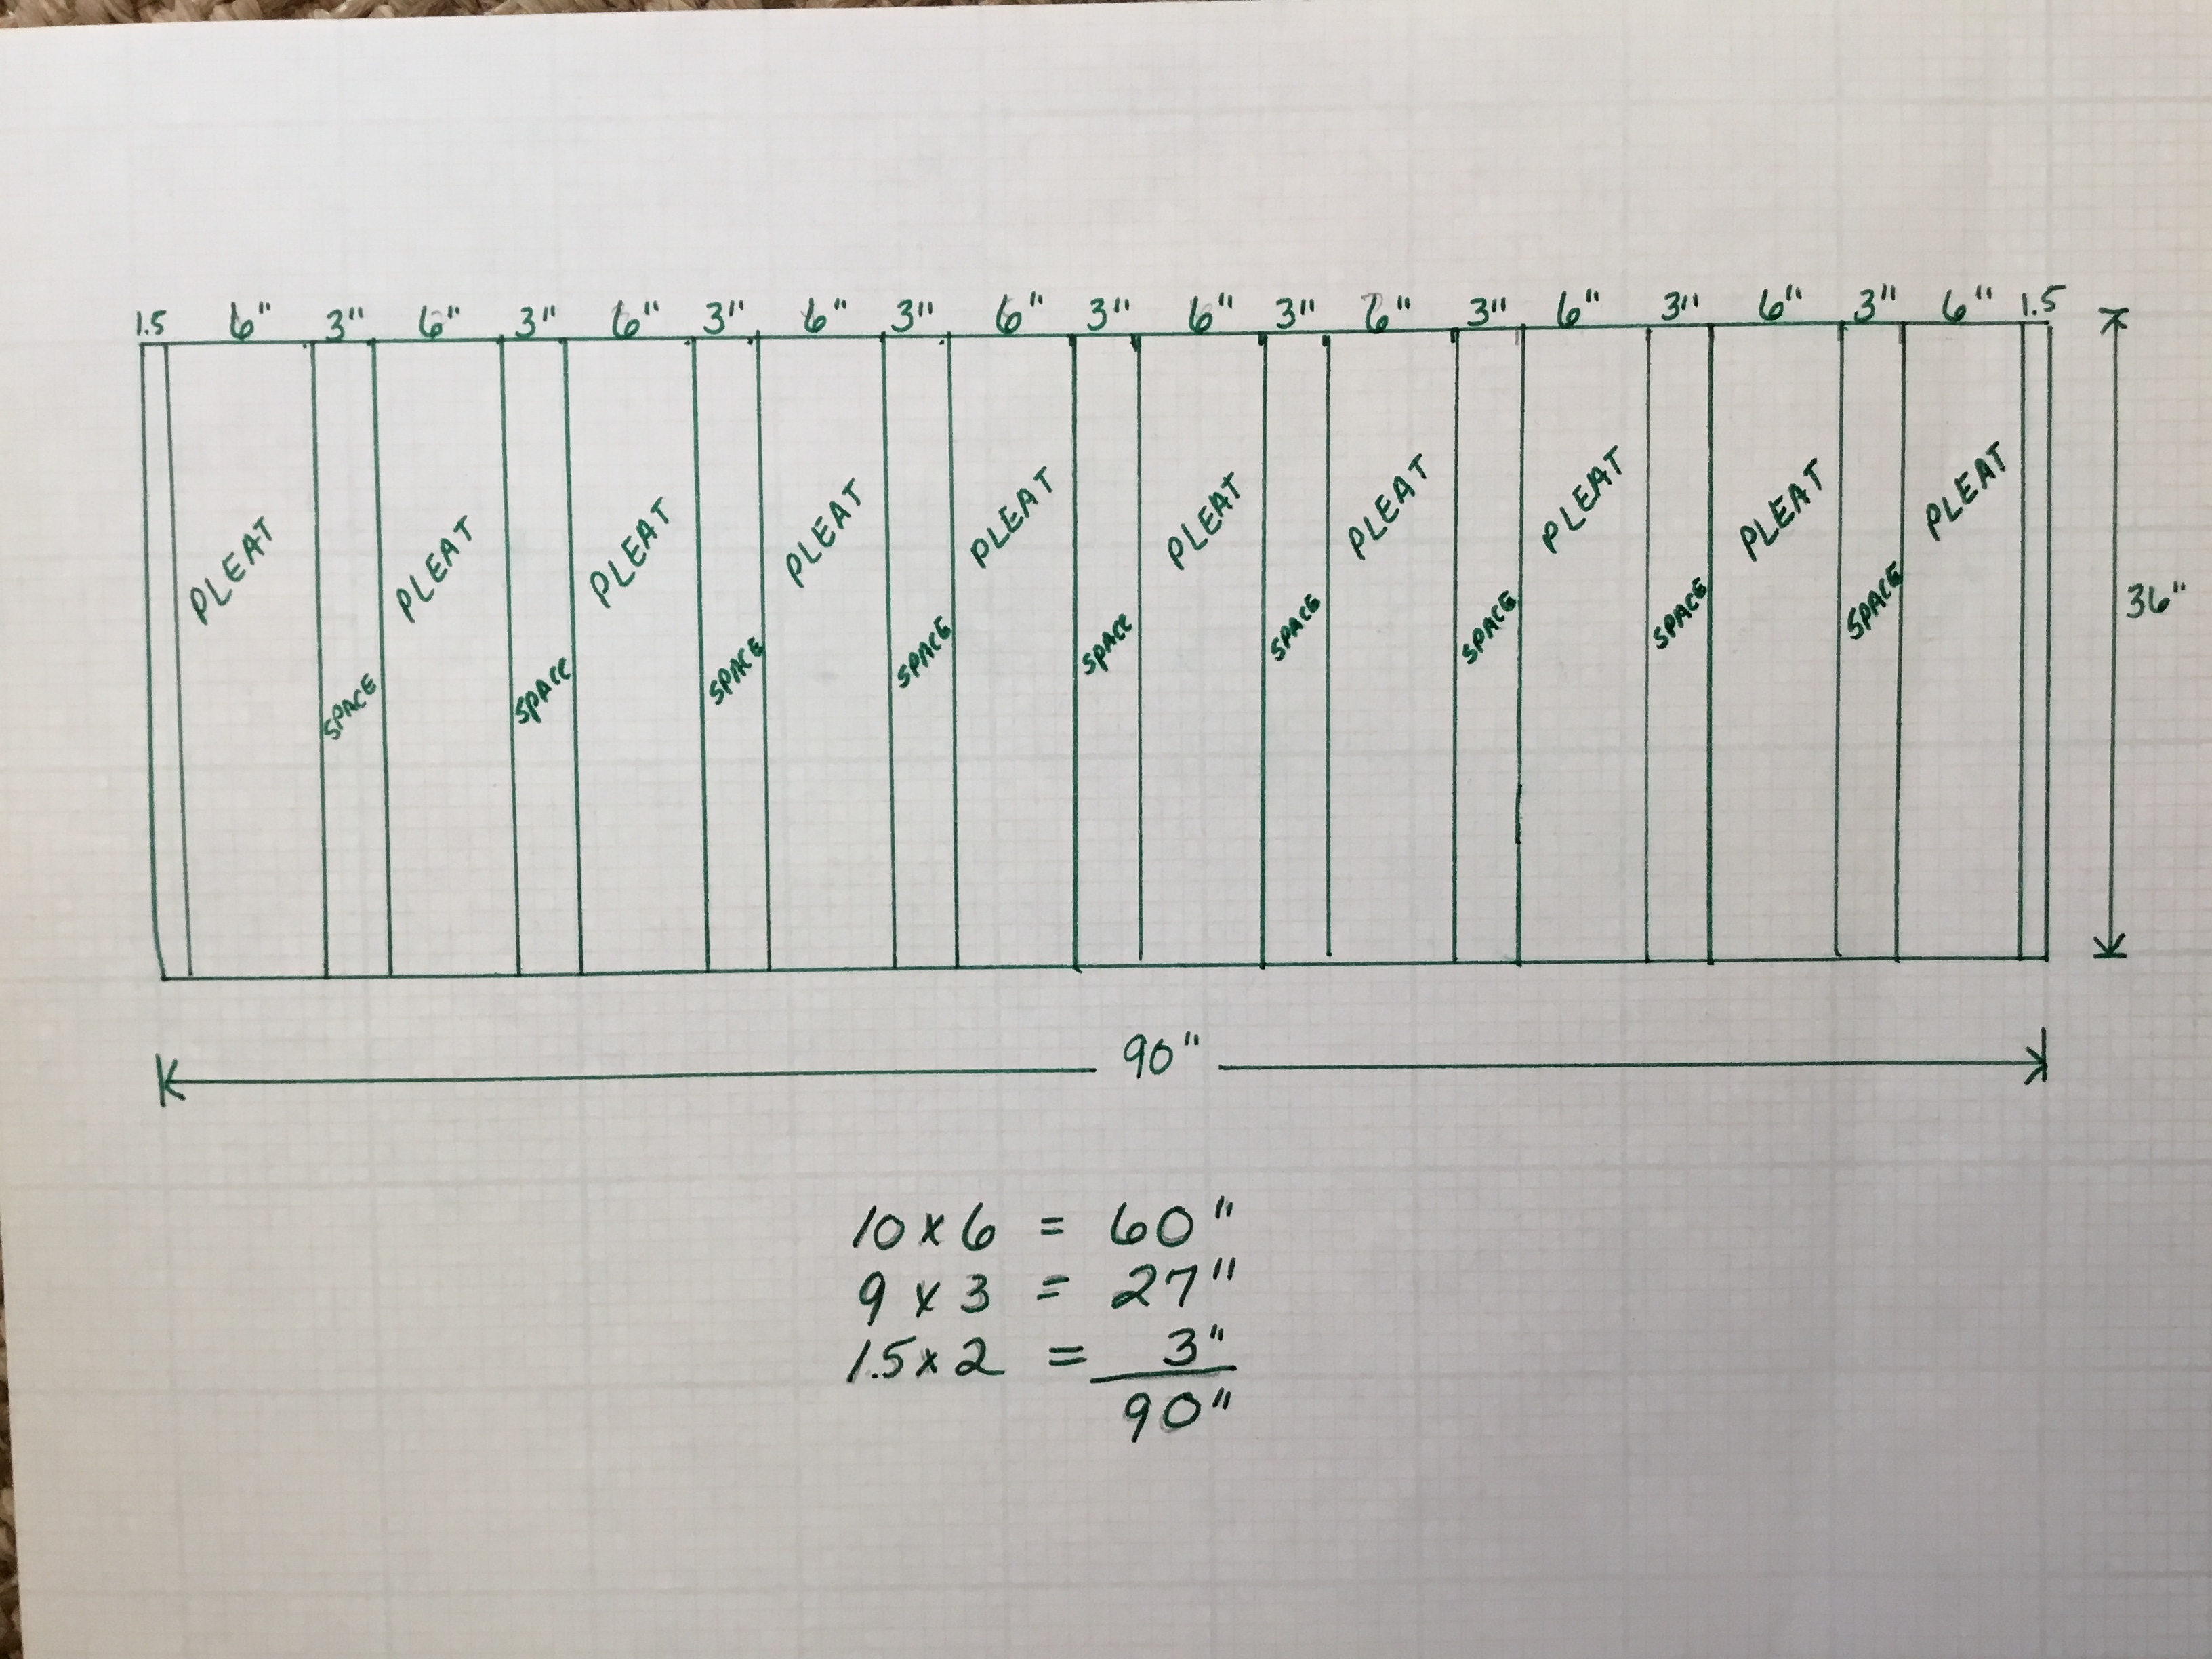
After you do your calculations, check to see if the numbers add up to your total width. Add up all the pleats, all the spaces and the 1.5 inches at each end. It may not add up if you rounded your numbers like I did. The way to fix this is to spread the difference across the beginning and ending pleats or spaces. This slight difference will not be noticeable when you hang the skirt.
MATERIALS NEEDED
Cafe rod or tension rod (depending on whether you are mounting it outside the opening or inside the opening.
Fabric
Buckram or stiff interfacing (used to make the fabric stiff for pleating)
Drapery hooks
Fabric marker
Curtain rings (optional)
To sew your skirt:
1. Sew the side seams by turning under 1/2 inch and then 1 inch and sew.
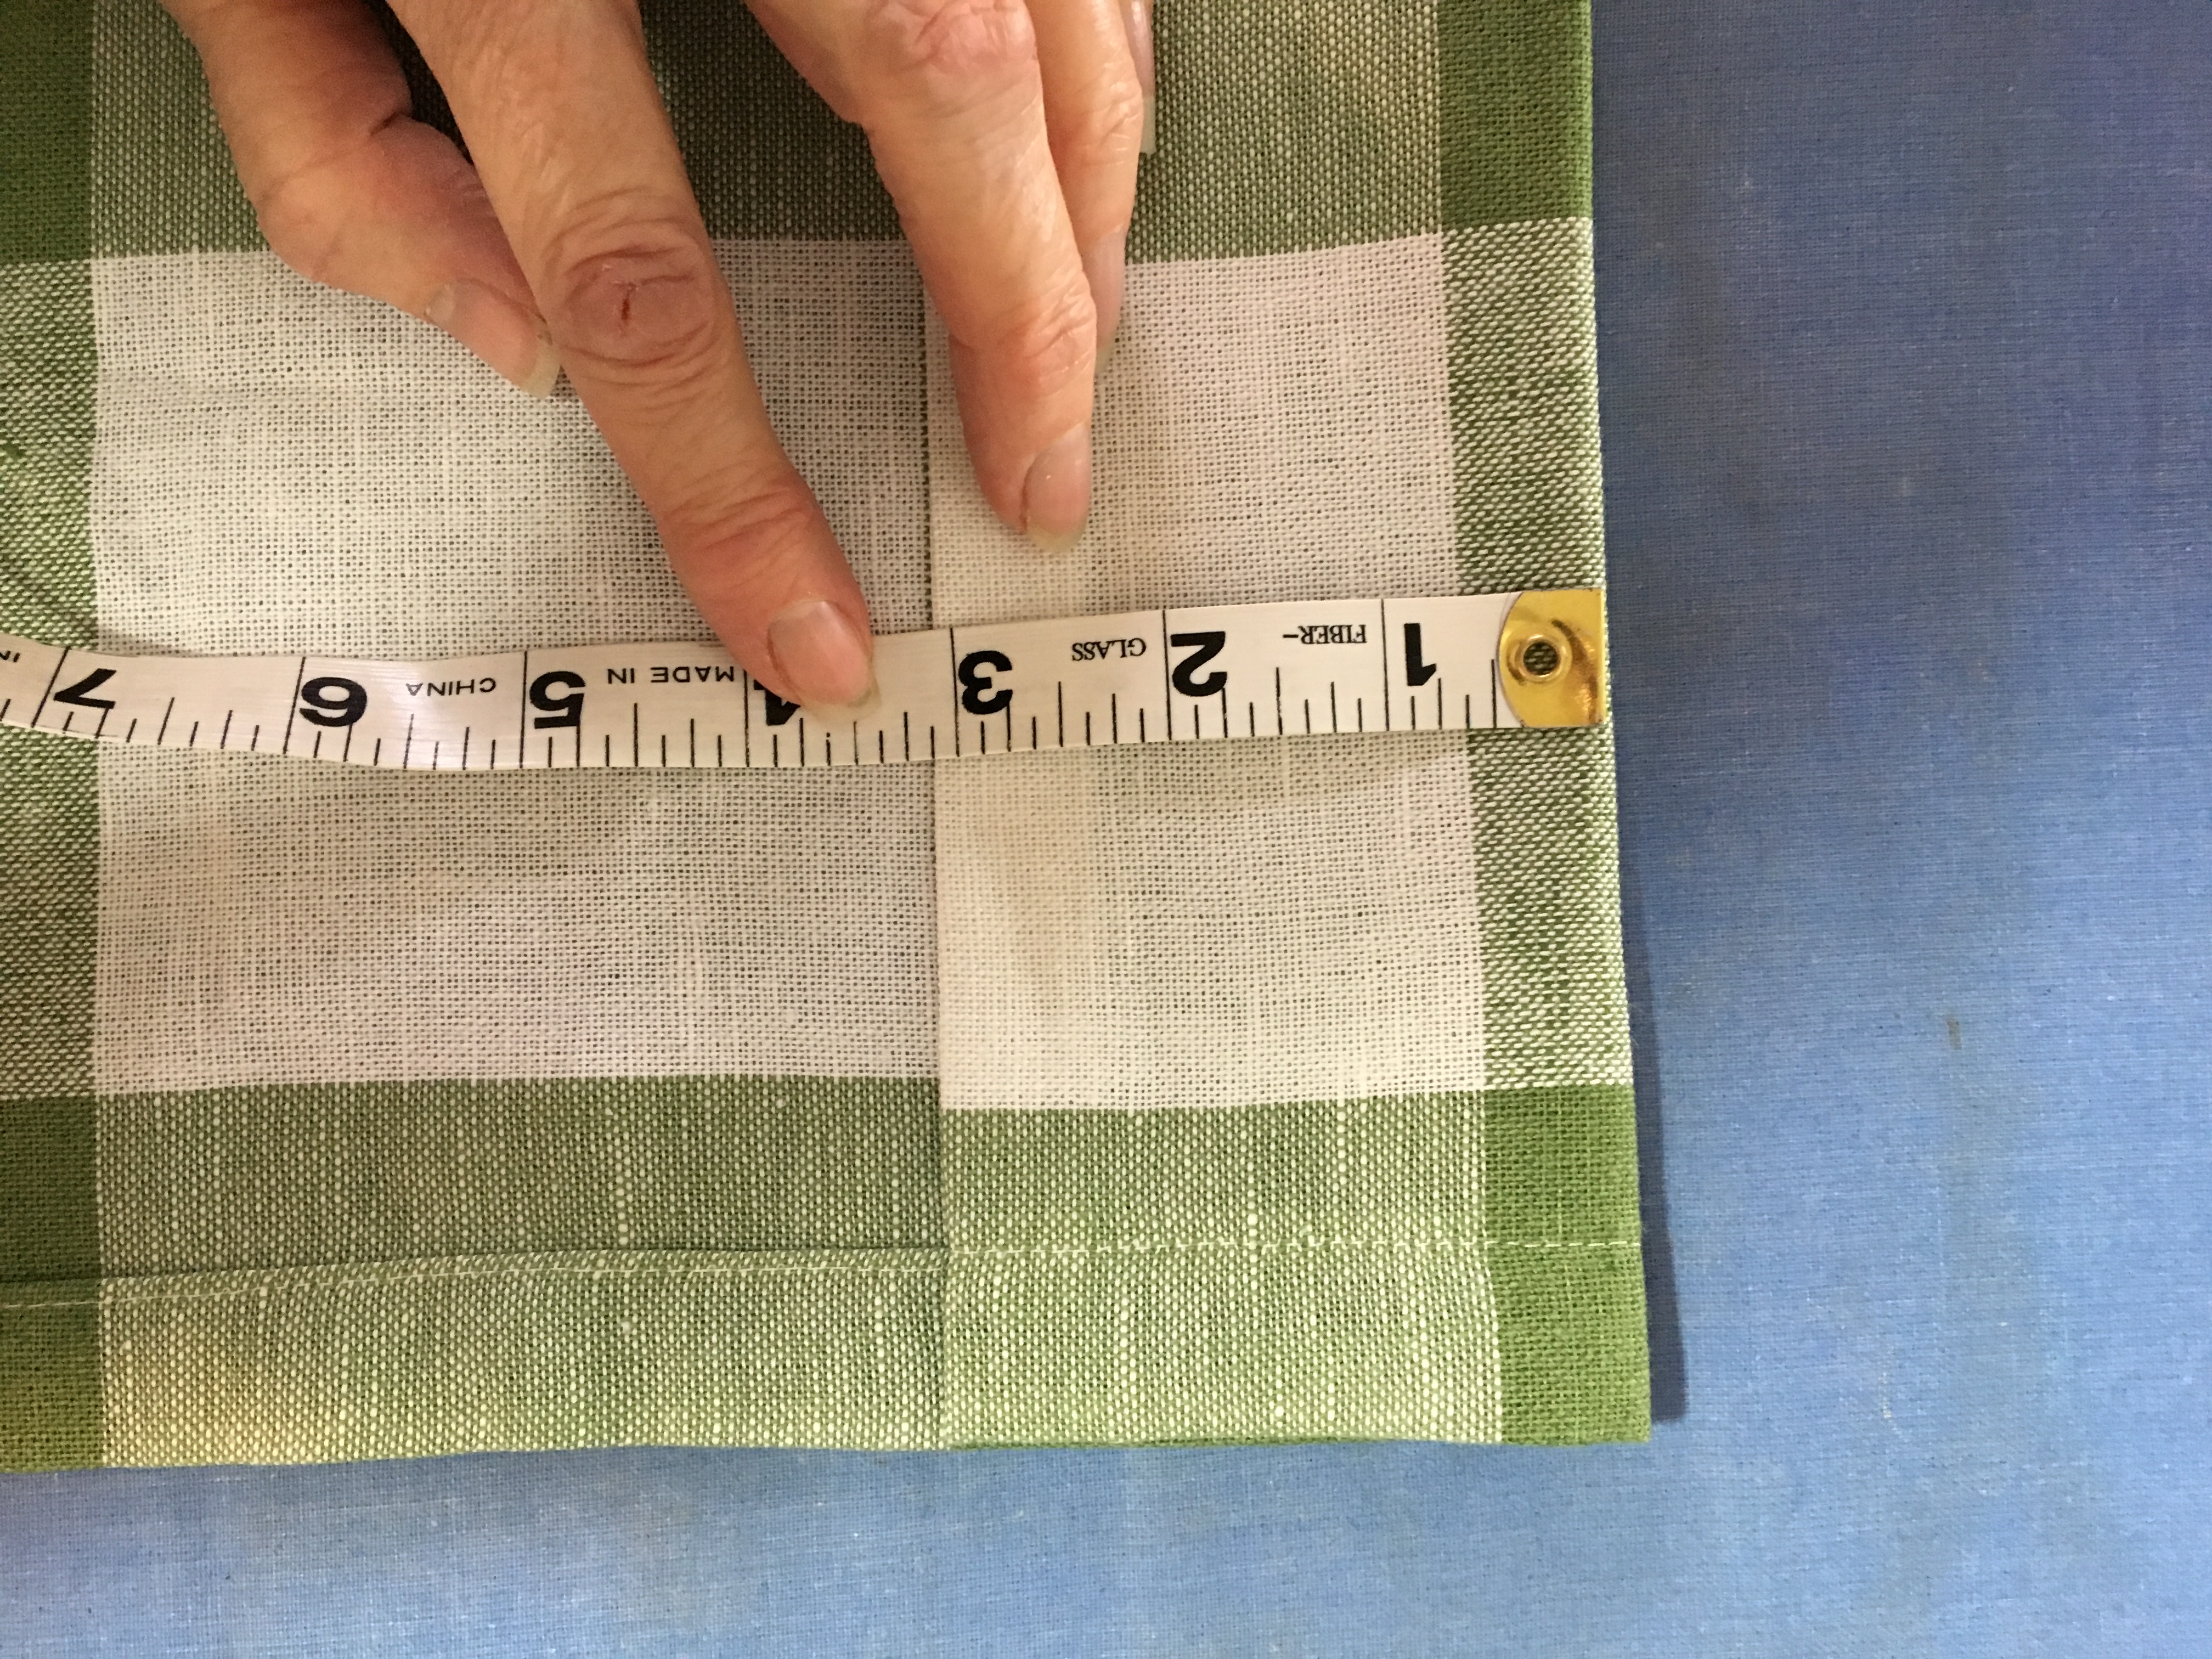
2. For the top edge, fold over about an inch and press. Then fold over again 3 inches (the length of your pleat and press.
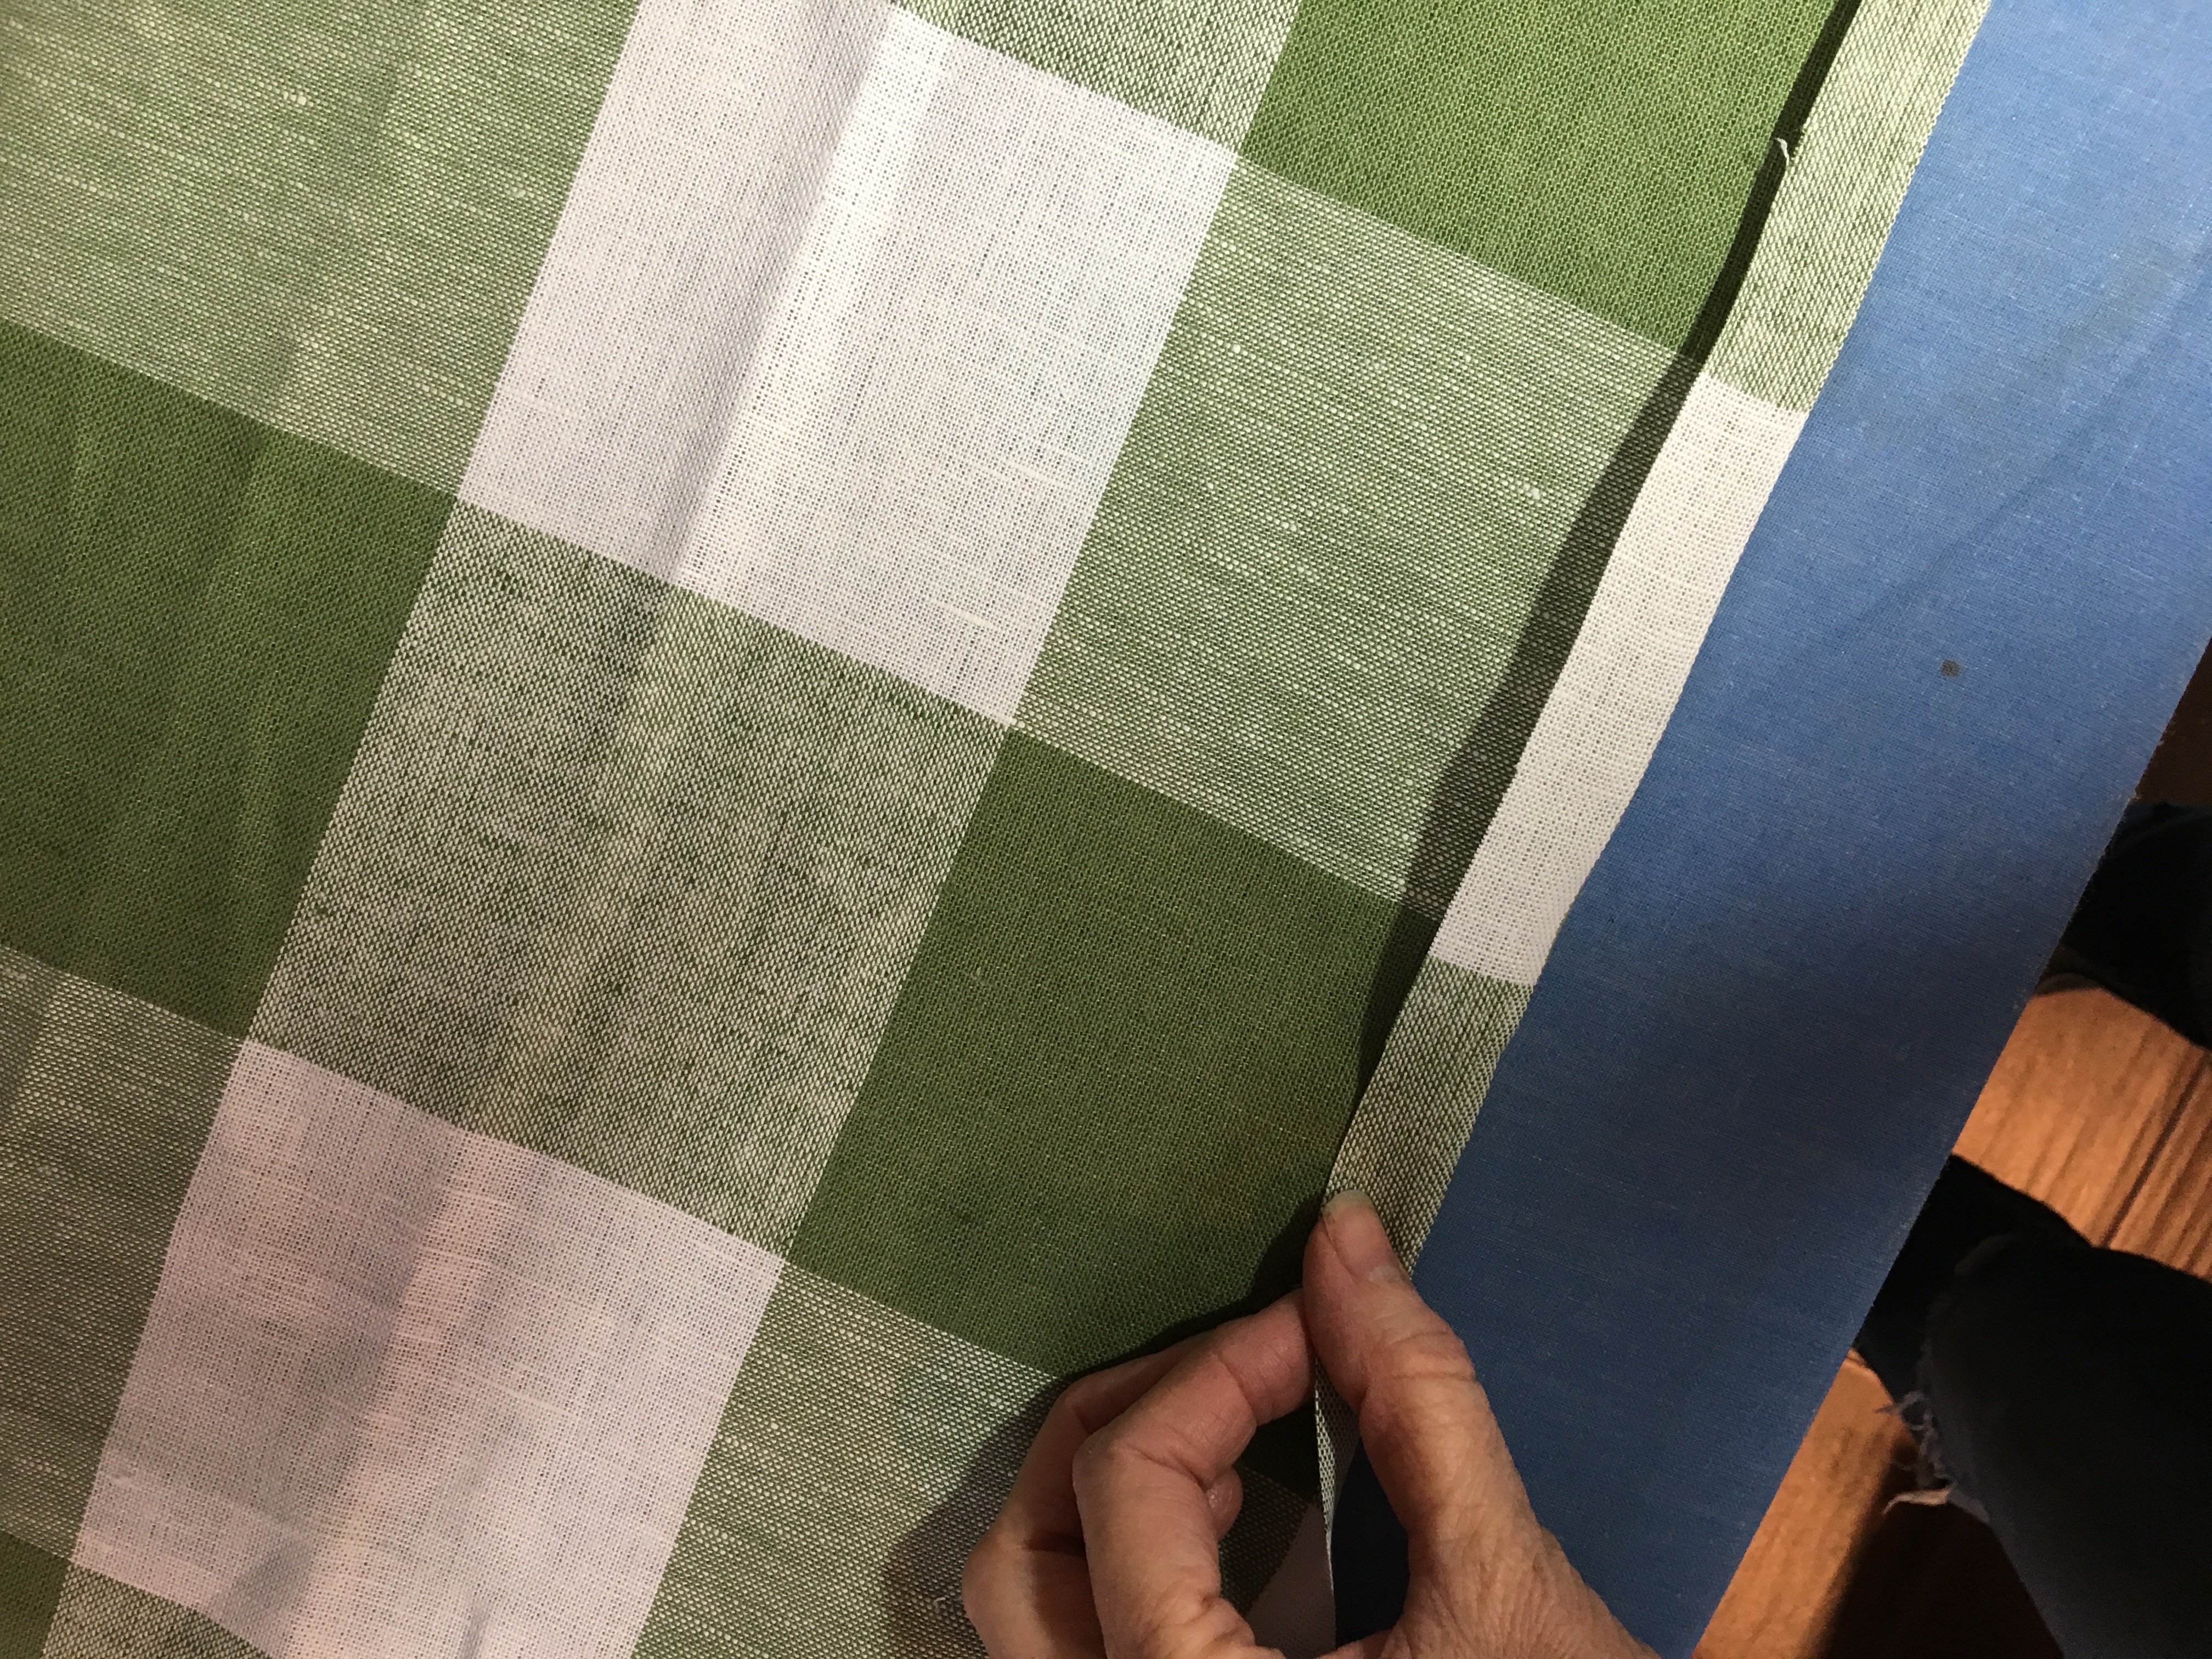
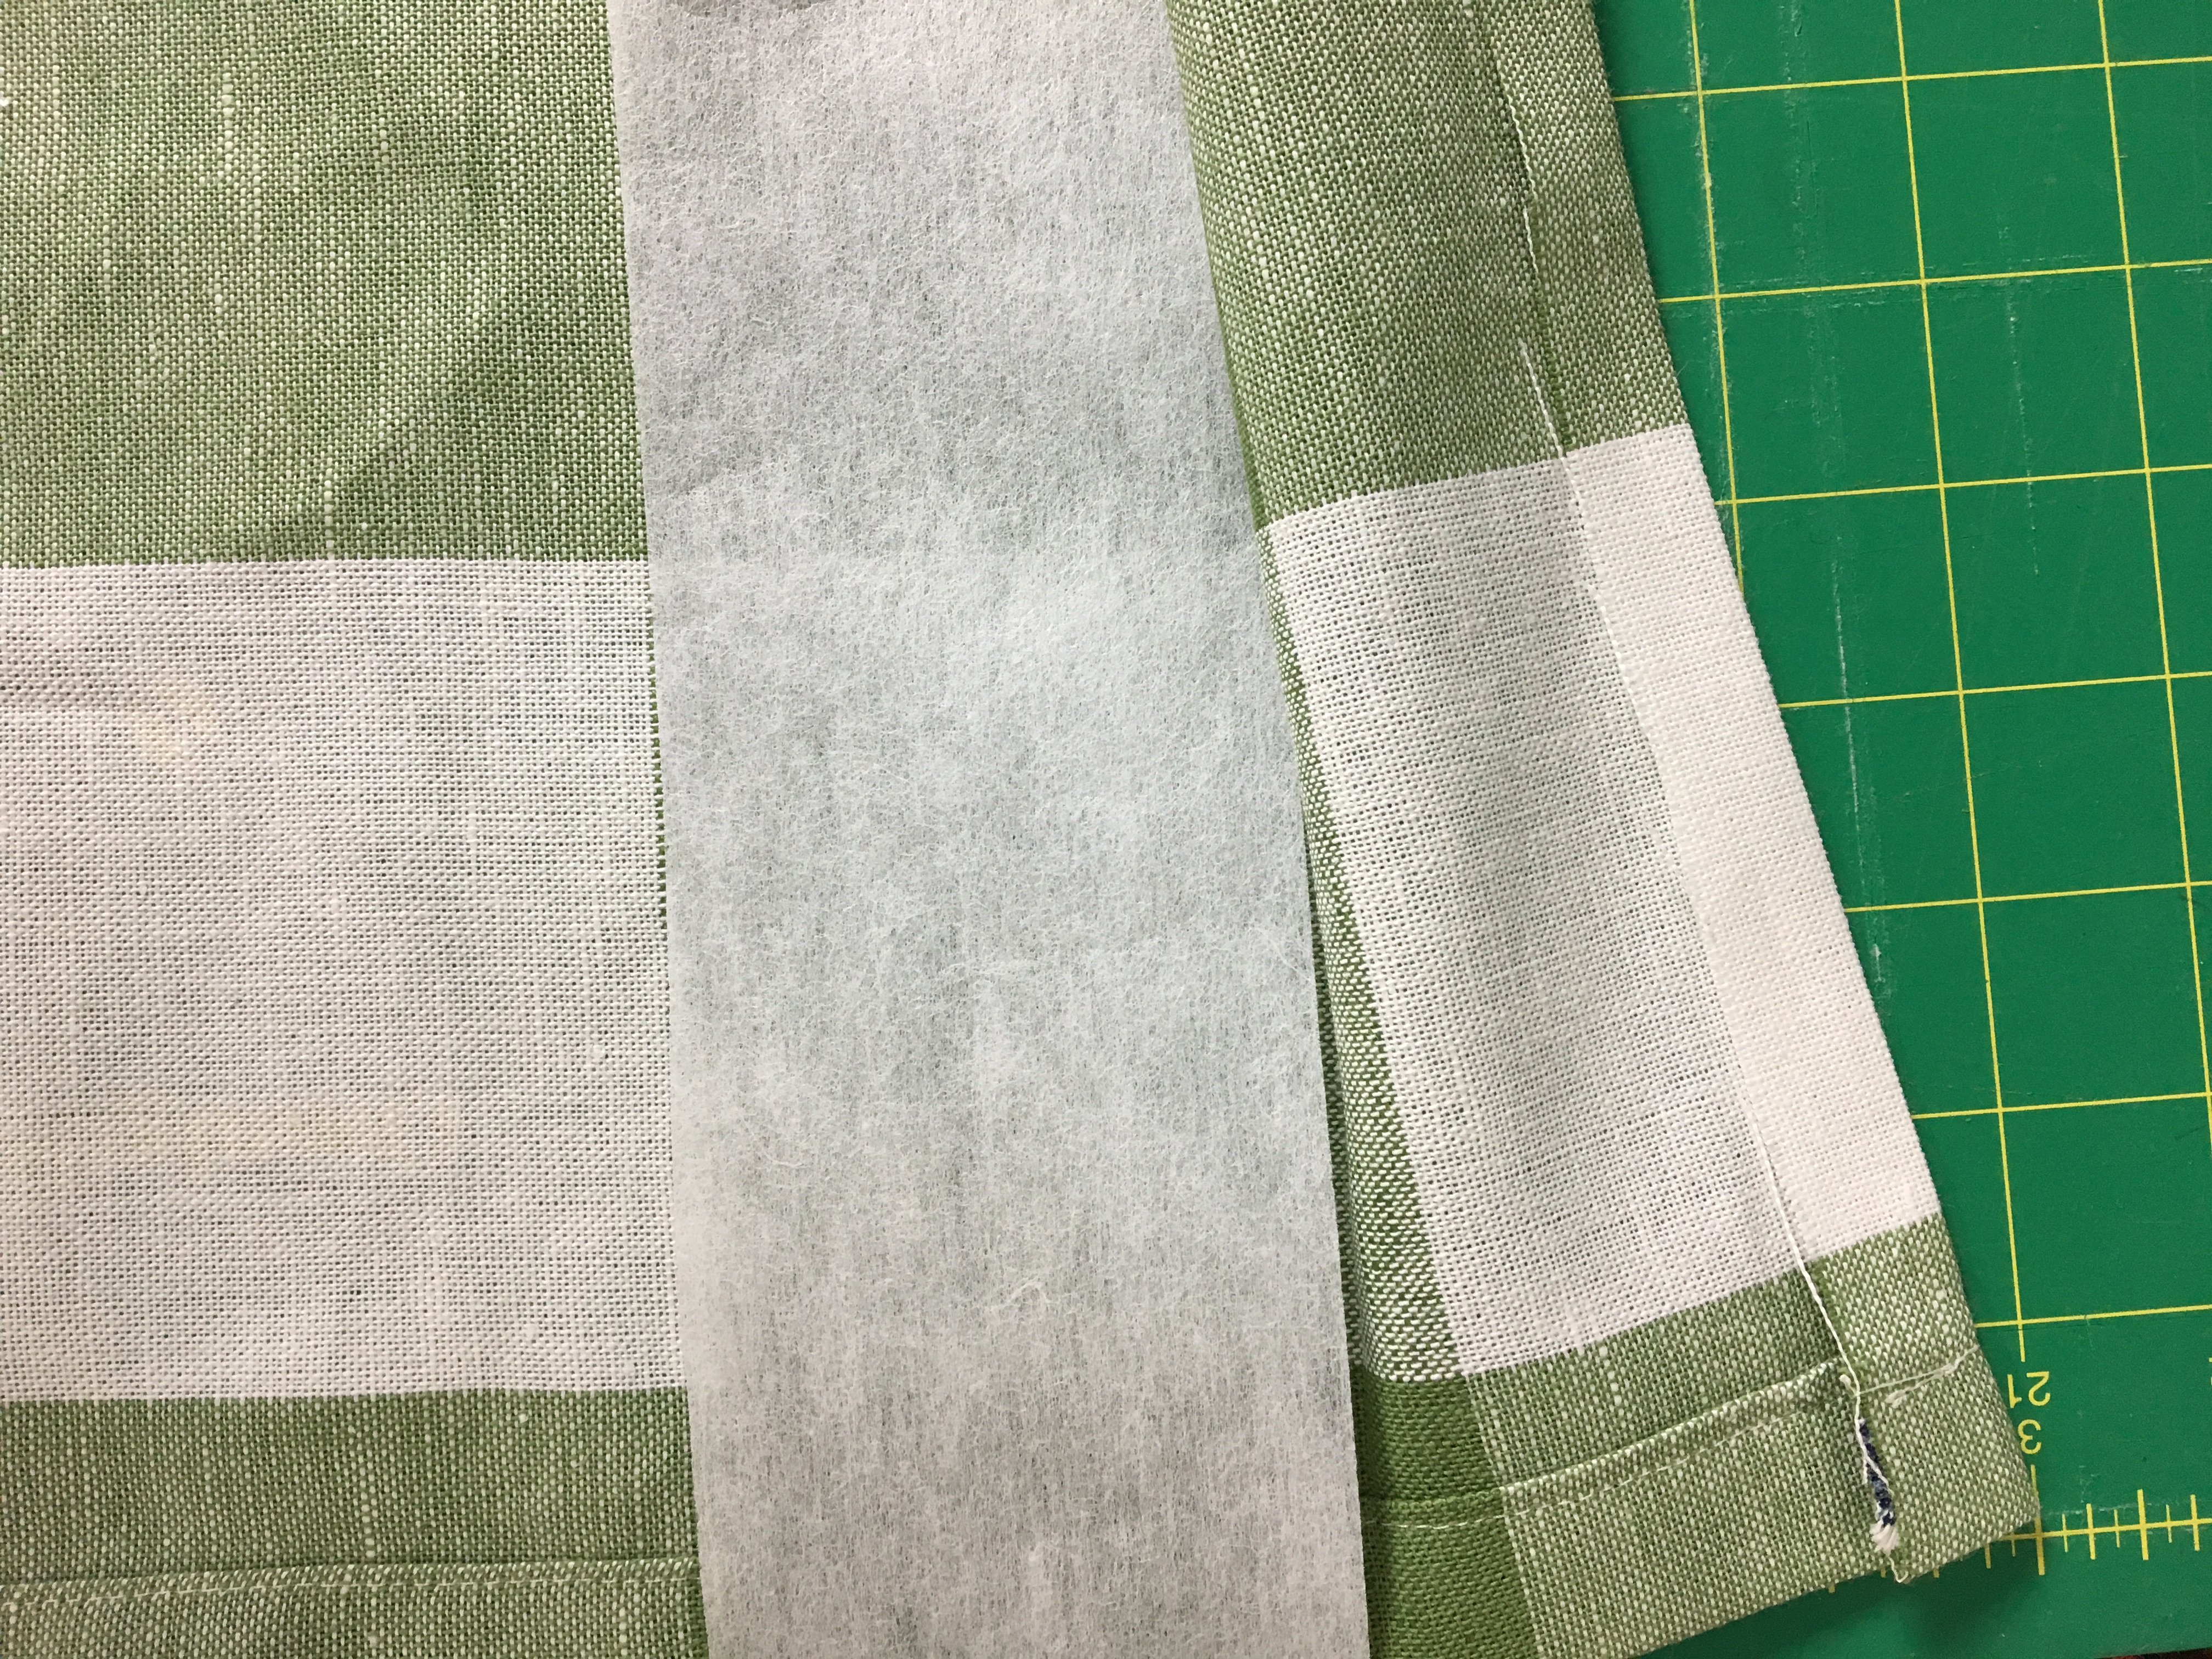
3. Insert the buckram. If the buckram is wider than 3 inches, you’ll need to first trim it down. Pin through the 2 layers of fabric and buckram.
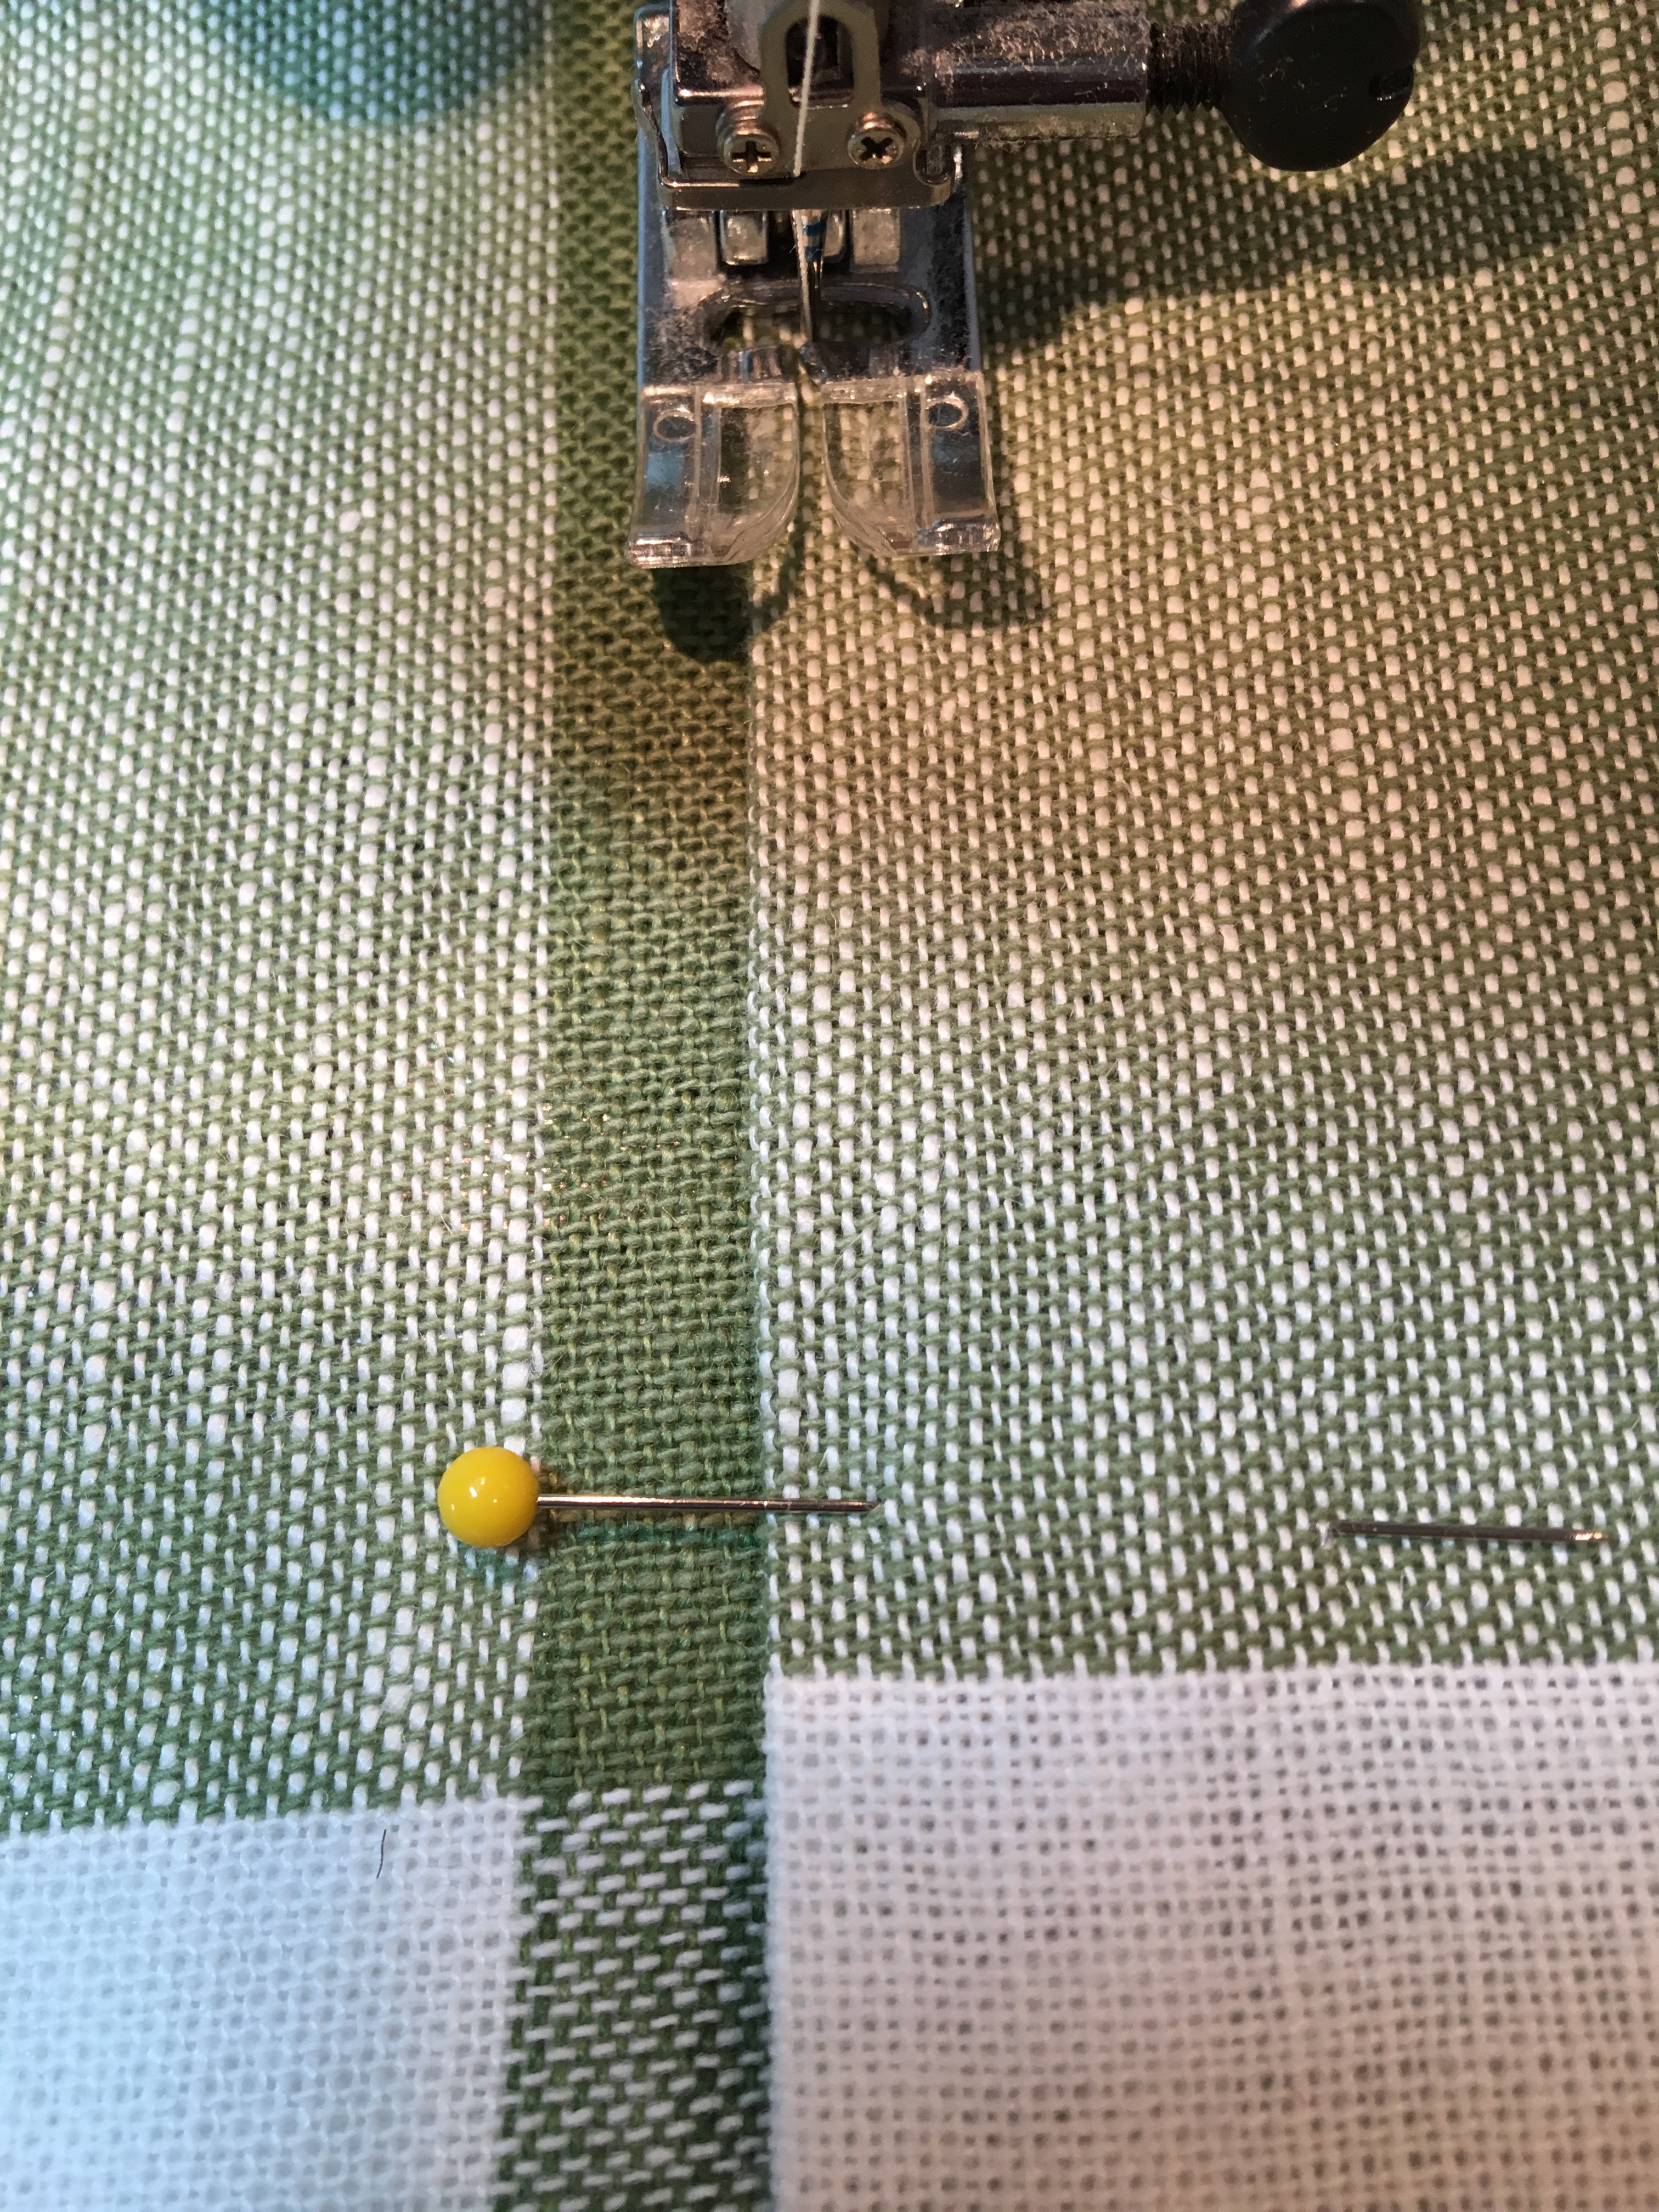
4. Sew across the bottom and down the two ends.
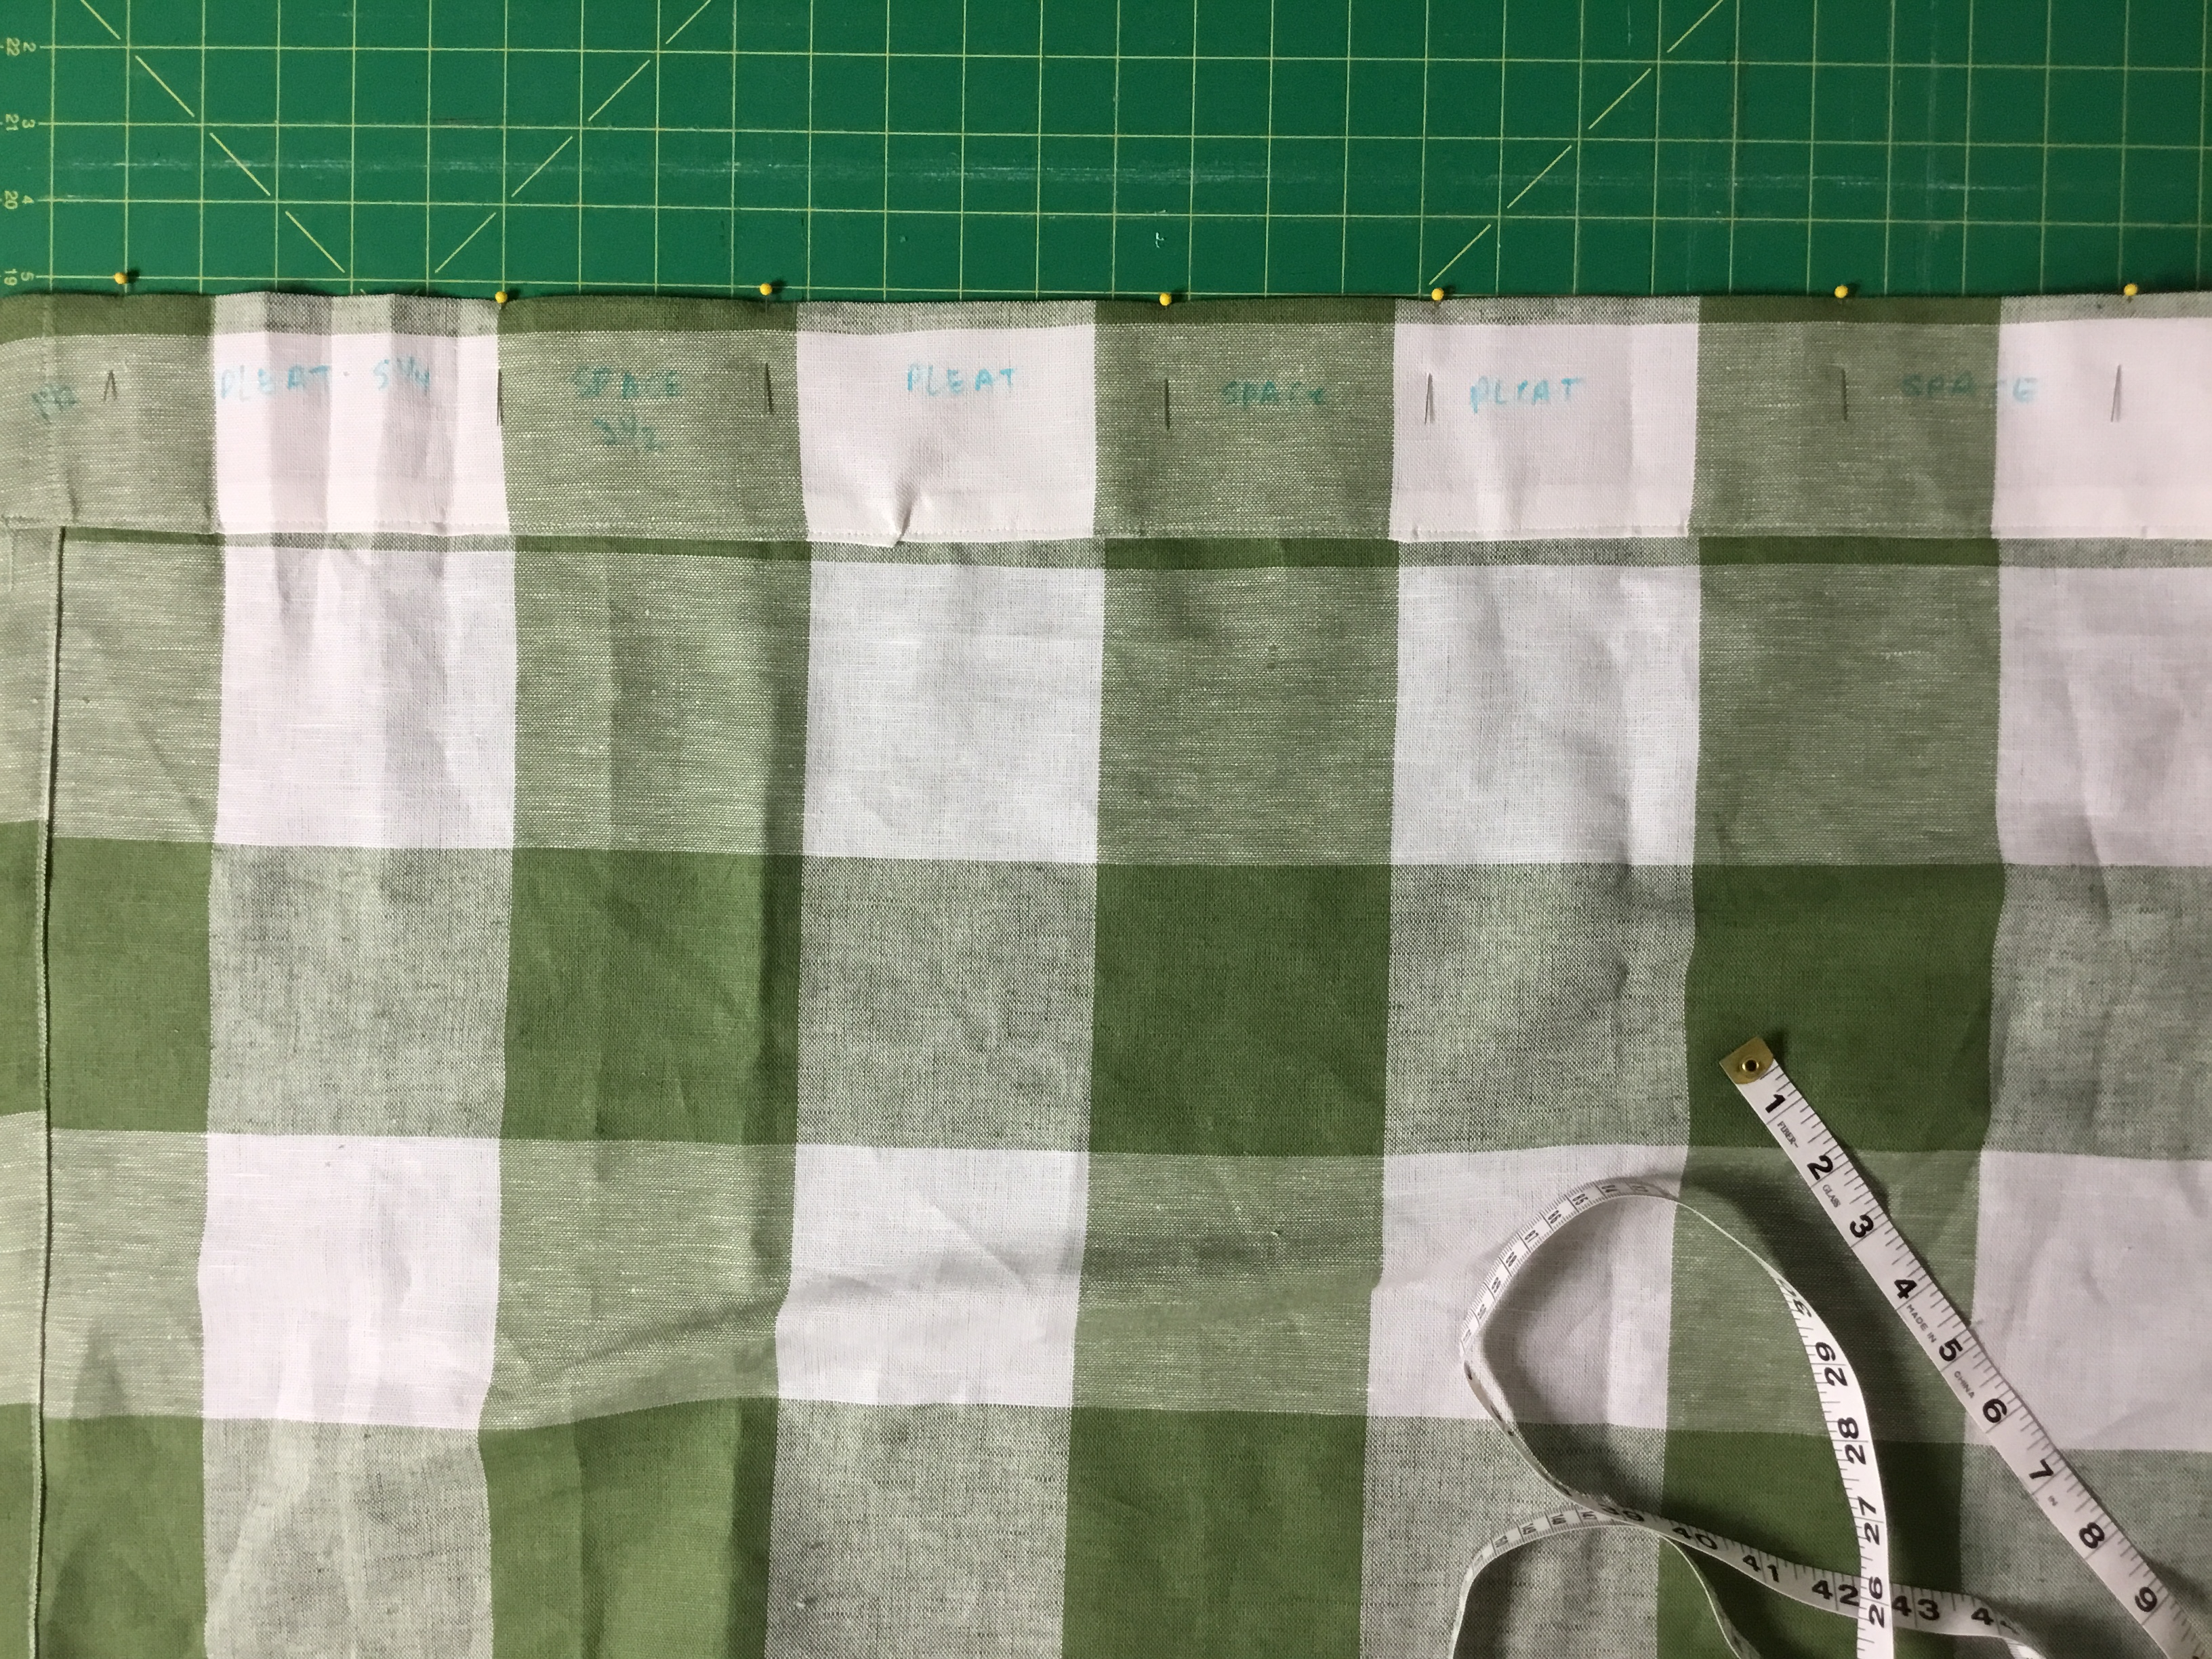
5. Next, using a fabric marker, mark off 1.5 inches in from the side edges and the beginning and end of each pleat. It also helps to label the “pleats” and the “spaces” on the wrong side of the fabric.
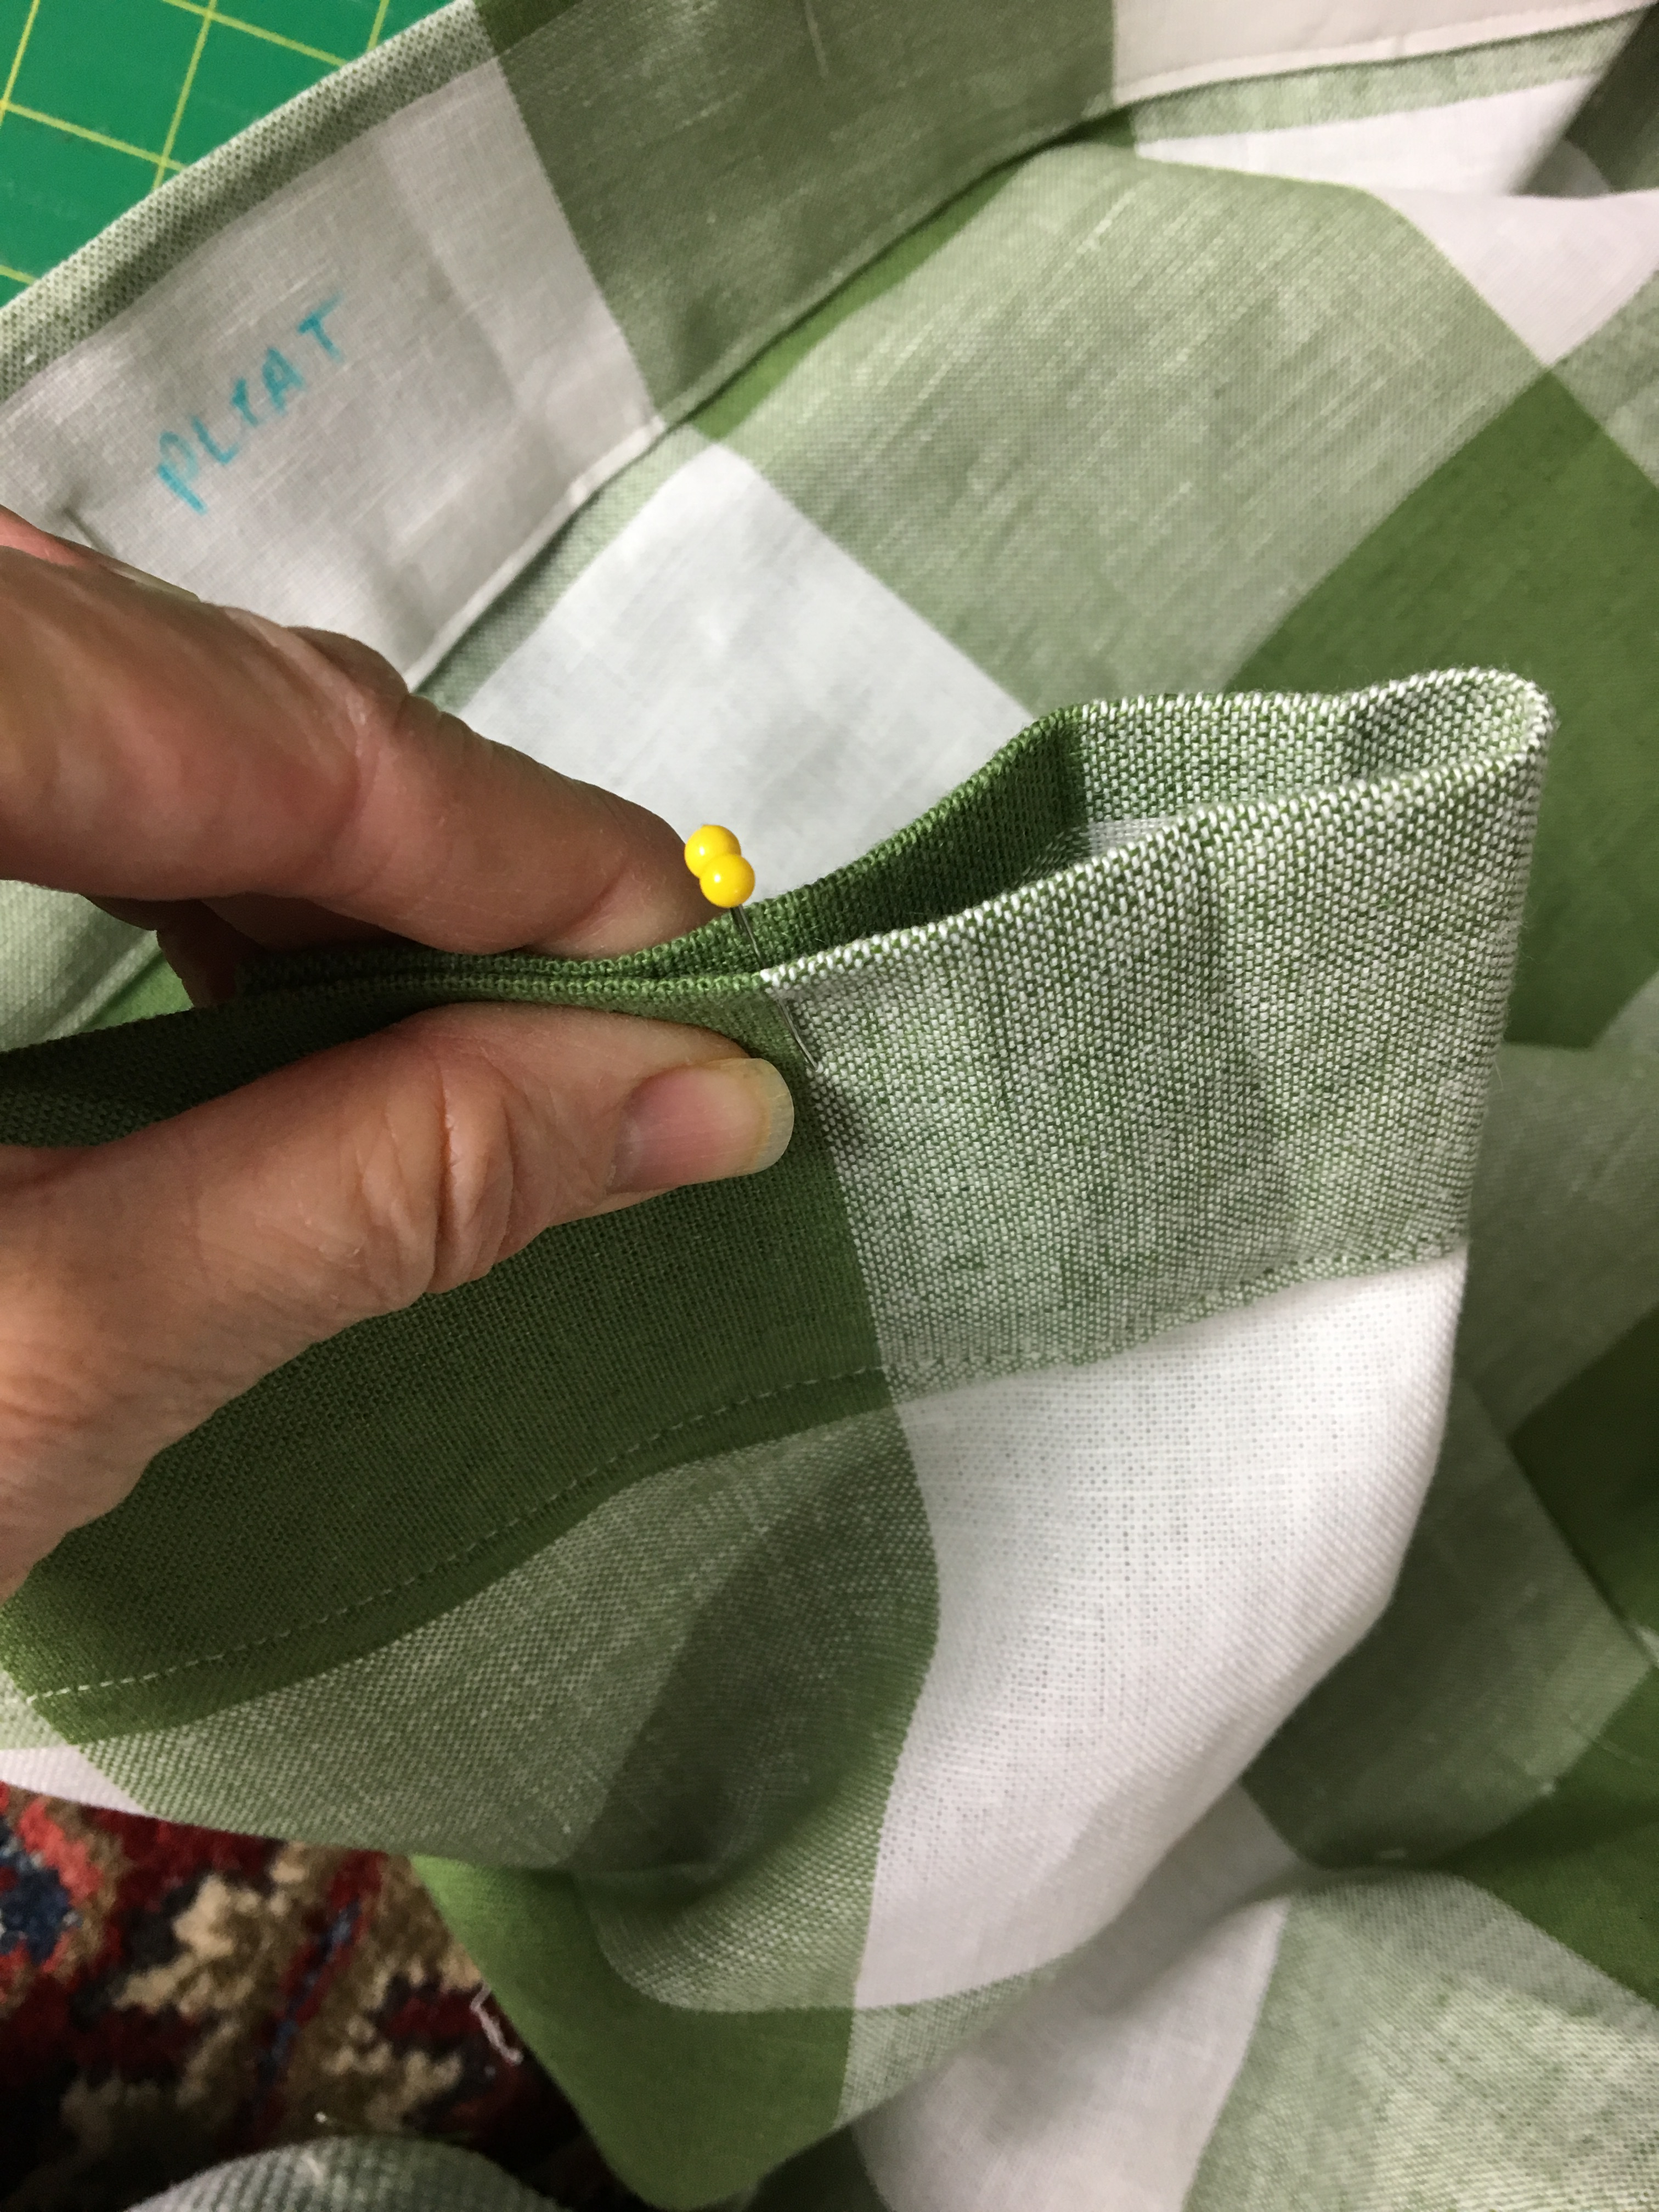
6. Fold the first pleat wrong sides together matching the marks or pins for the beginning and ending of the first pleat. Pin together and sew down the 3 inch length of the pleat.
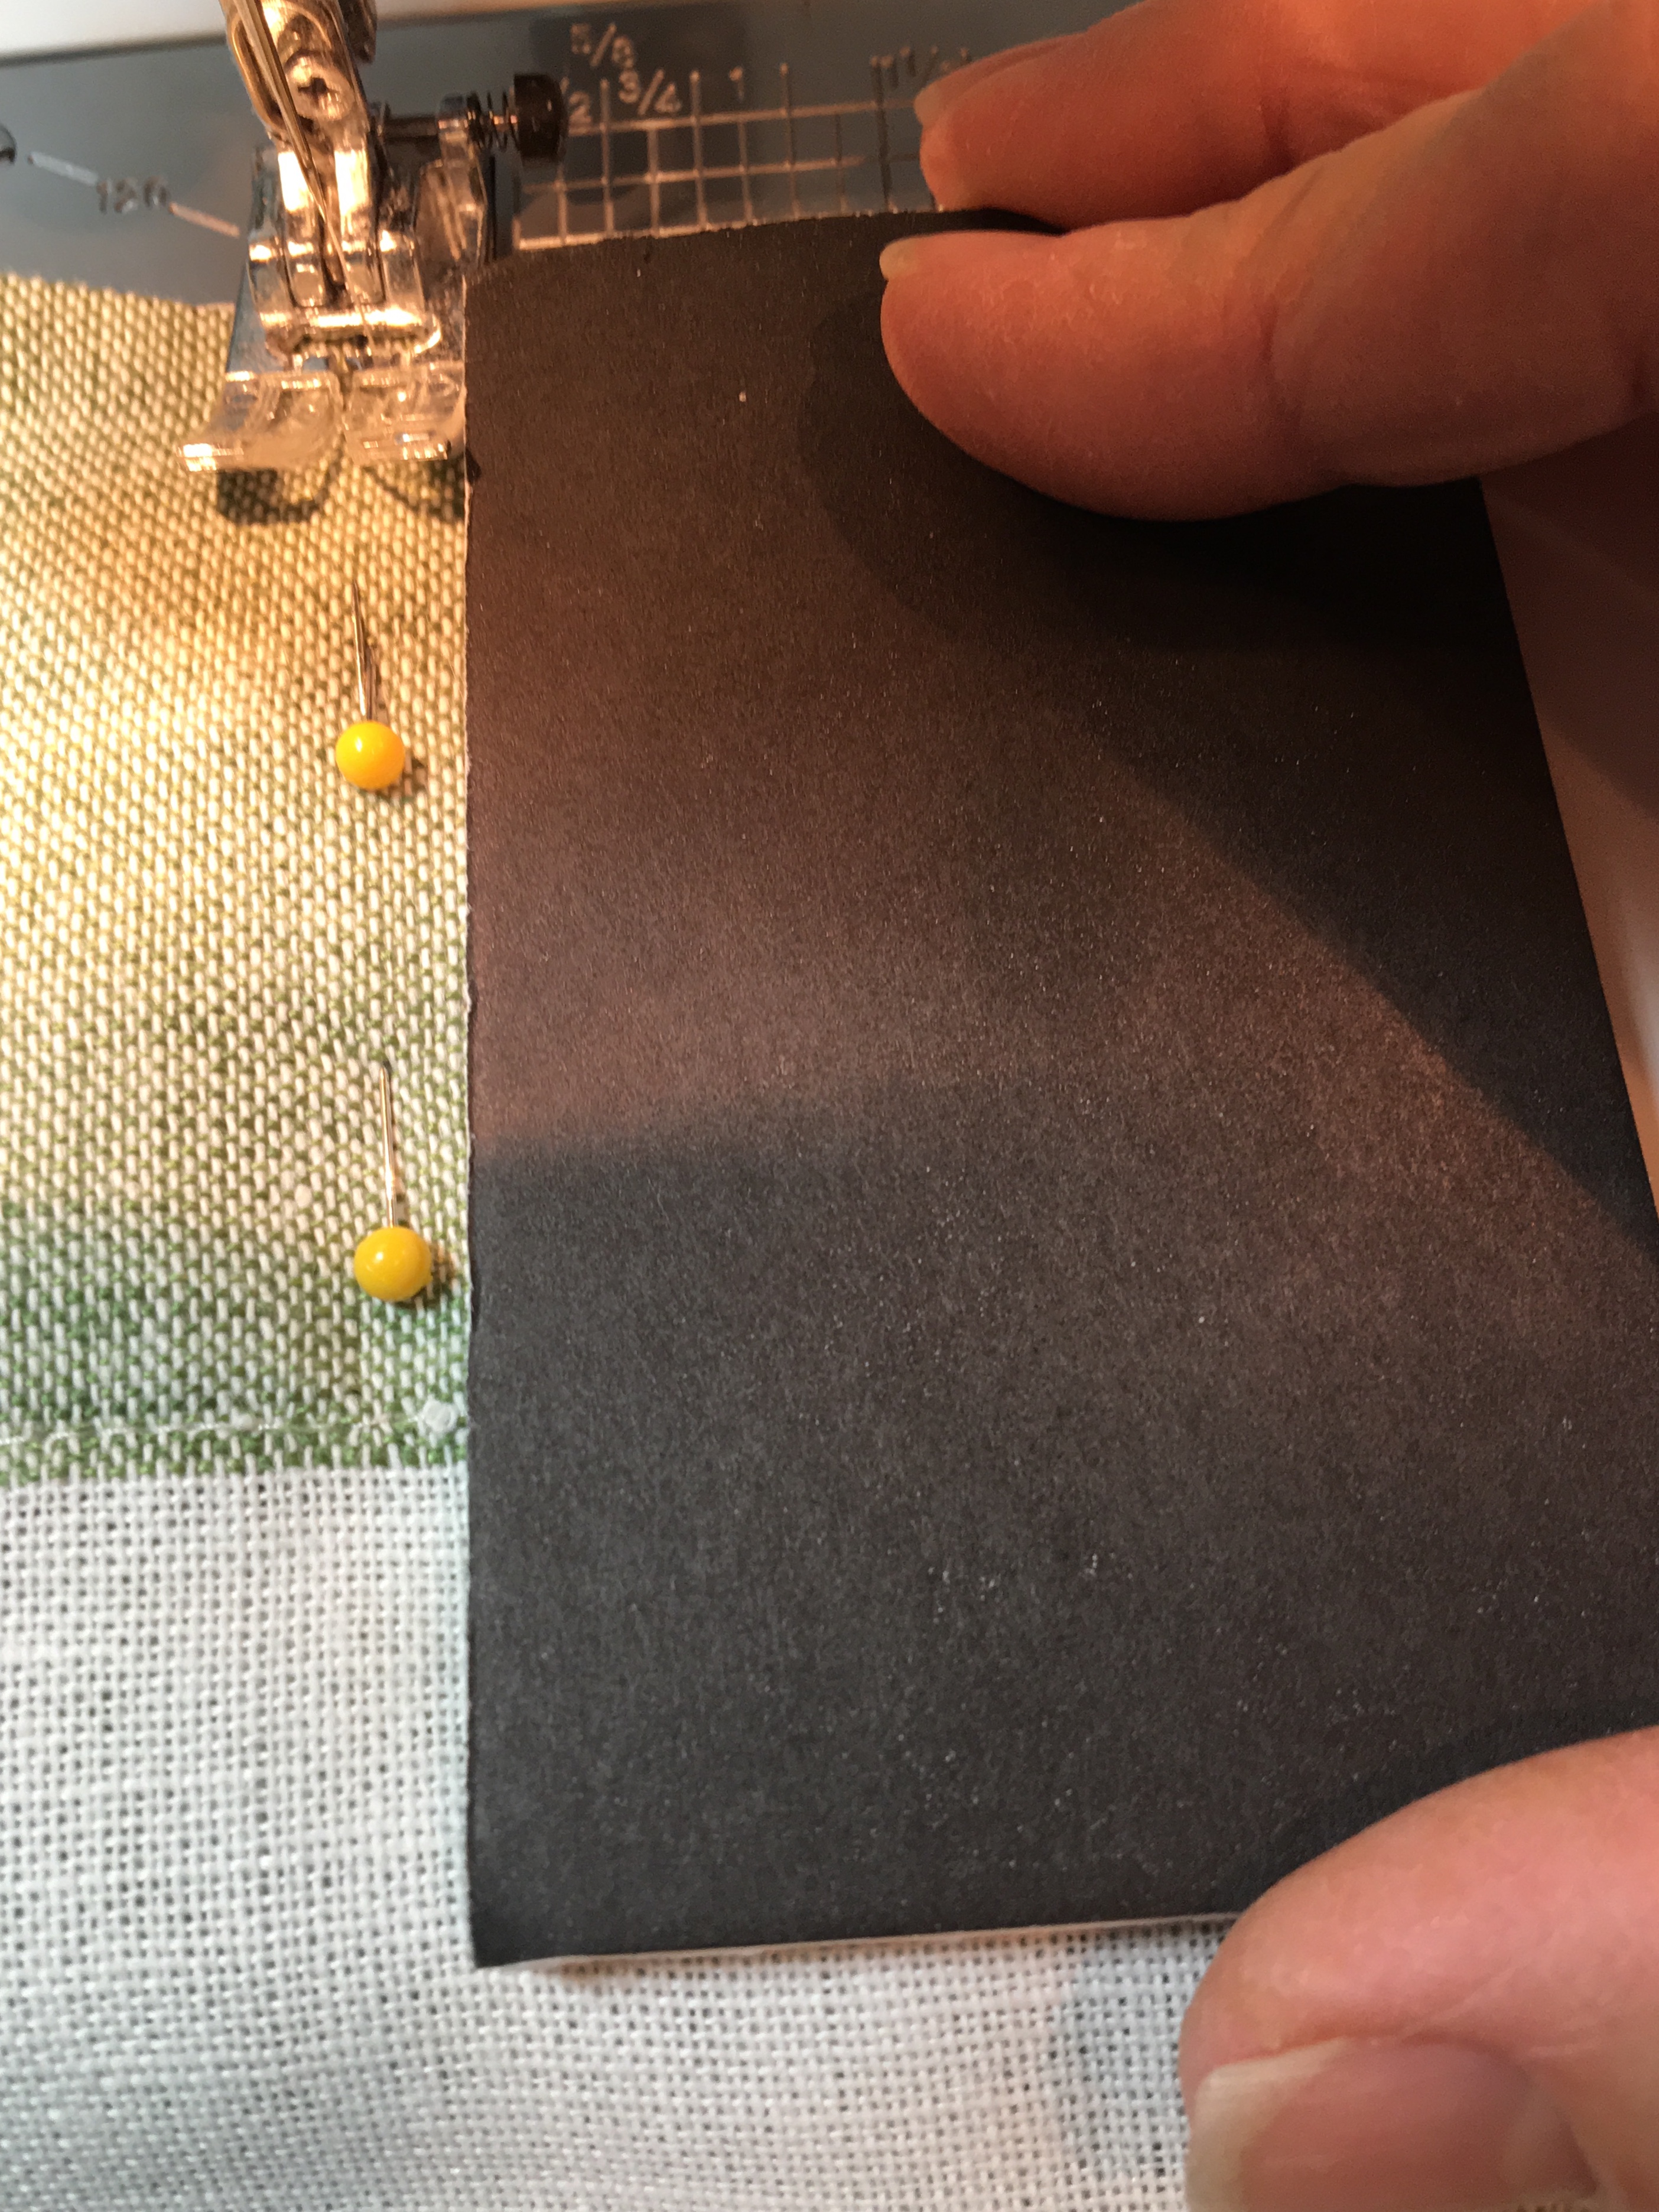
A little tip is to cut a piece of cardboard the width and length of your pleat and use it as a guide as you sew down the vertical length of the pleat.
Fold and sew the remaining pleats the same way.
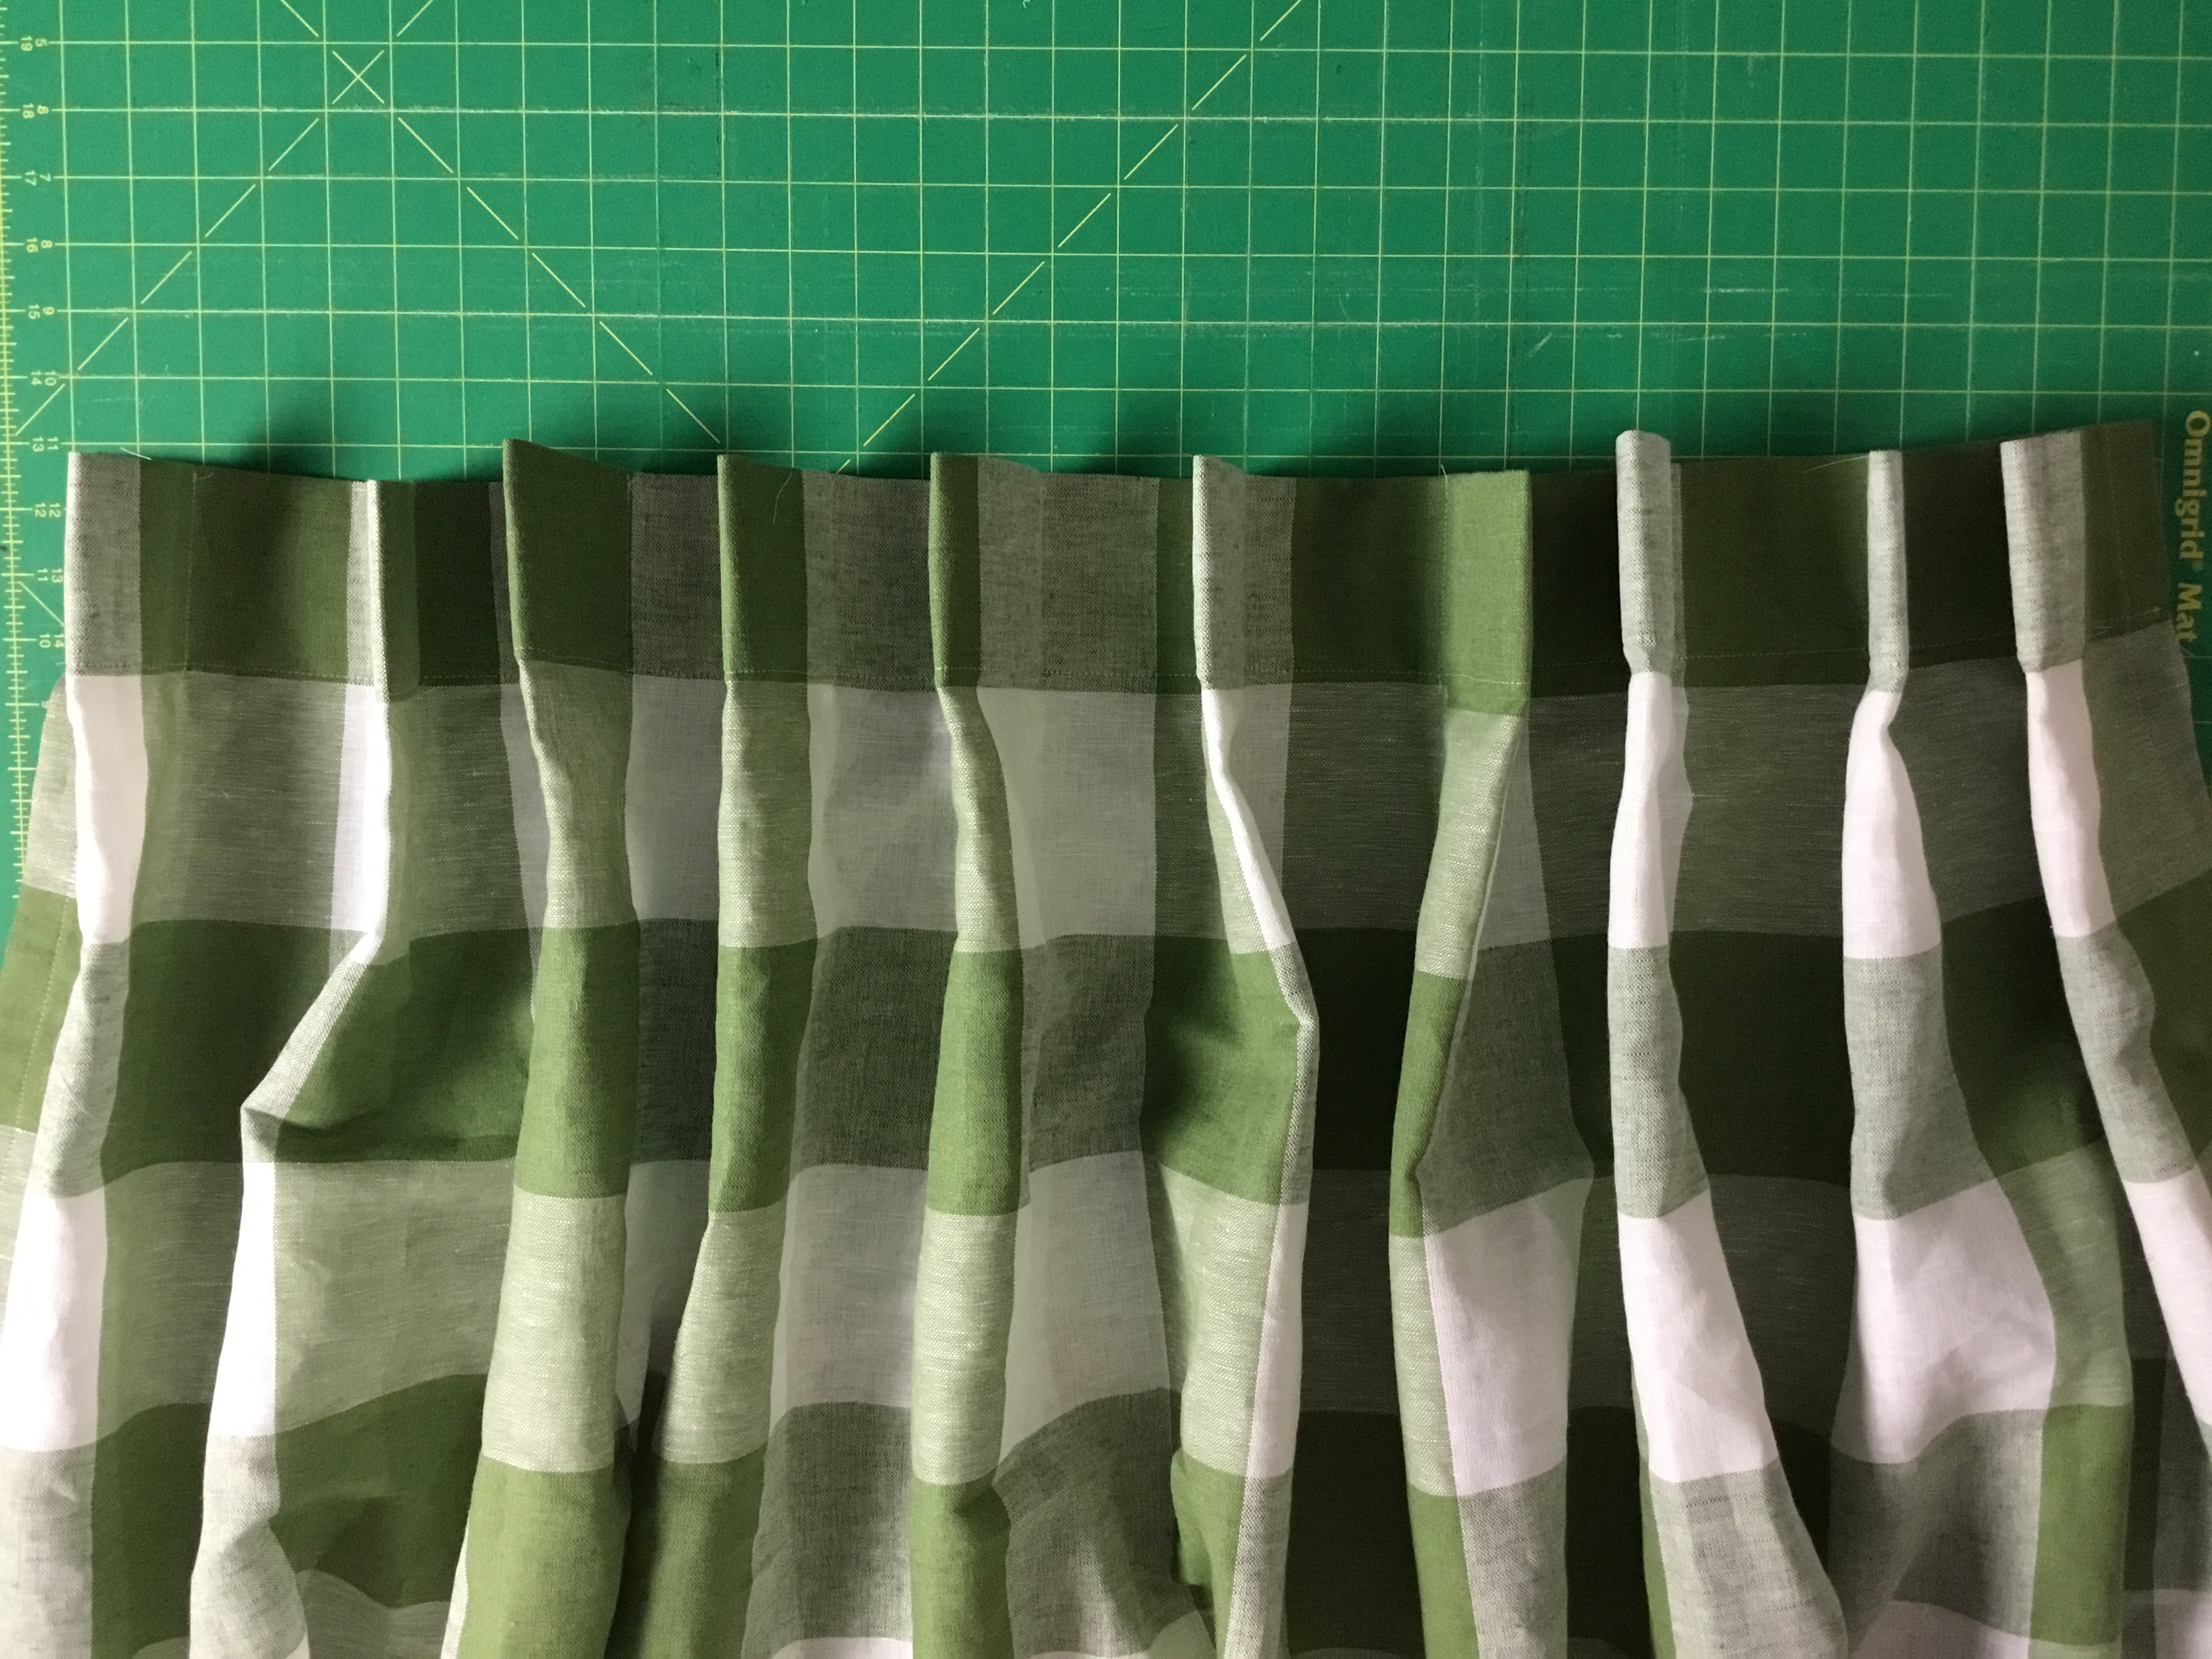
7. Now is a good time to hold your curtain up to the opening and make sure it fits across the width of the opening. If not, you can adjust the first and last pleats by making them bigger or smaller. Better to rip out a few stitches now, than after the pleats are finished!
8. Now we need to form the pleats. Pinch the center of each pleat so as to form 3 sections that are roughly equal. Push down against the seam that you sewed to create the pleat.
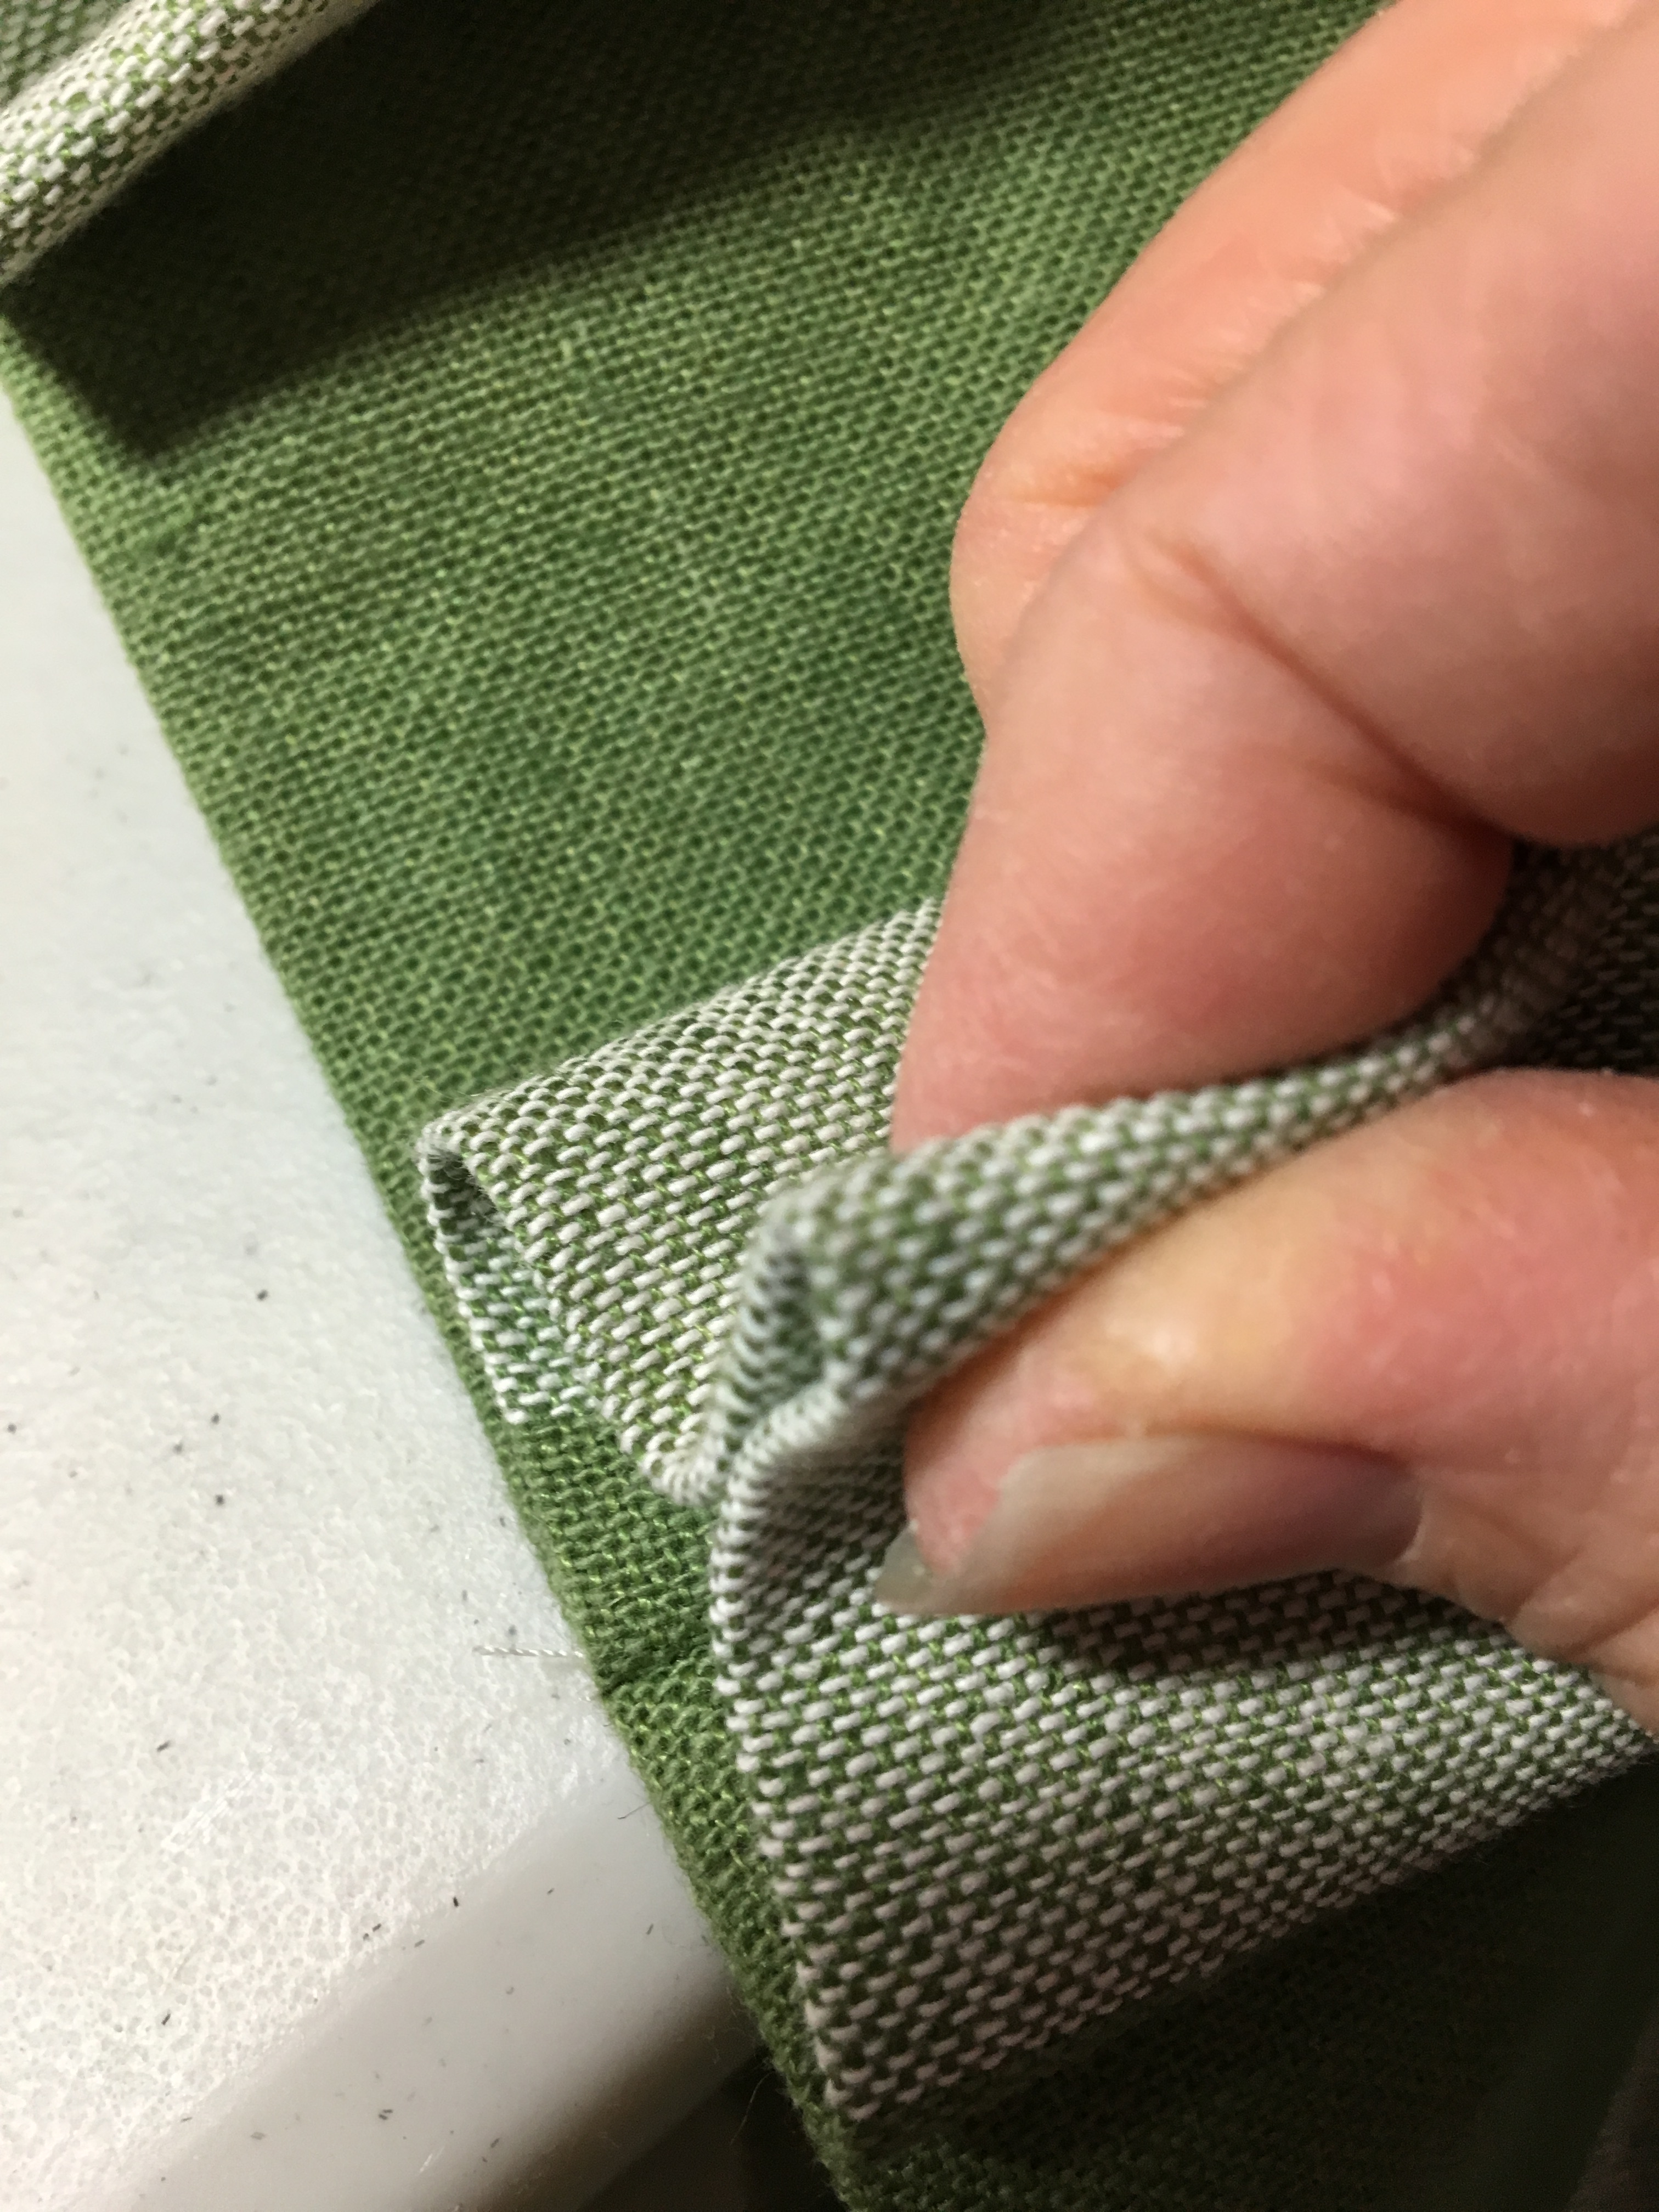
Finger press the pleat and hold all 3 sections of the pleat together like this:
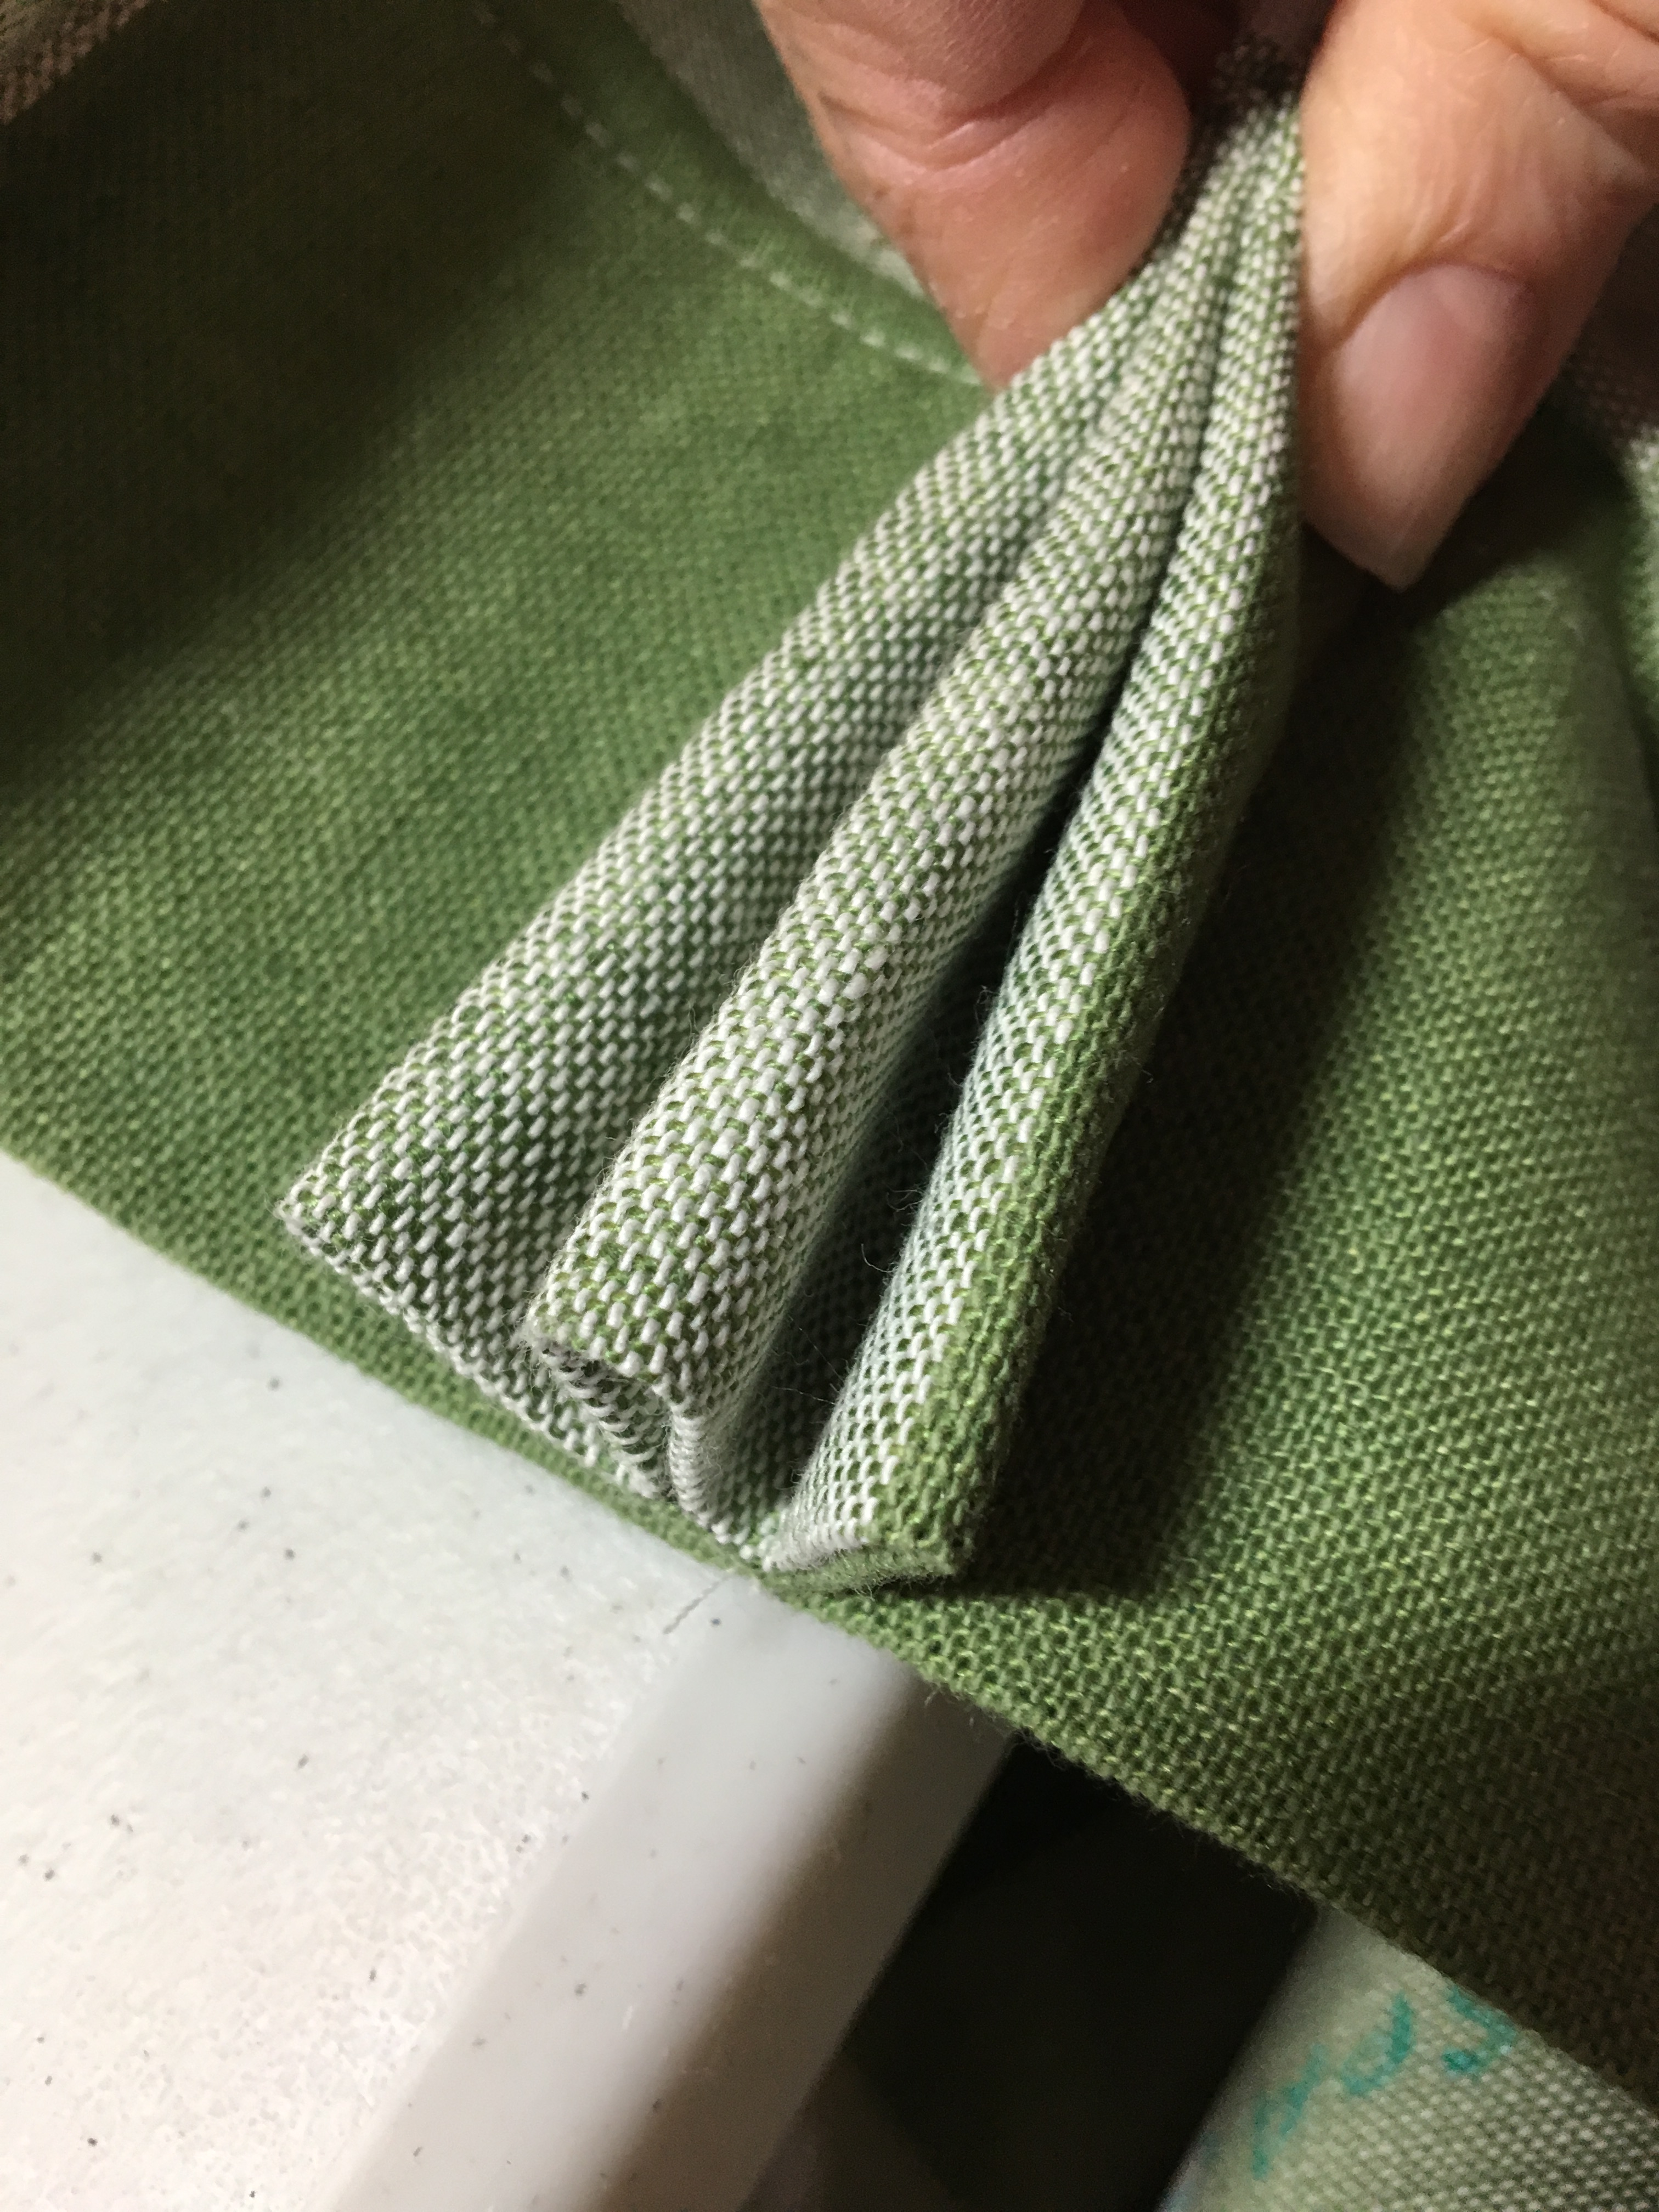
Sew across the bottom of each pleat from your vertical stitching line to the front of the pleat.
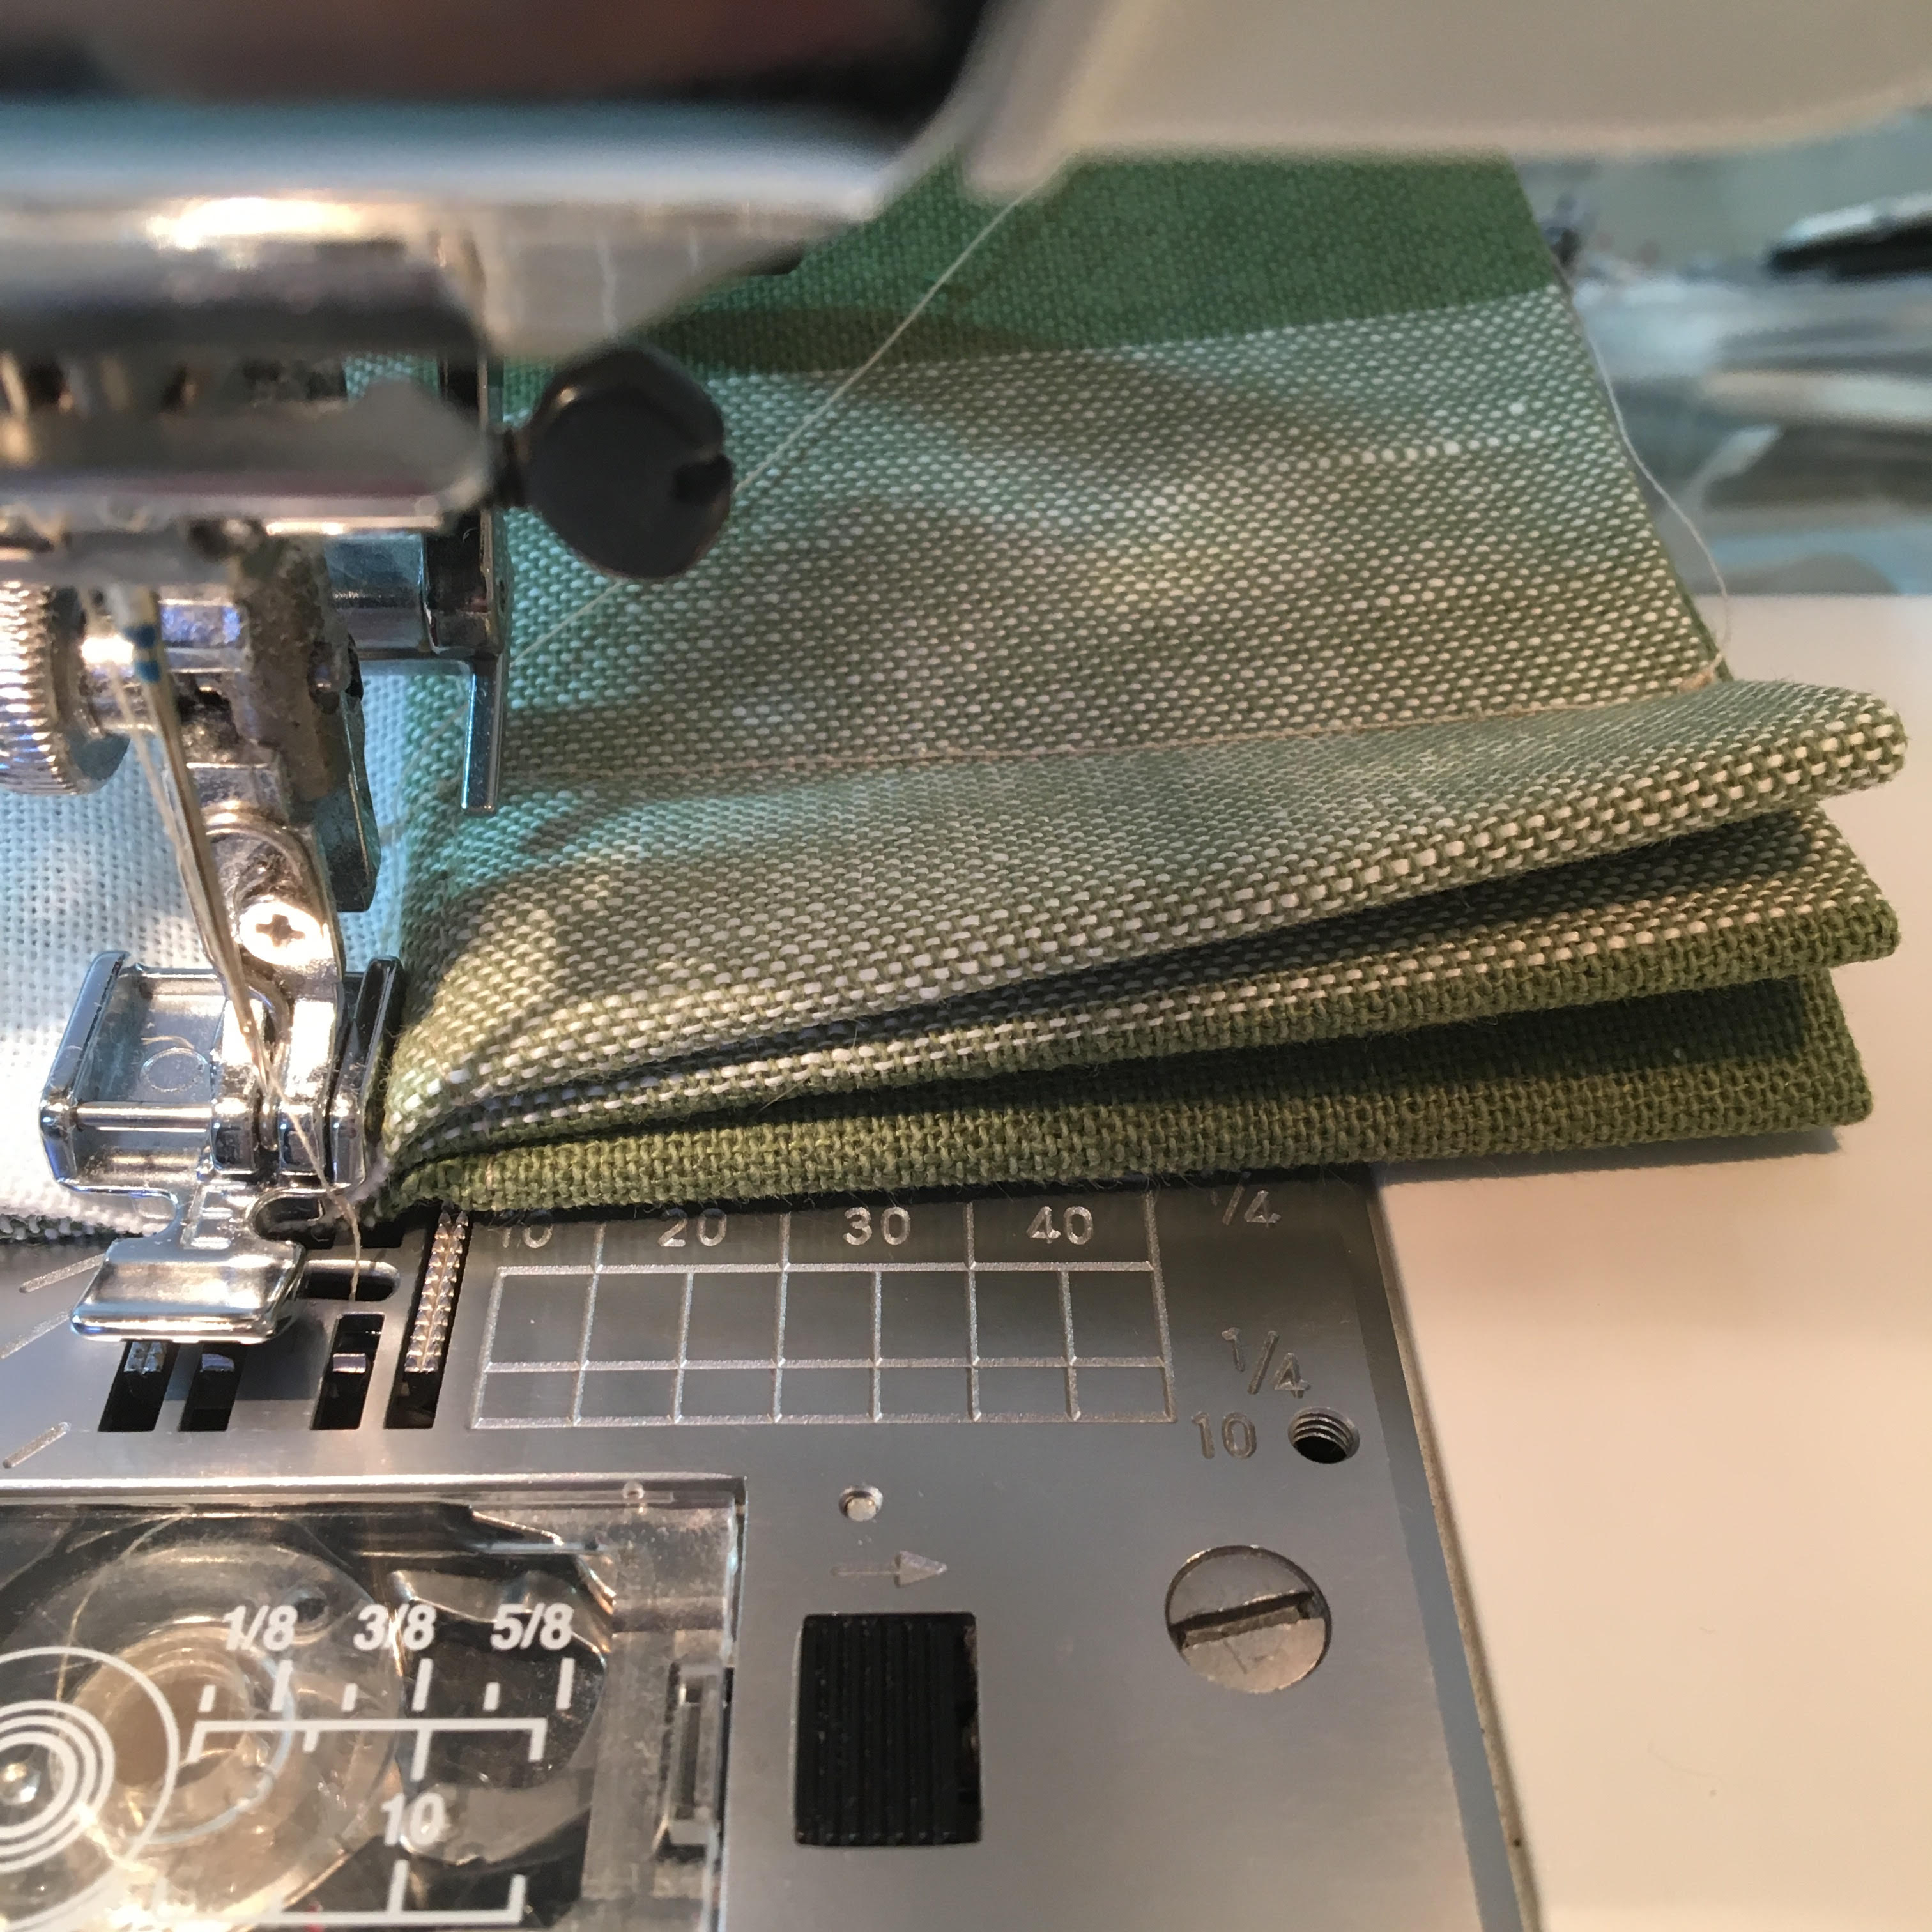
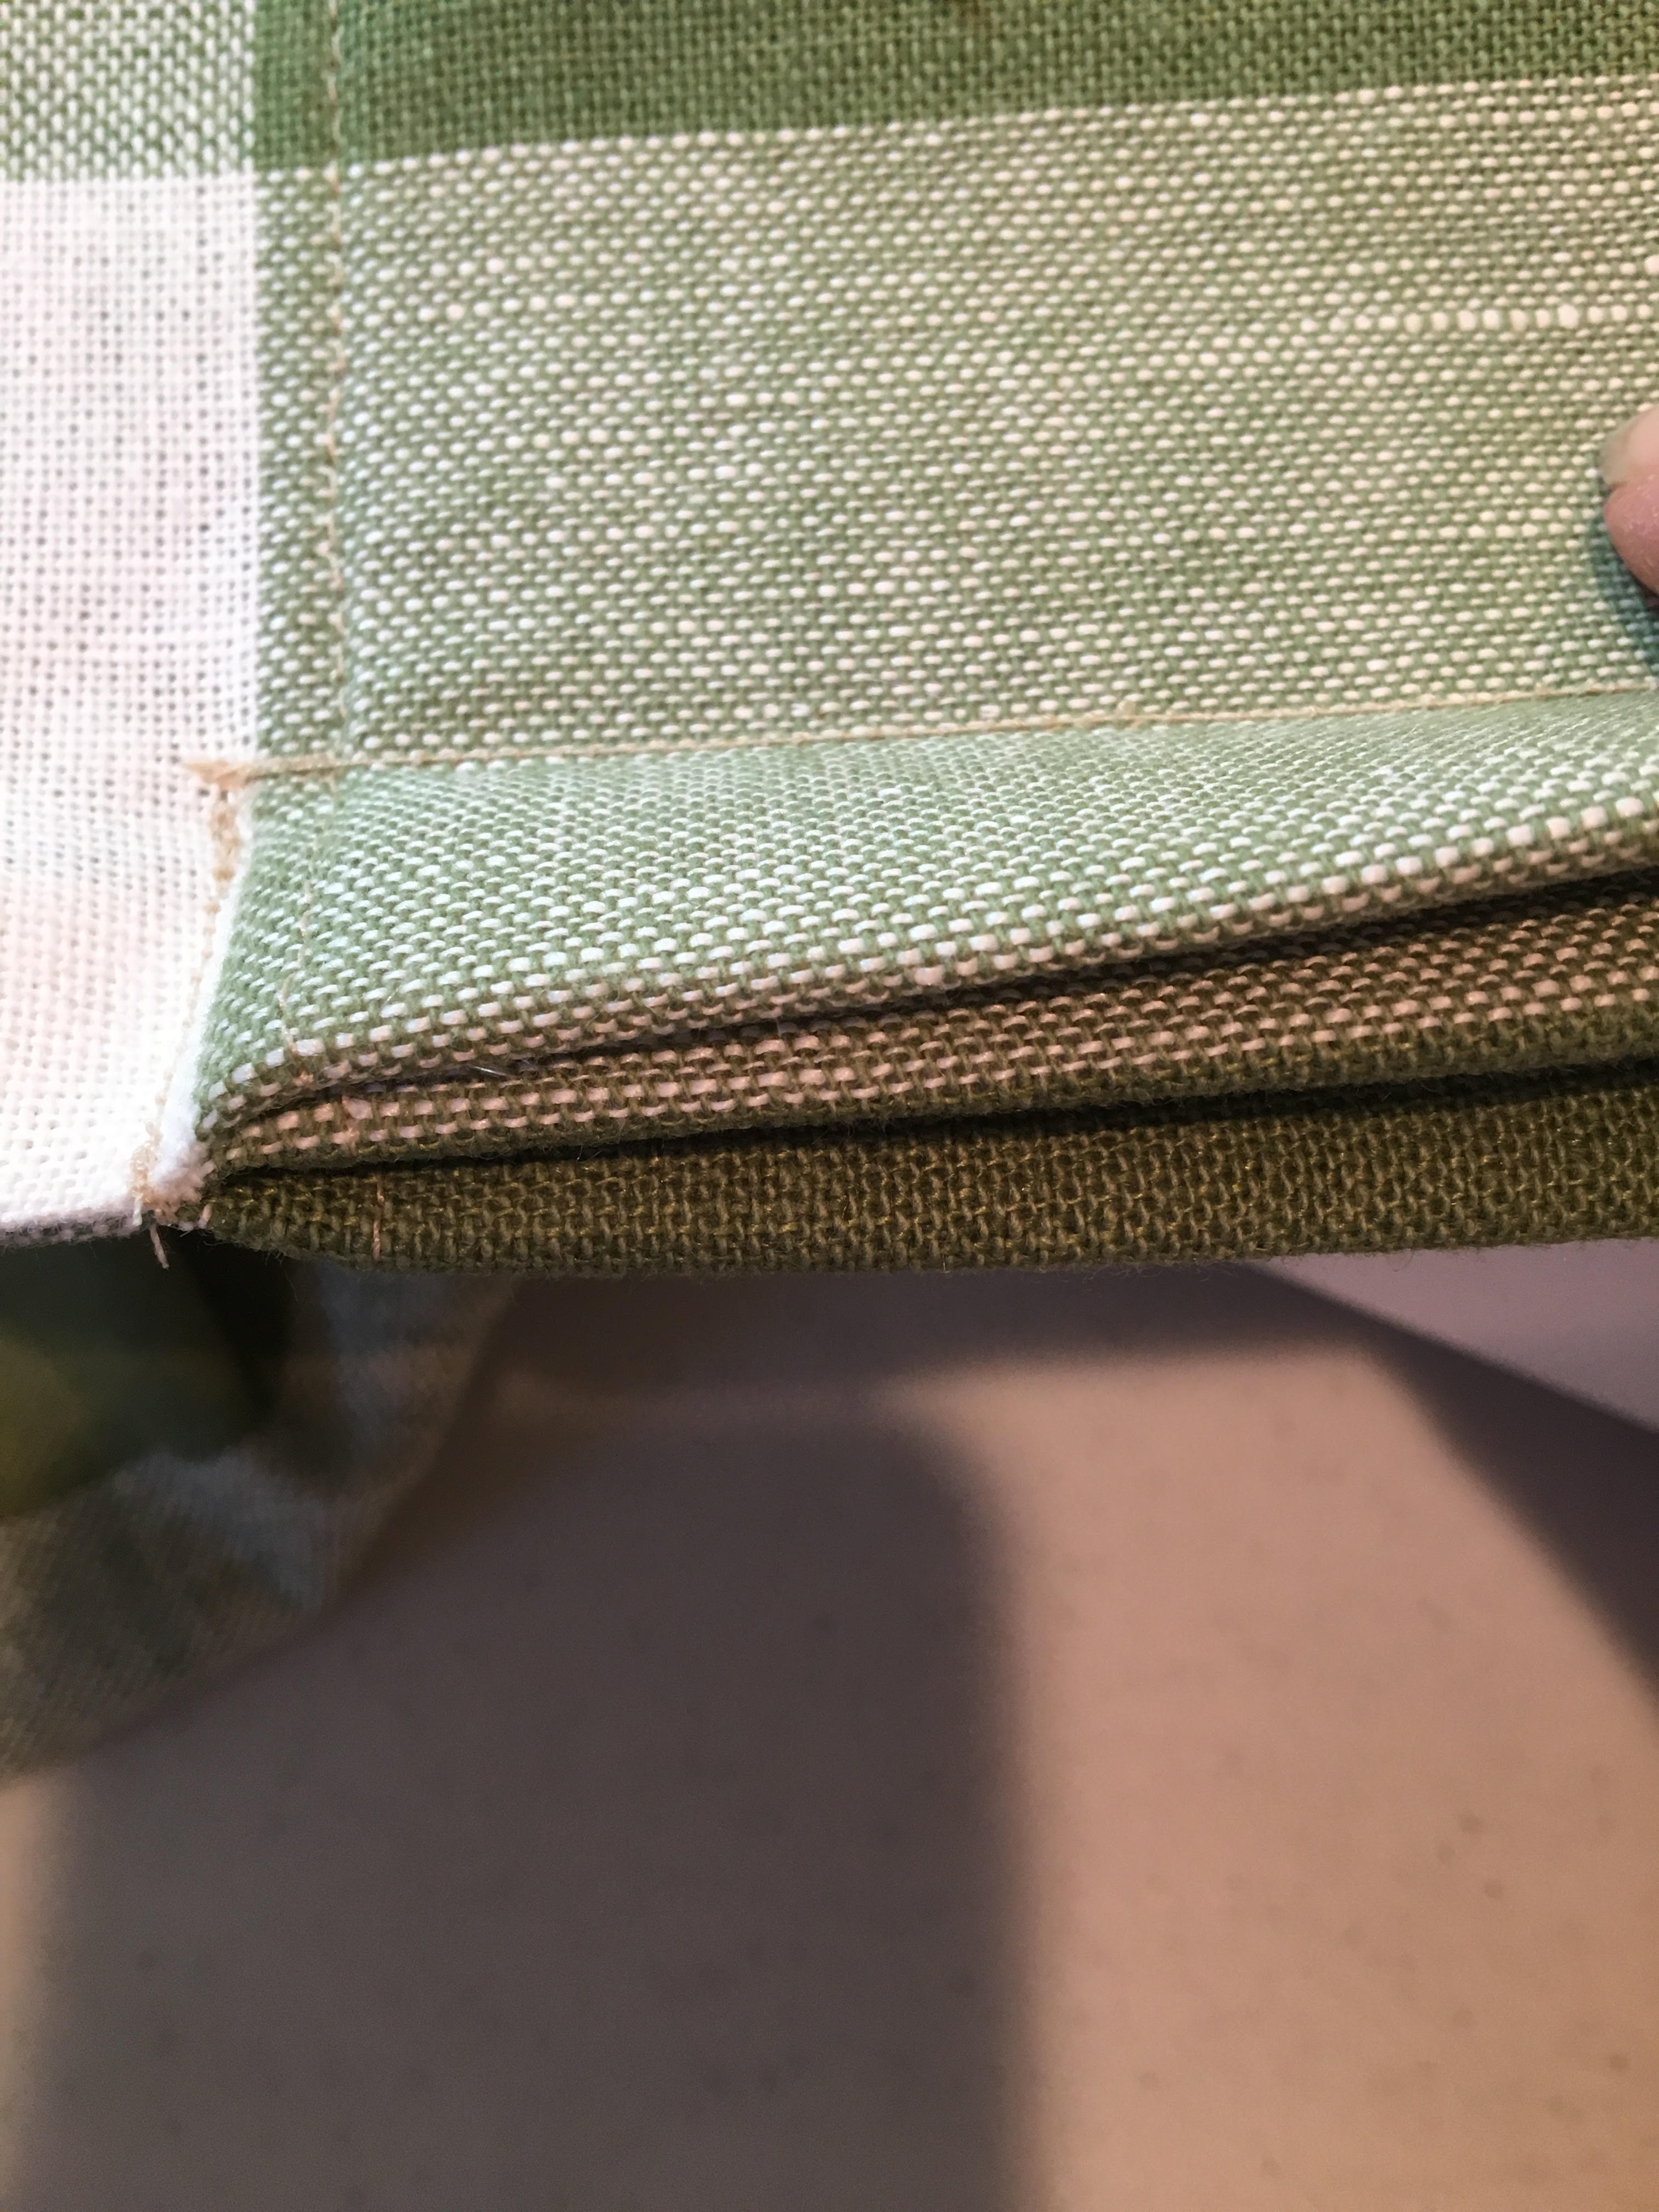
9. Now lay the center of the pleat to the right side. Sew down from the top of the pleat about 1 inch.
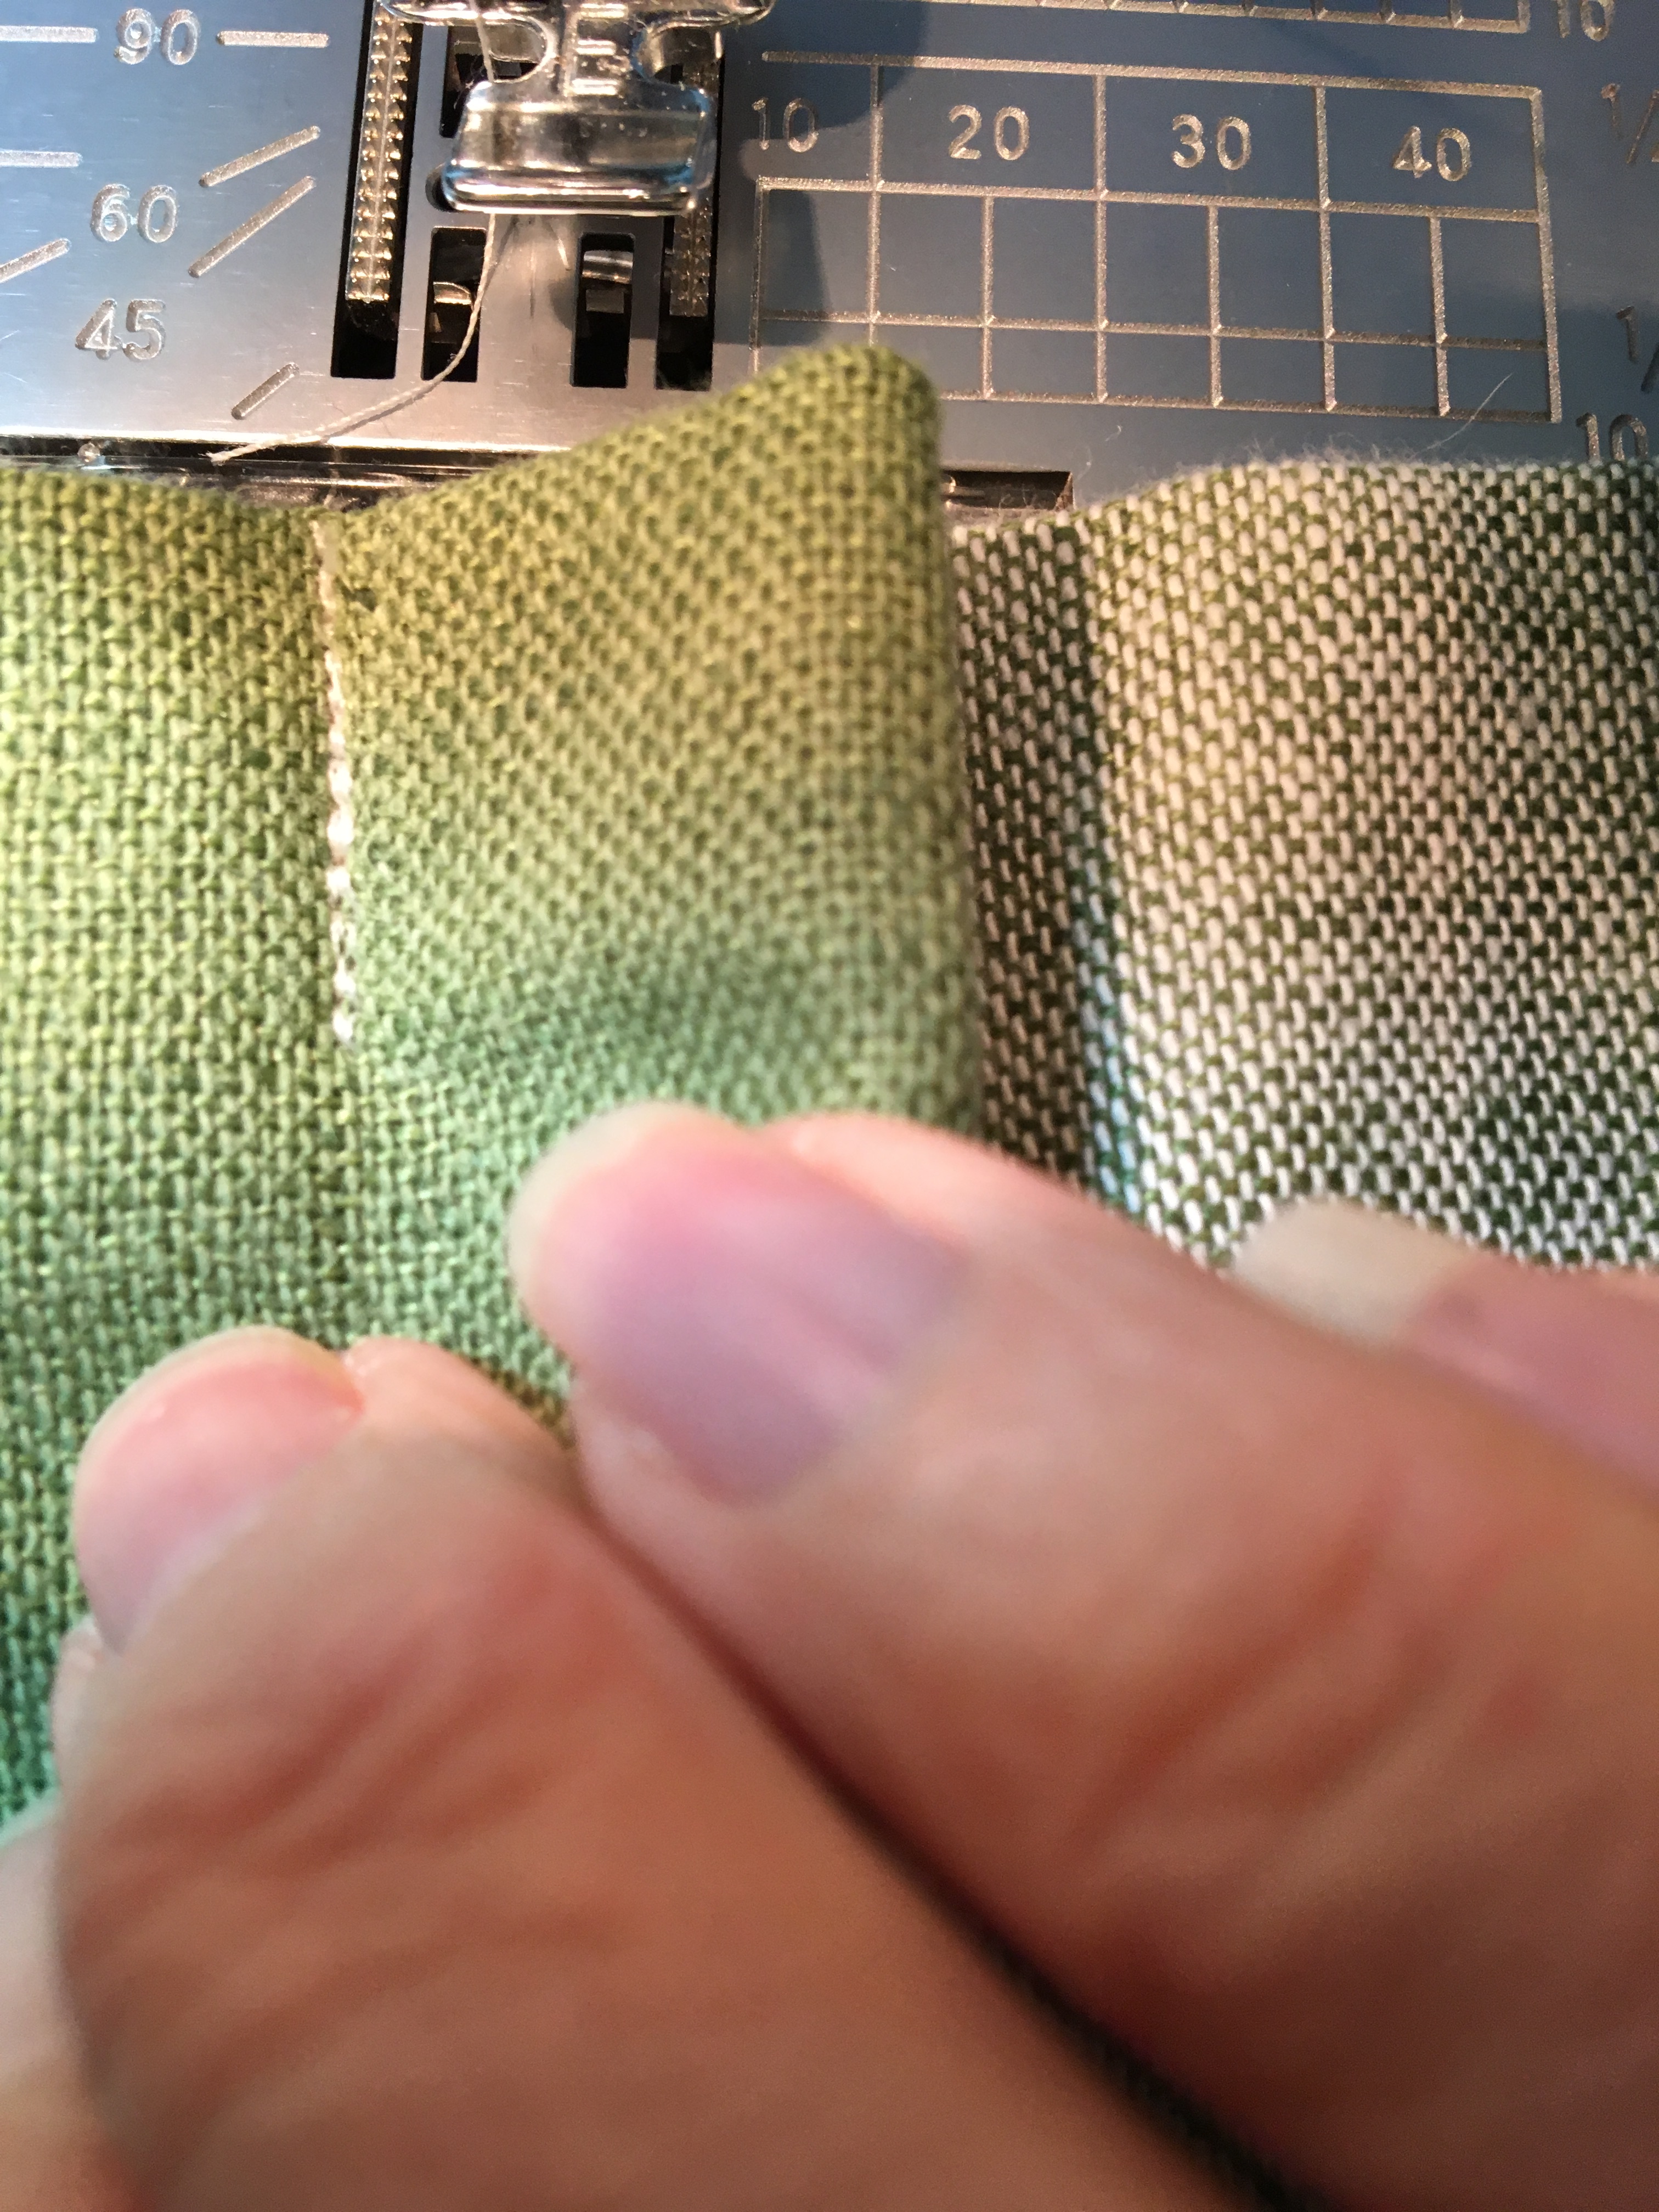
10. Then lay the center of your pleat to the left side and sew down about 1 inch on the other side of the center pleat.
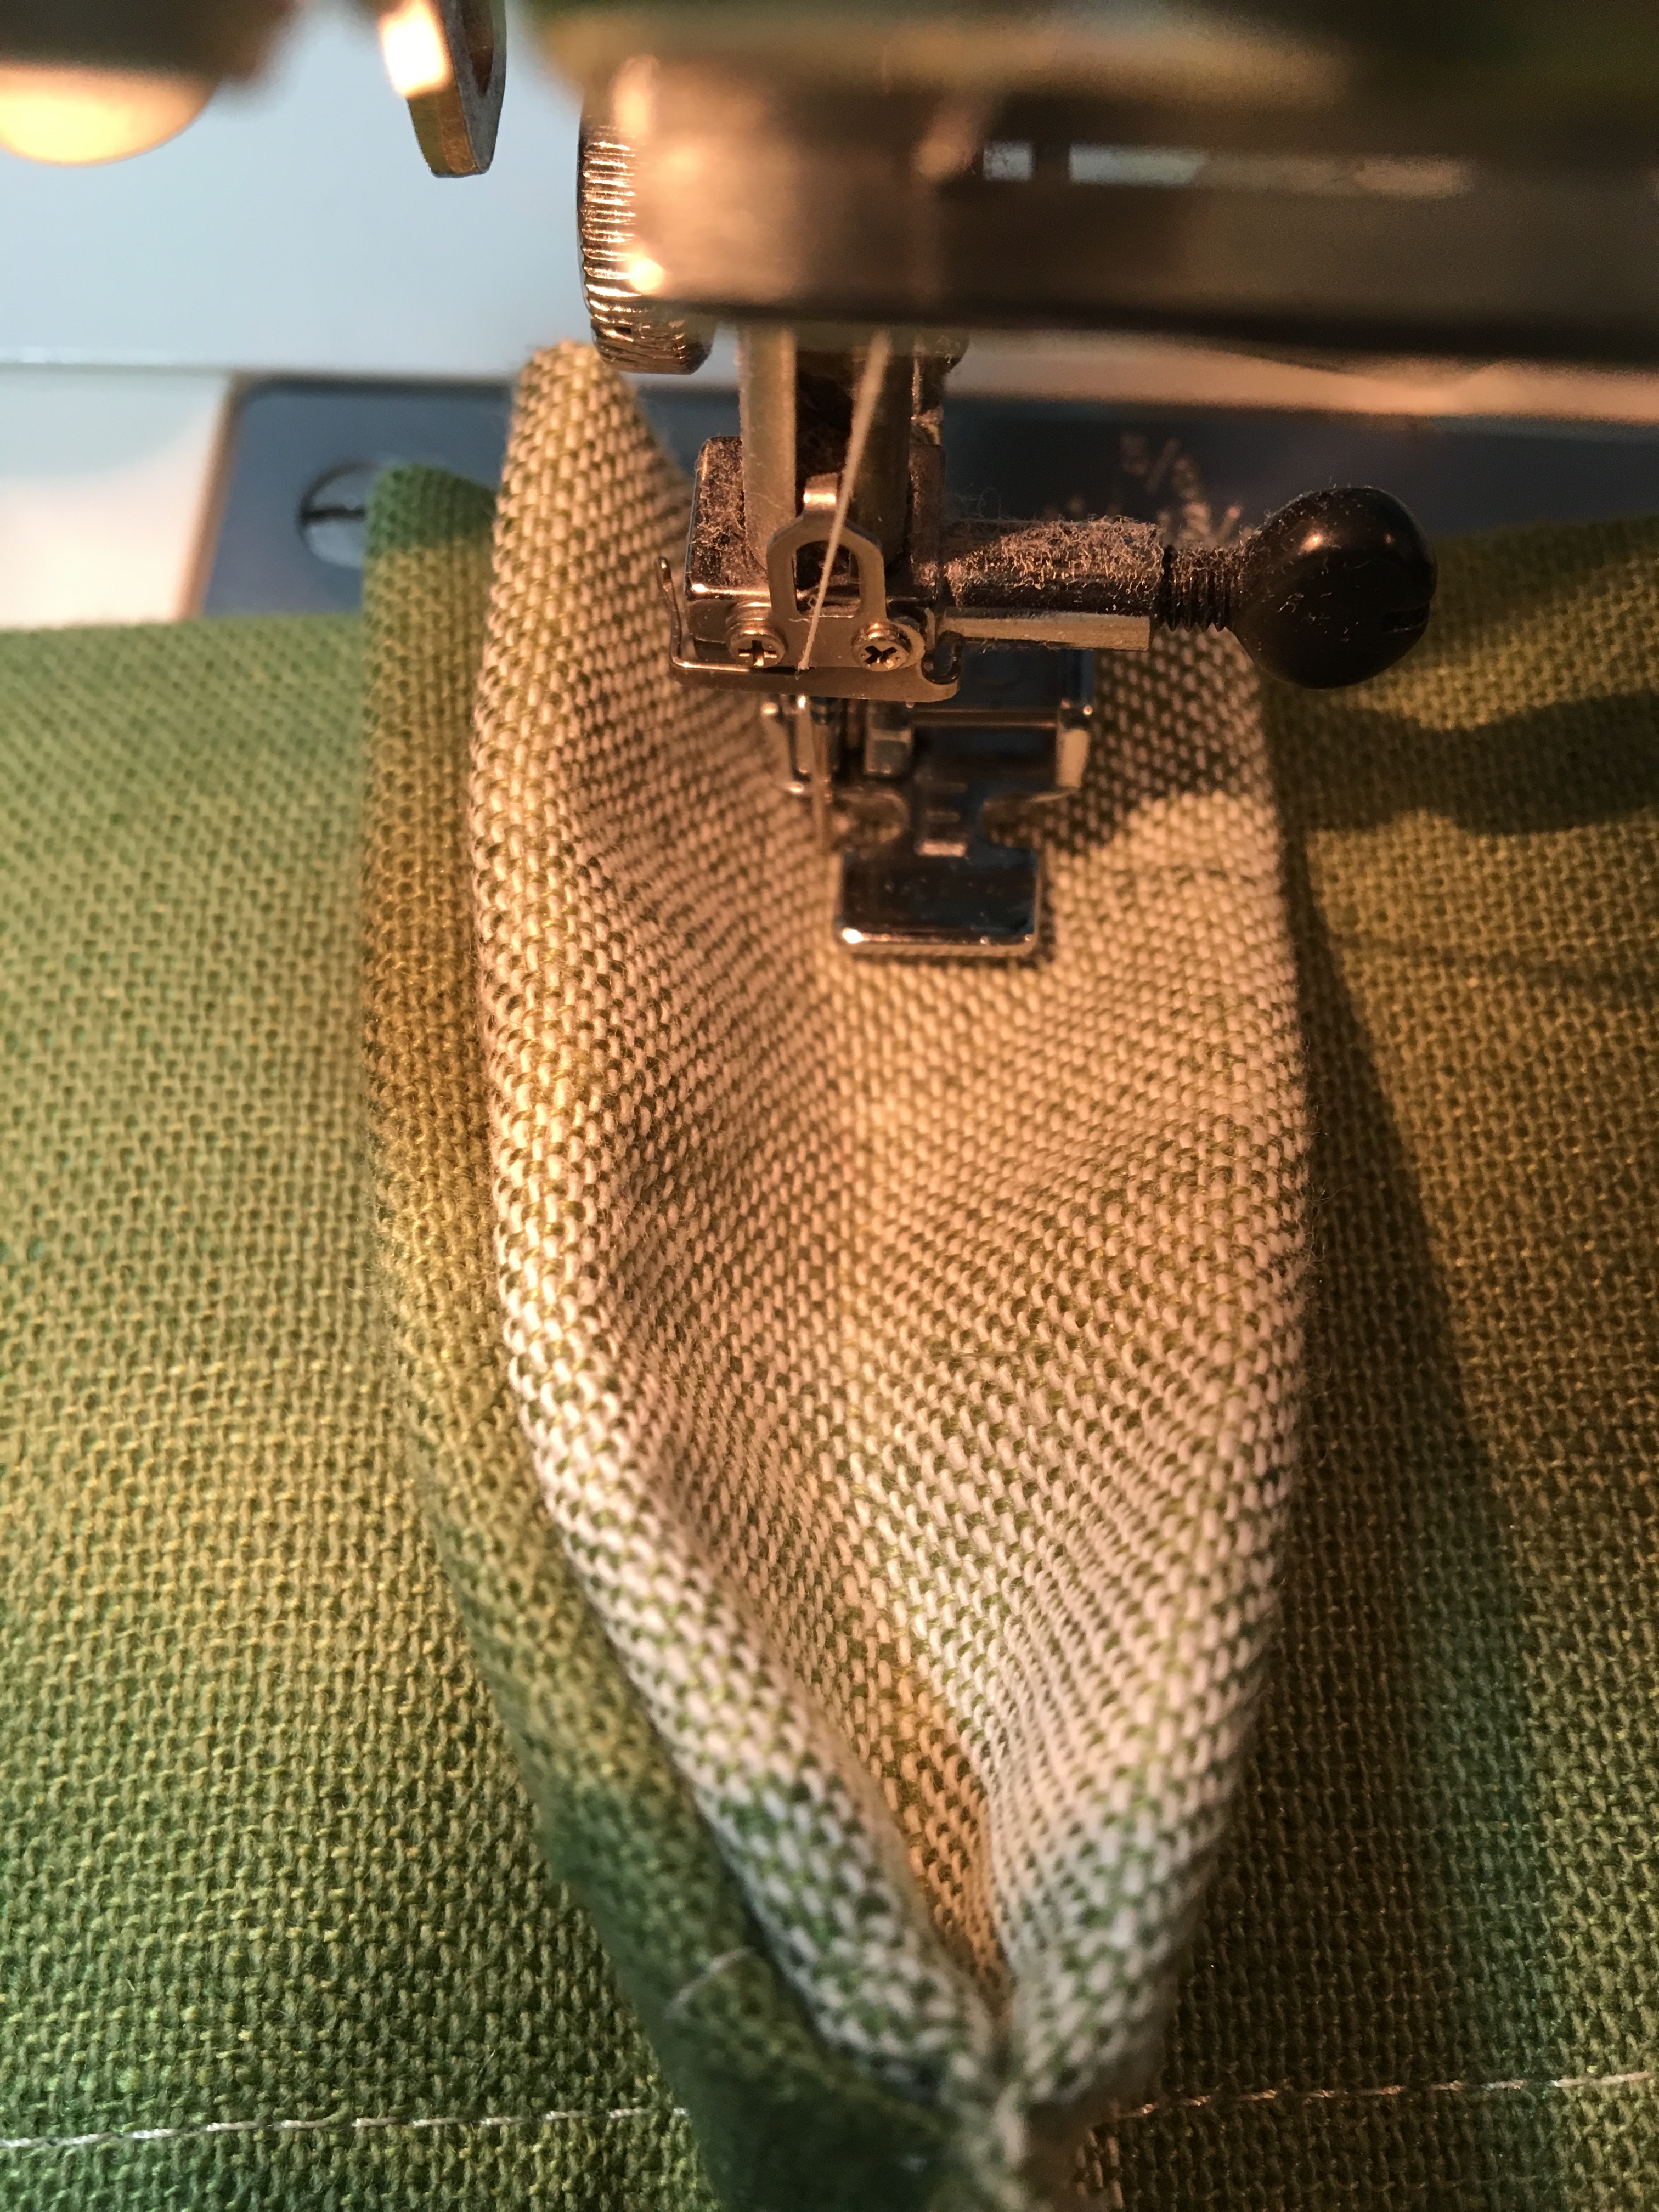
This completes the pleat! Repeat this process for the remaining pleats.
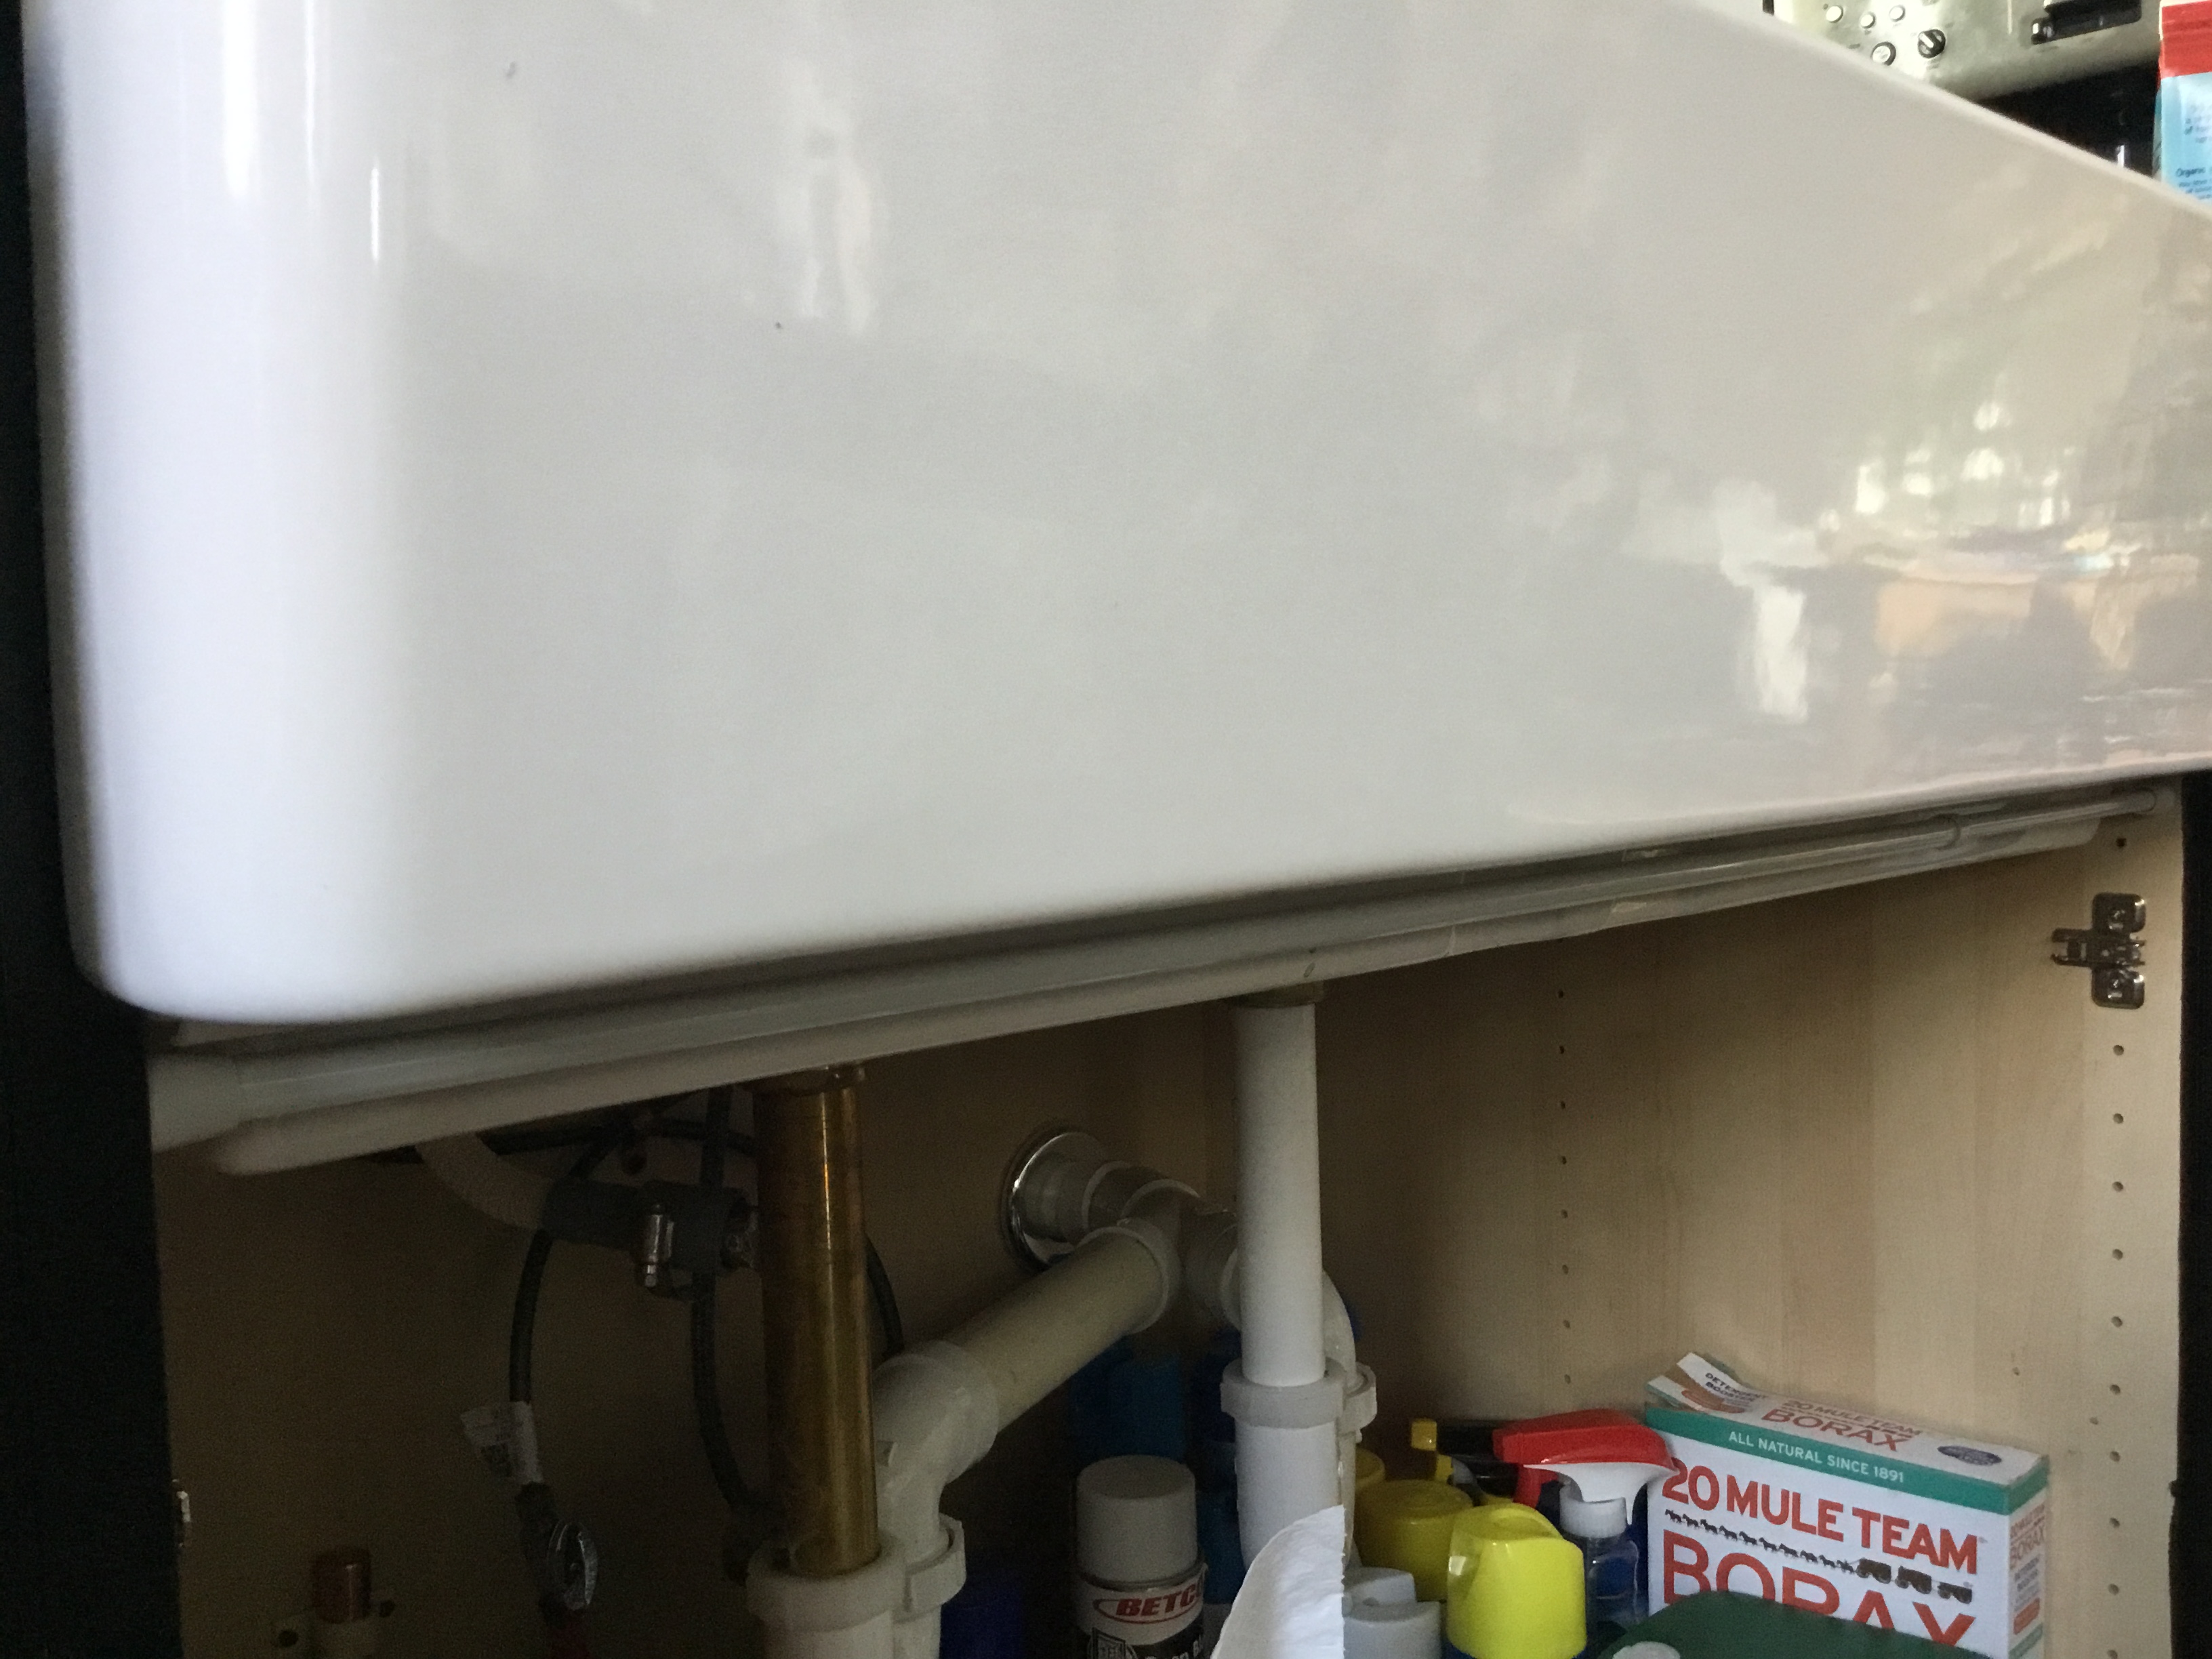
11. Position your tension rod inside the opening below your sink.
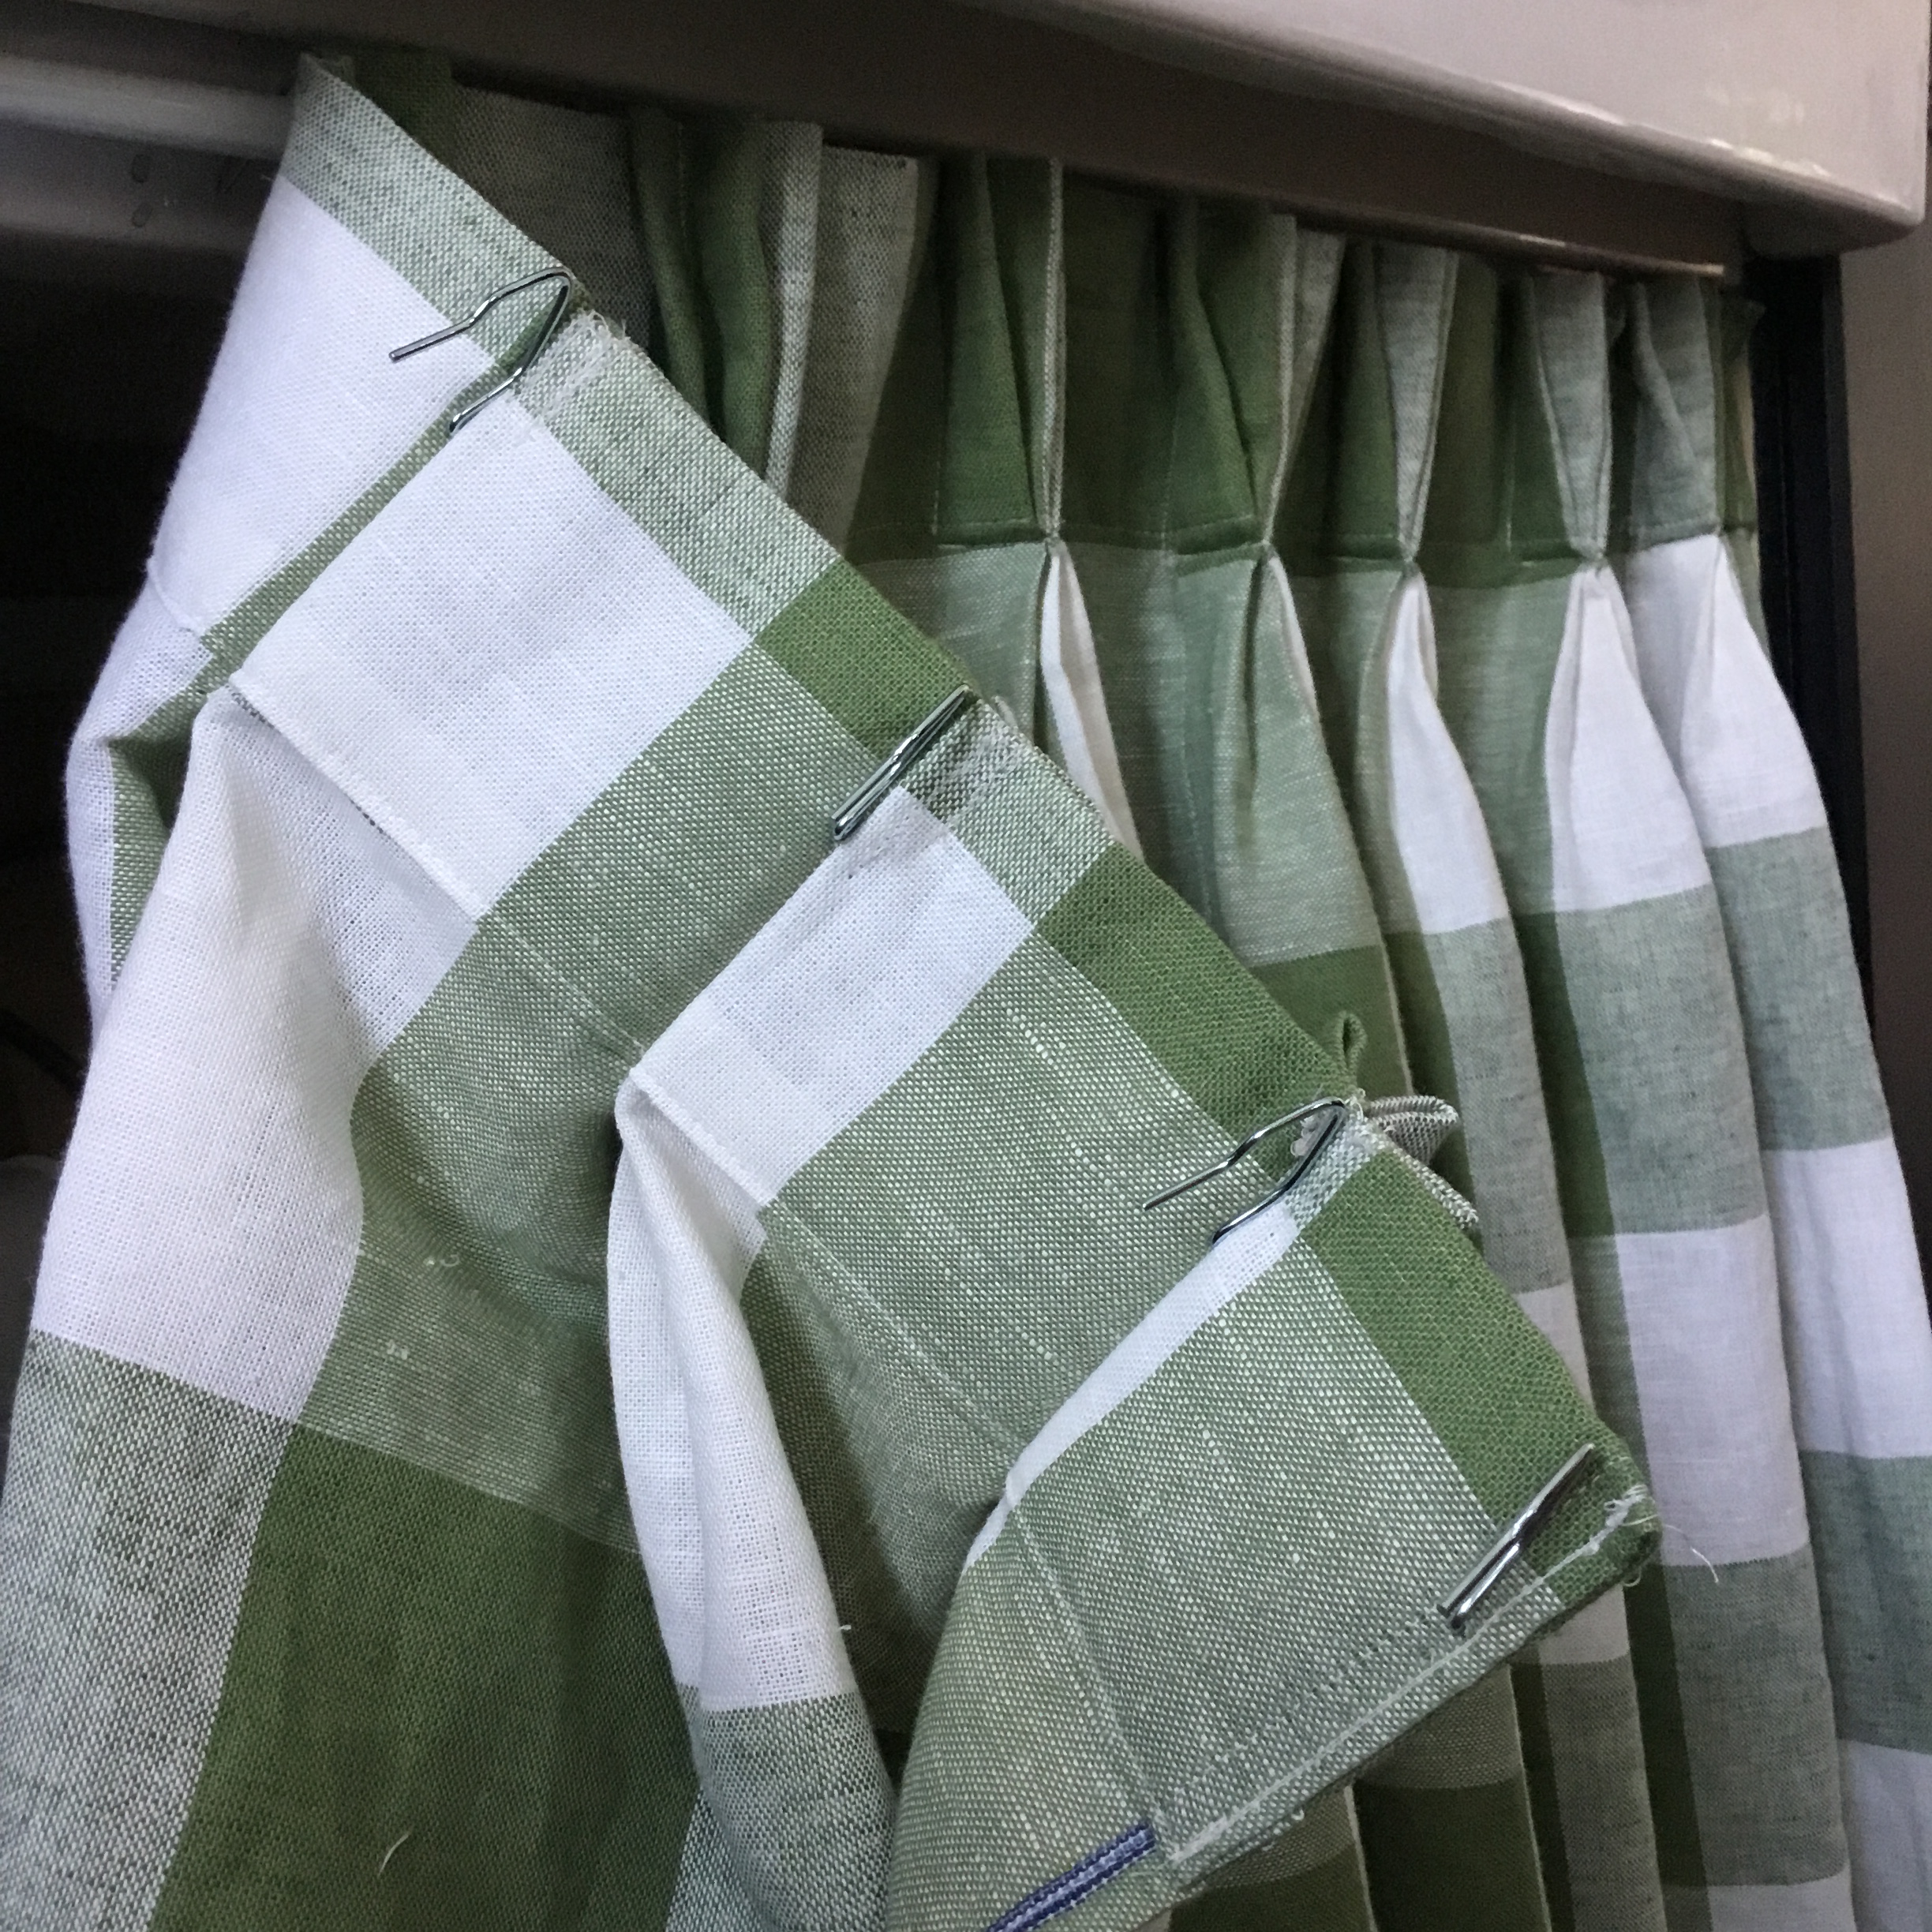
12. Insert you drapery hooks so that they are about 1 inch down from the top of the curtain. This will insure there is no gap between the top of the curtain and your opening. Insert a drapery hook in the center of each pleat, and on each end of your curtain.
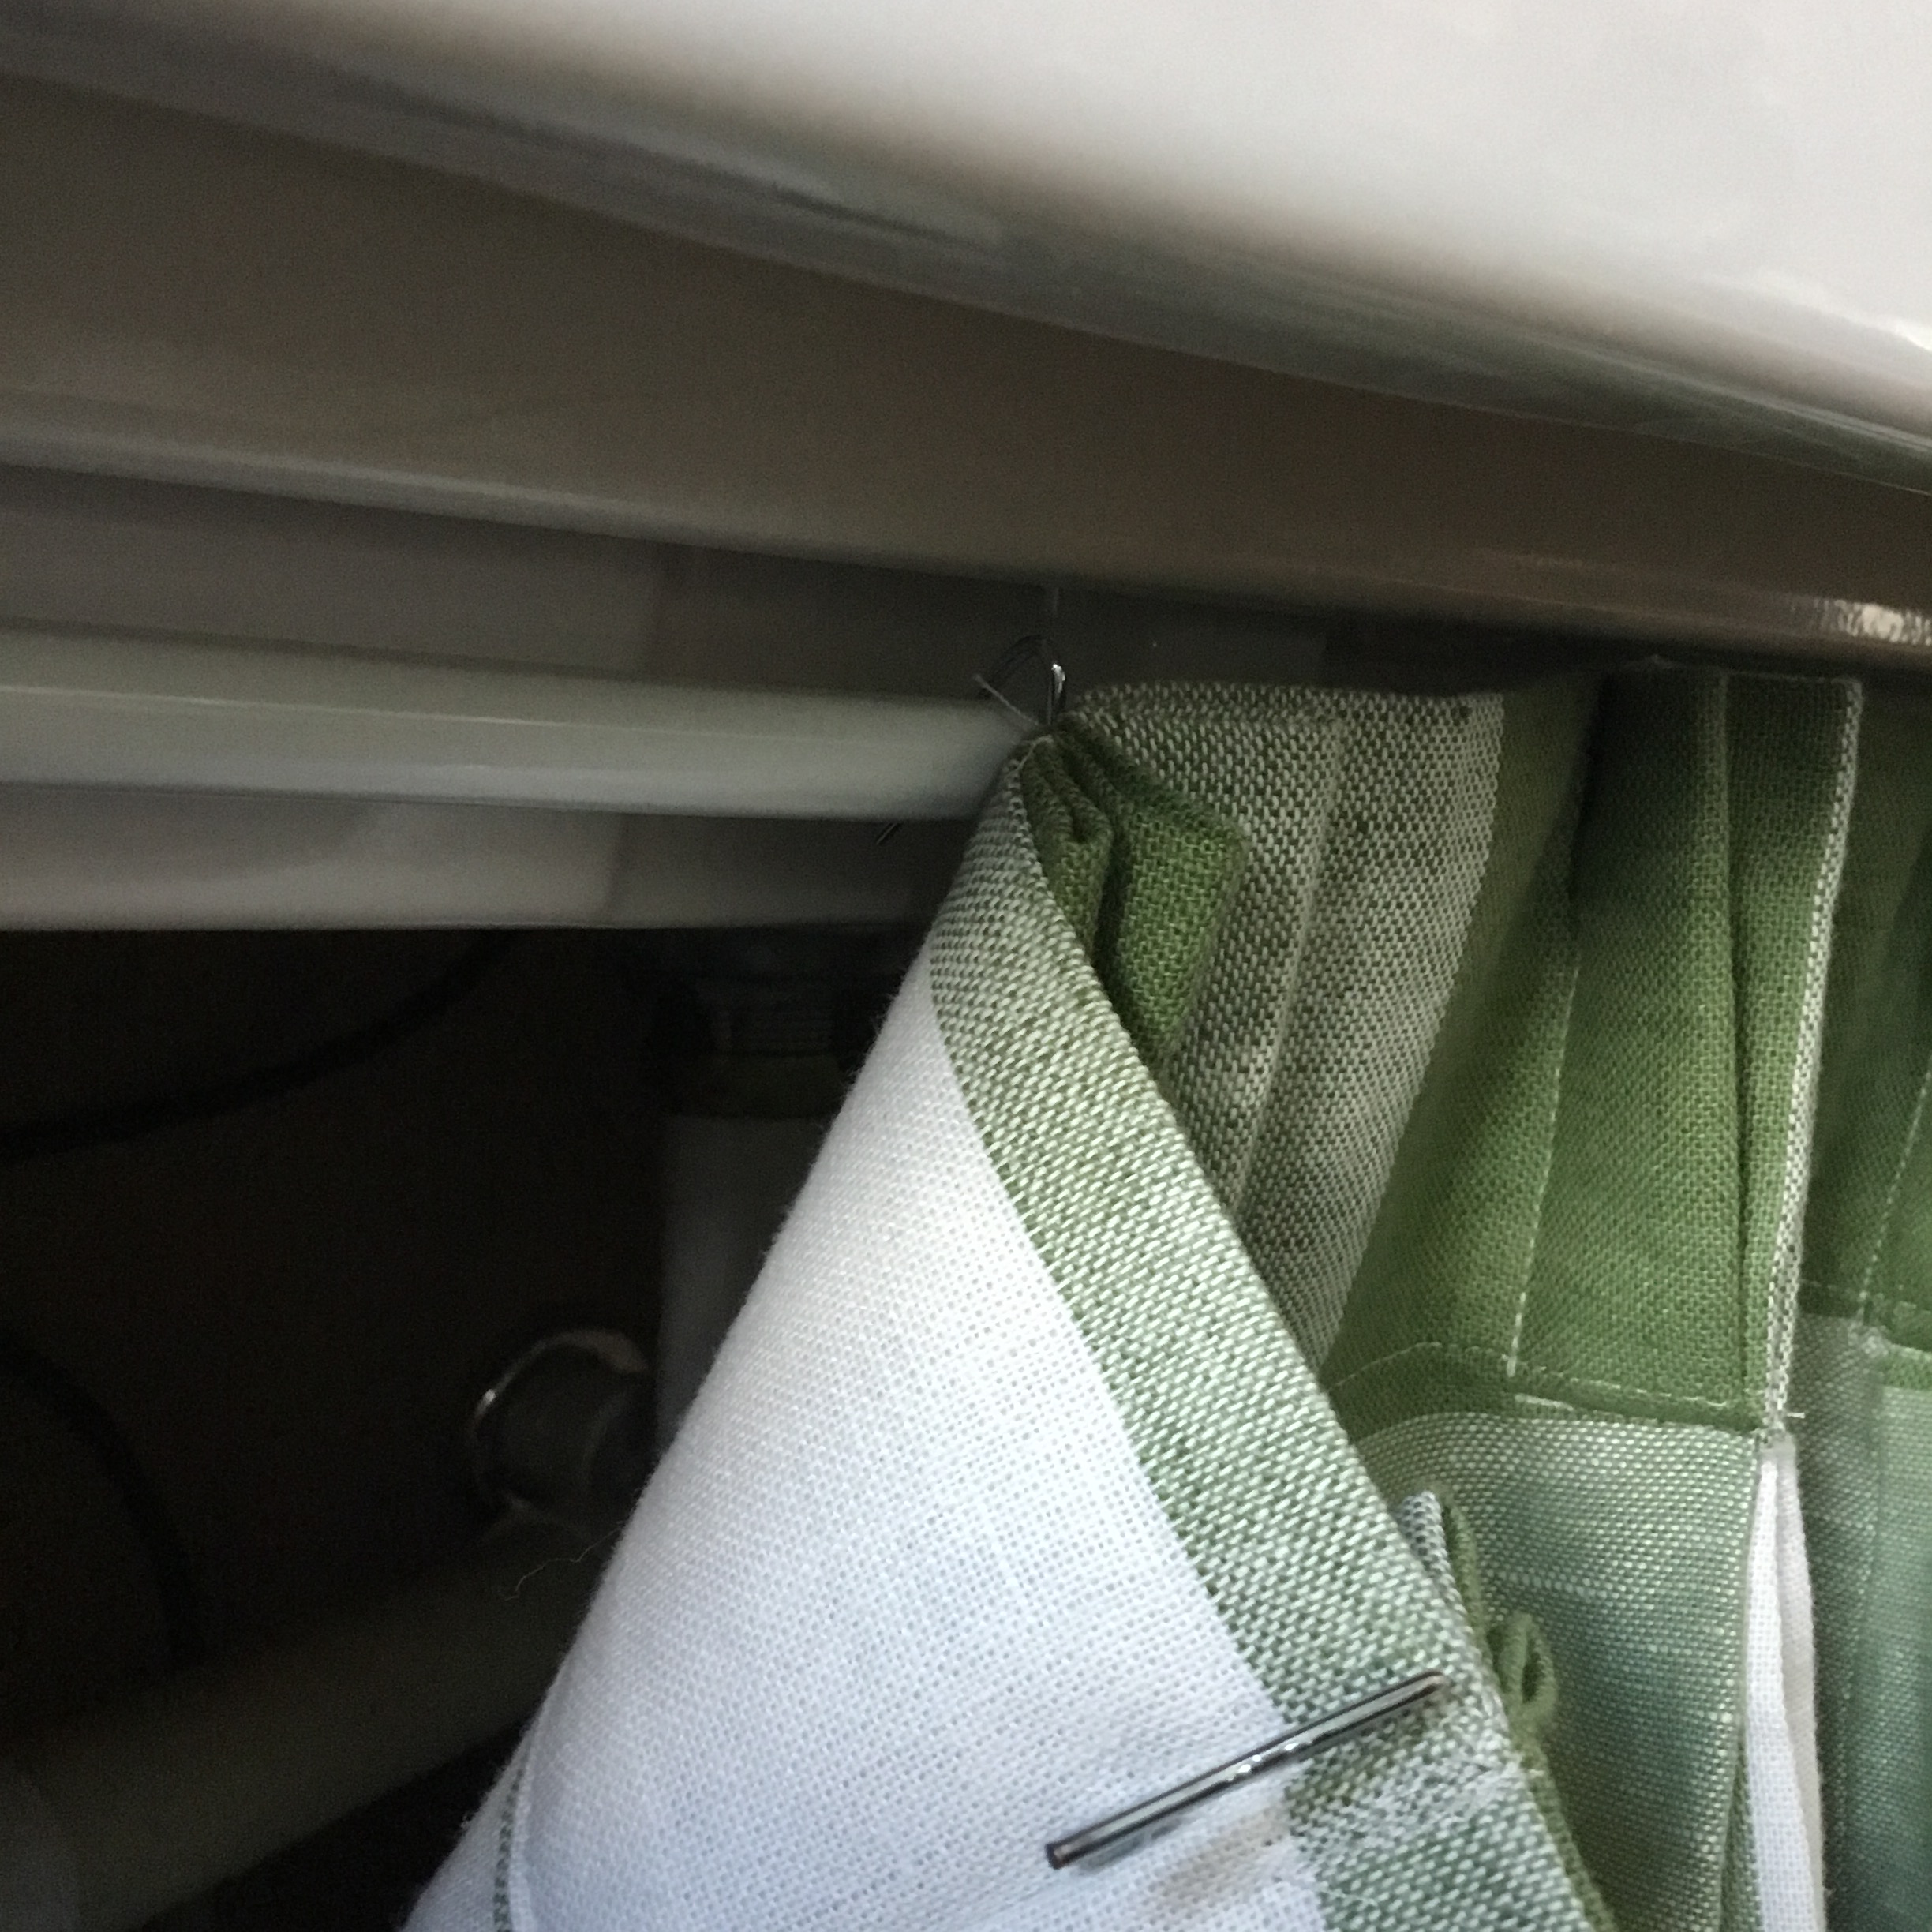
13. Hang the skirt by simply placing the drapery hooks over the tension rod. If you want a skirt that moves more freely on the rod, you will need to use curtain rings — either clip on rings or sew on rings. You will have a small gap between the rod and the curtain because of the rings. I didn’t want a gap so I chose to hang the curtain directly on the tension rod using the drapery hooks. It doesn’t move as freely but really, I hardly need to move the curtain anyway.
14. The final step is to hem your curtain. With the tension rod in place, and your curtain installed, pin up the bottom so it is the length you desire. Press the top edge under about 1 inch and then fold, press and pin the hem. I like to hand sew the hem but if you prefer, you can machine hem it.
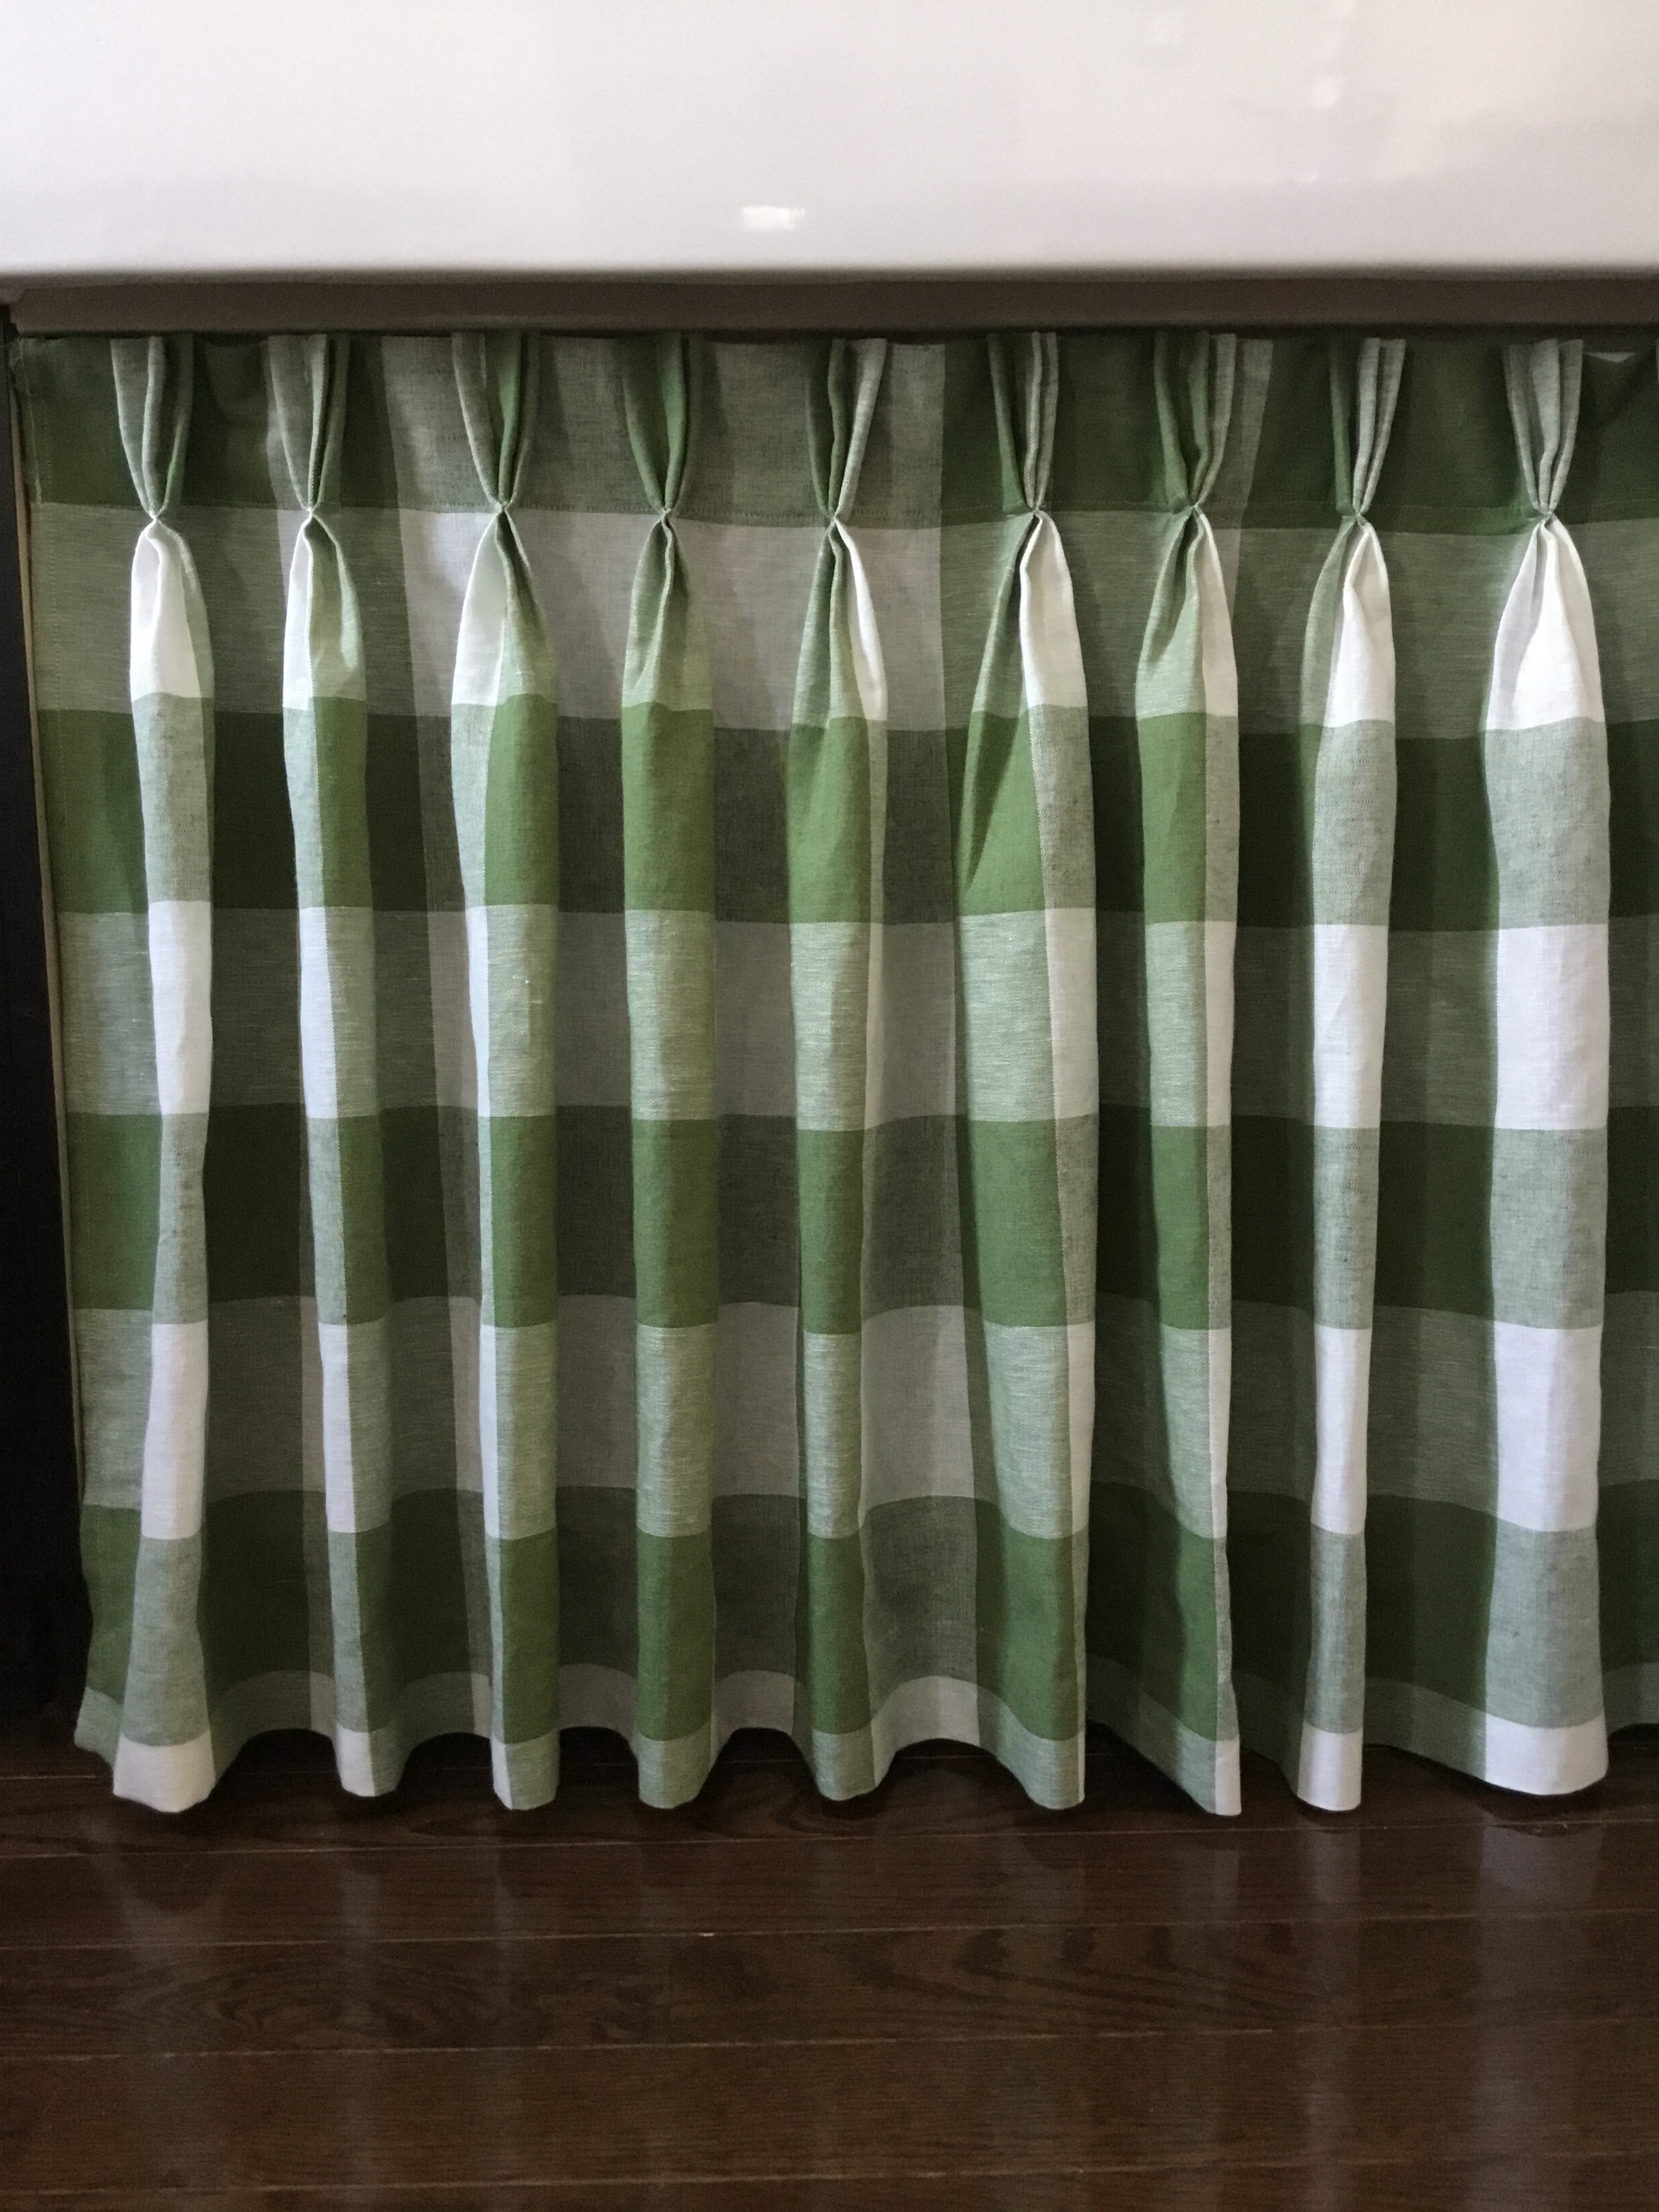
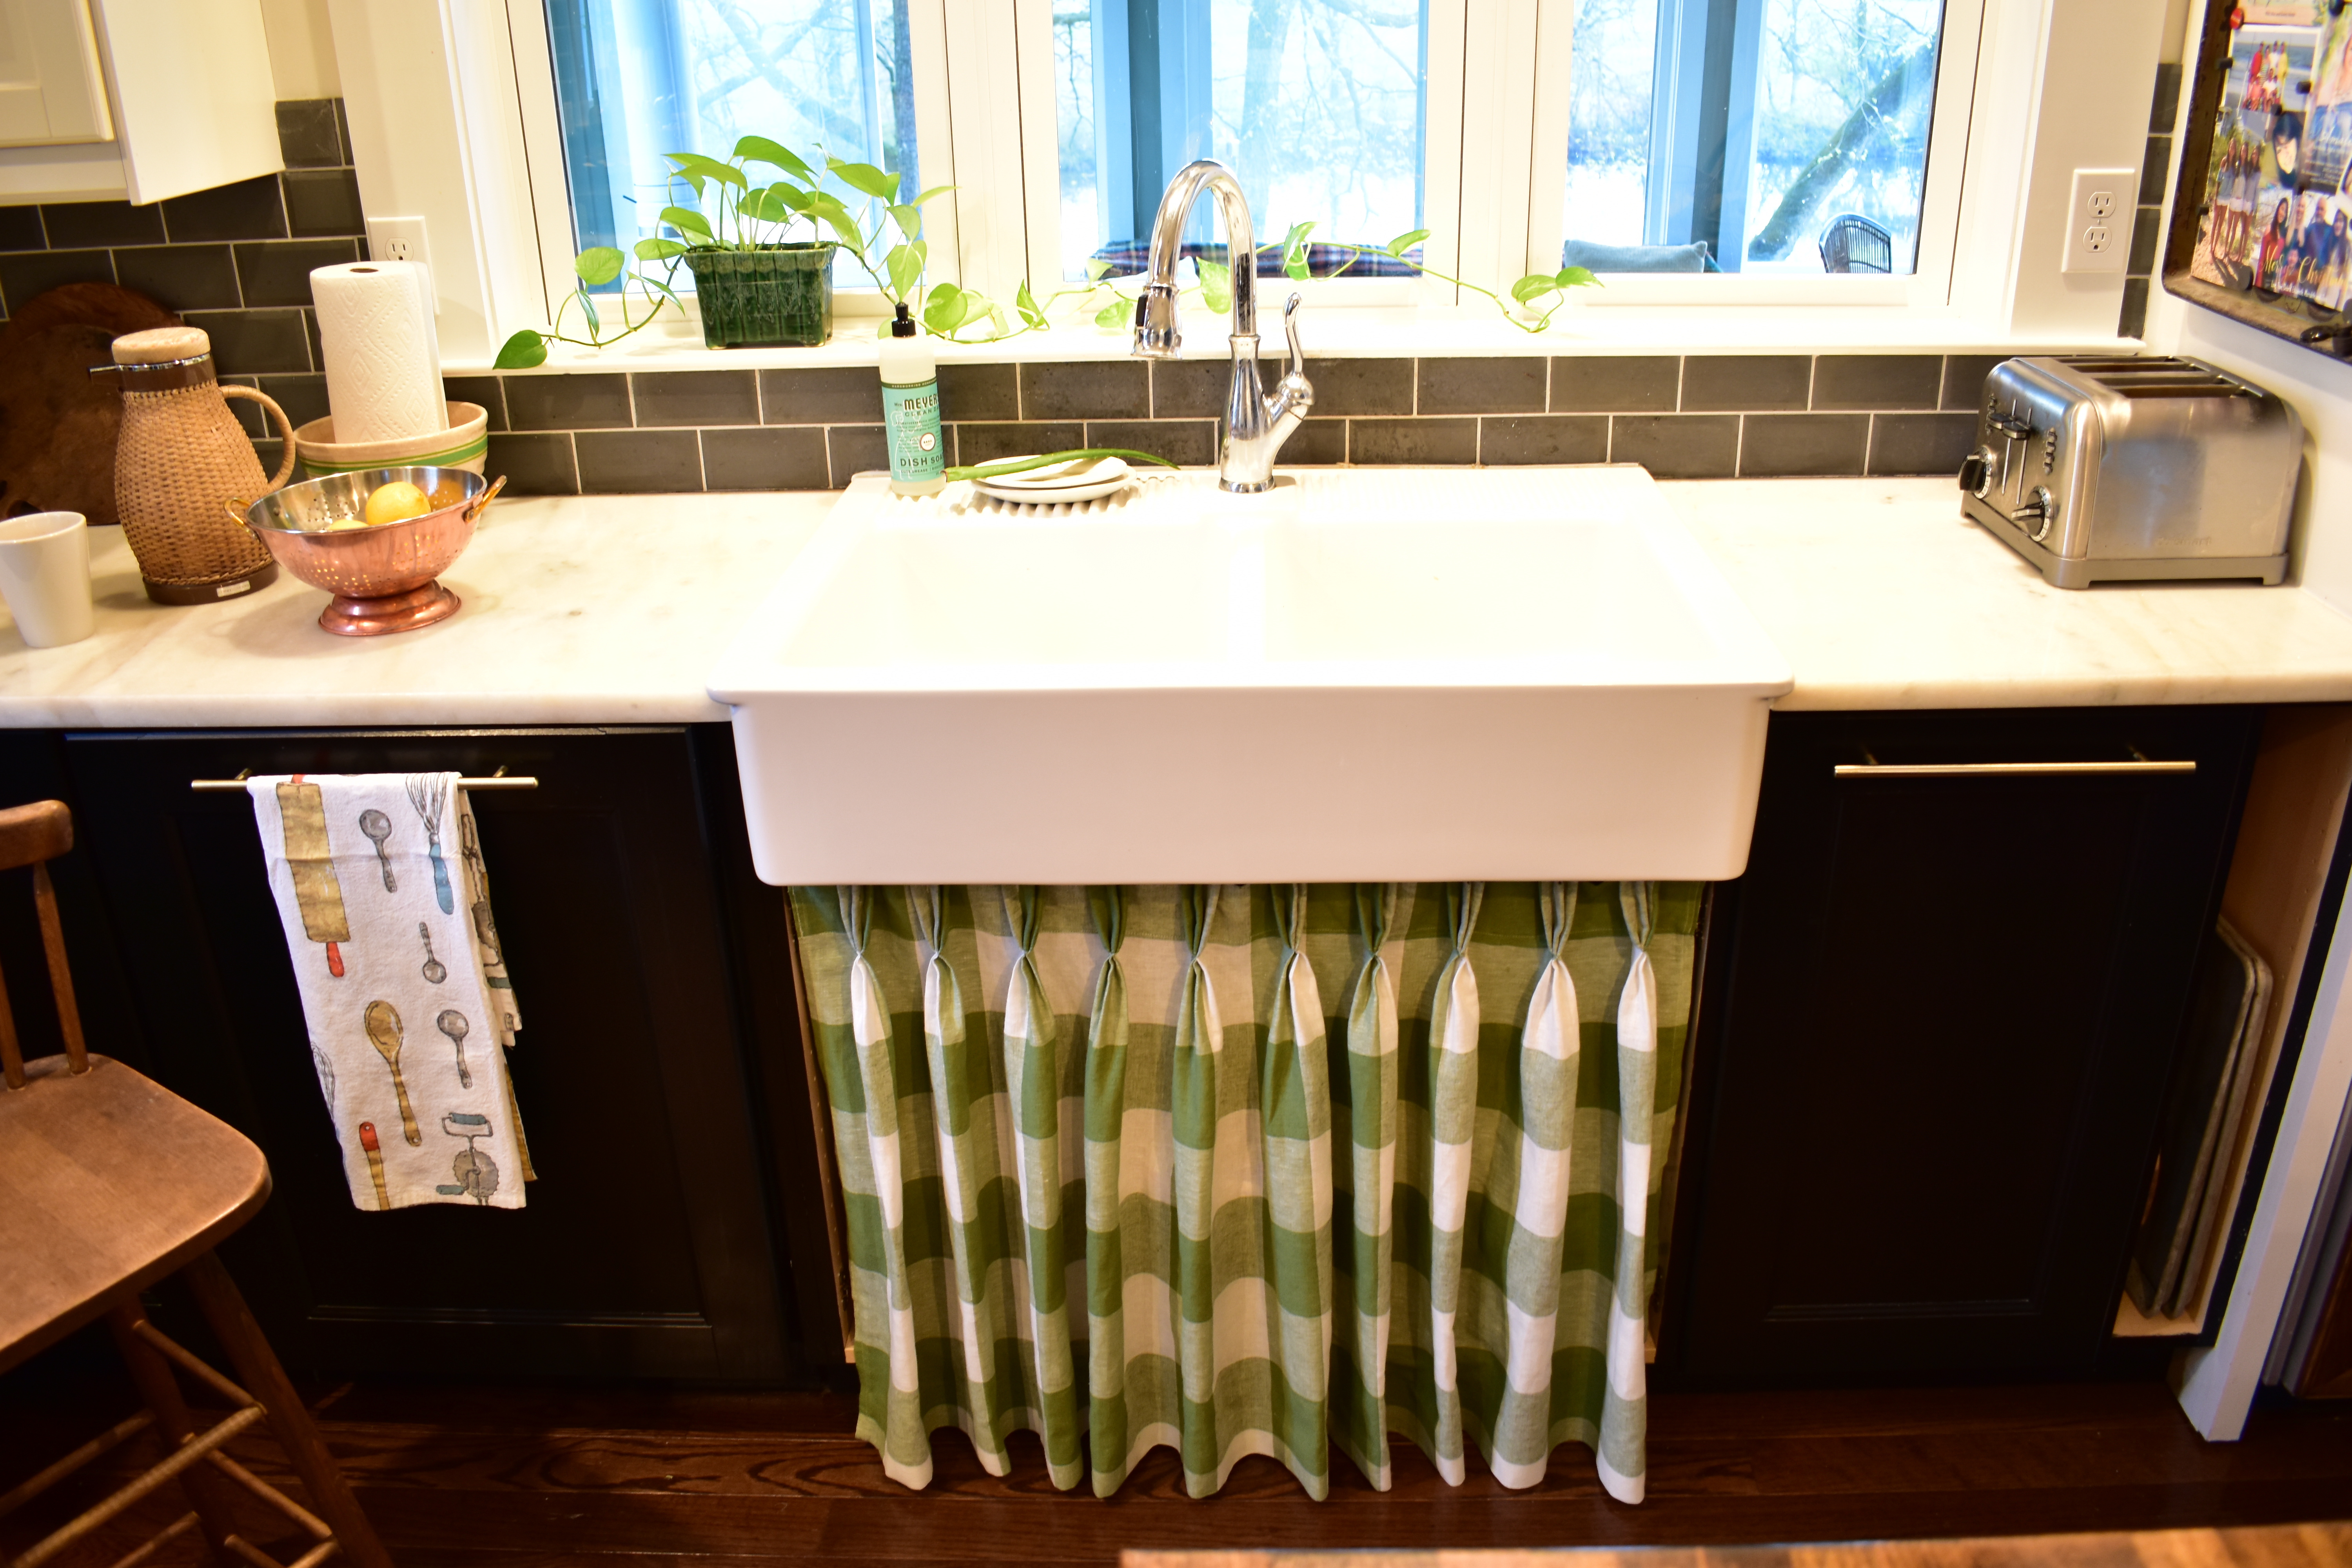

I’ve had my kitchen skirt for about 3 months now and I love it! The pop of color and neat pleats make me smile when I walk into the kitchen. It functions well and it’s easy to push the curtain aside to get a dishwasher tab or dish soap. I think it’s a keeper!

