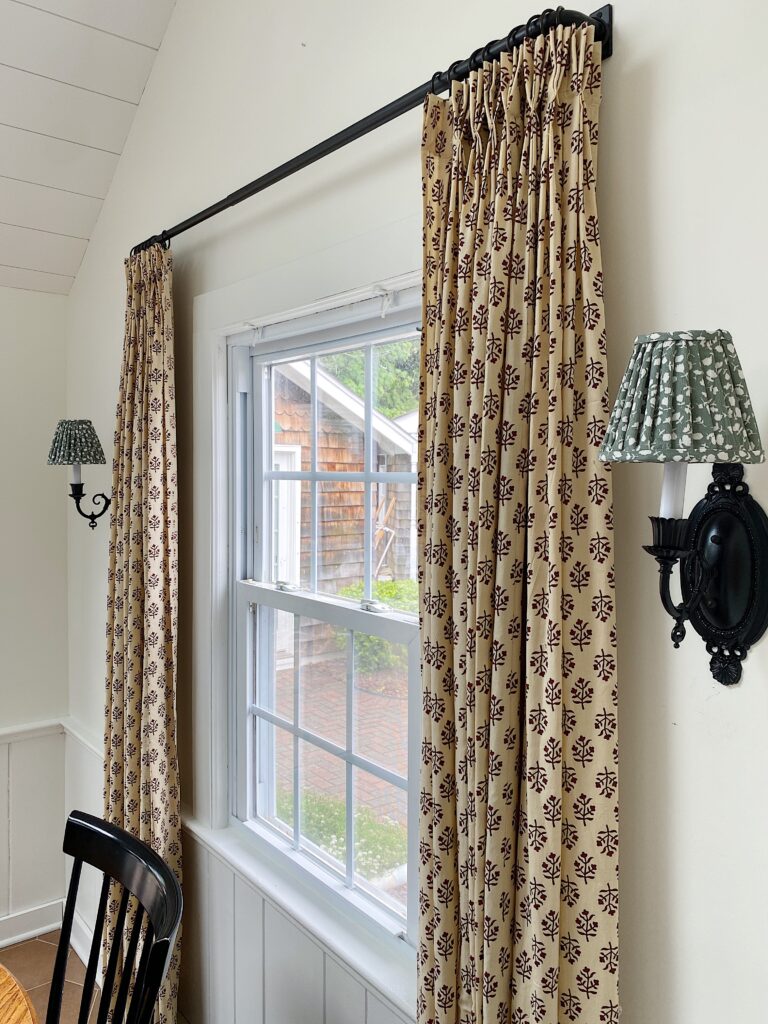
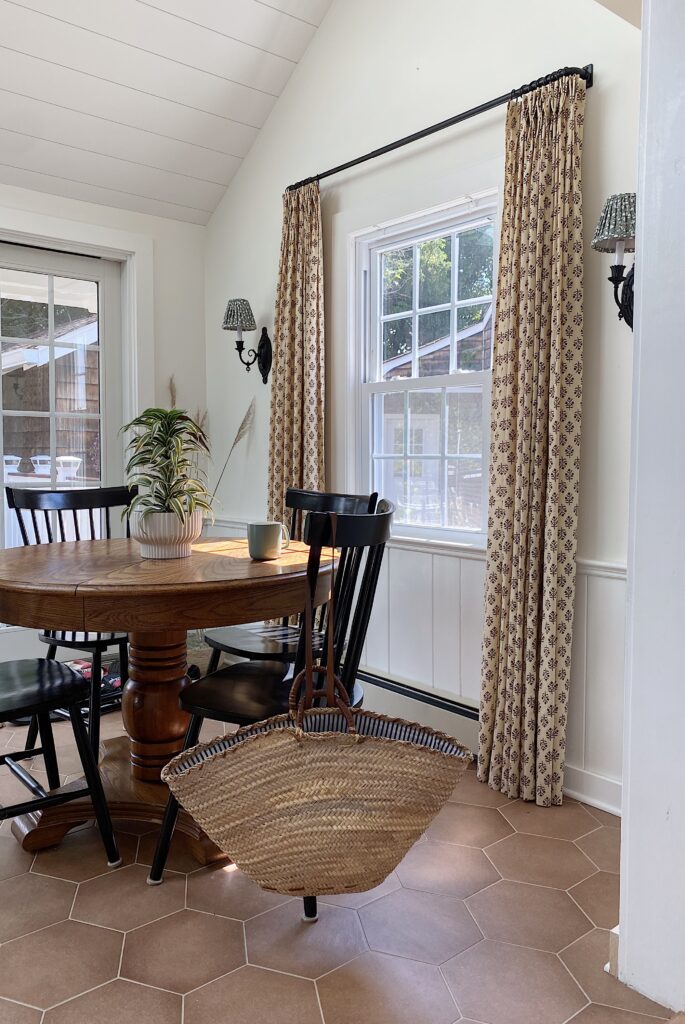
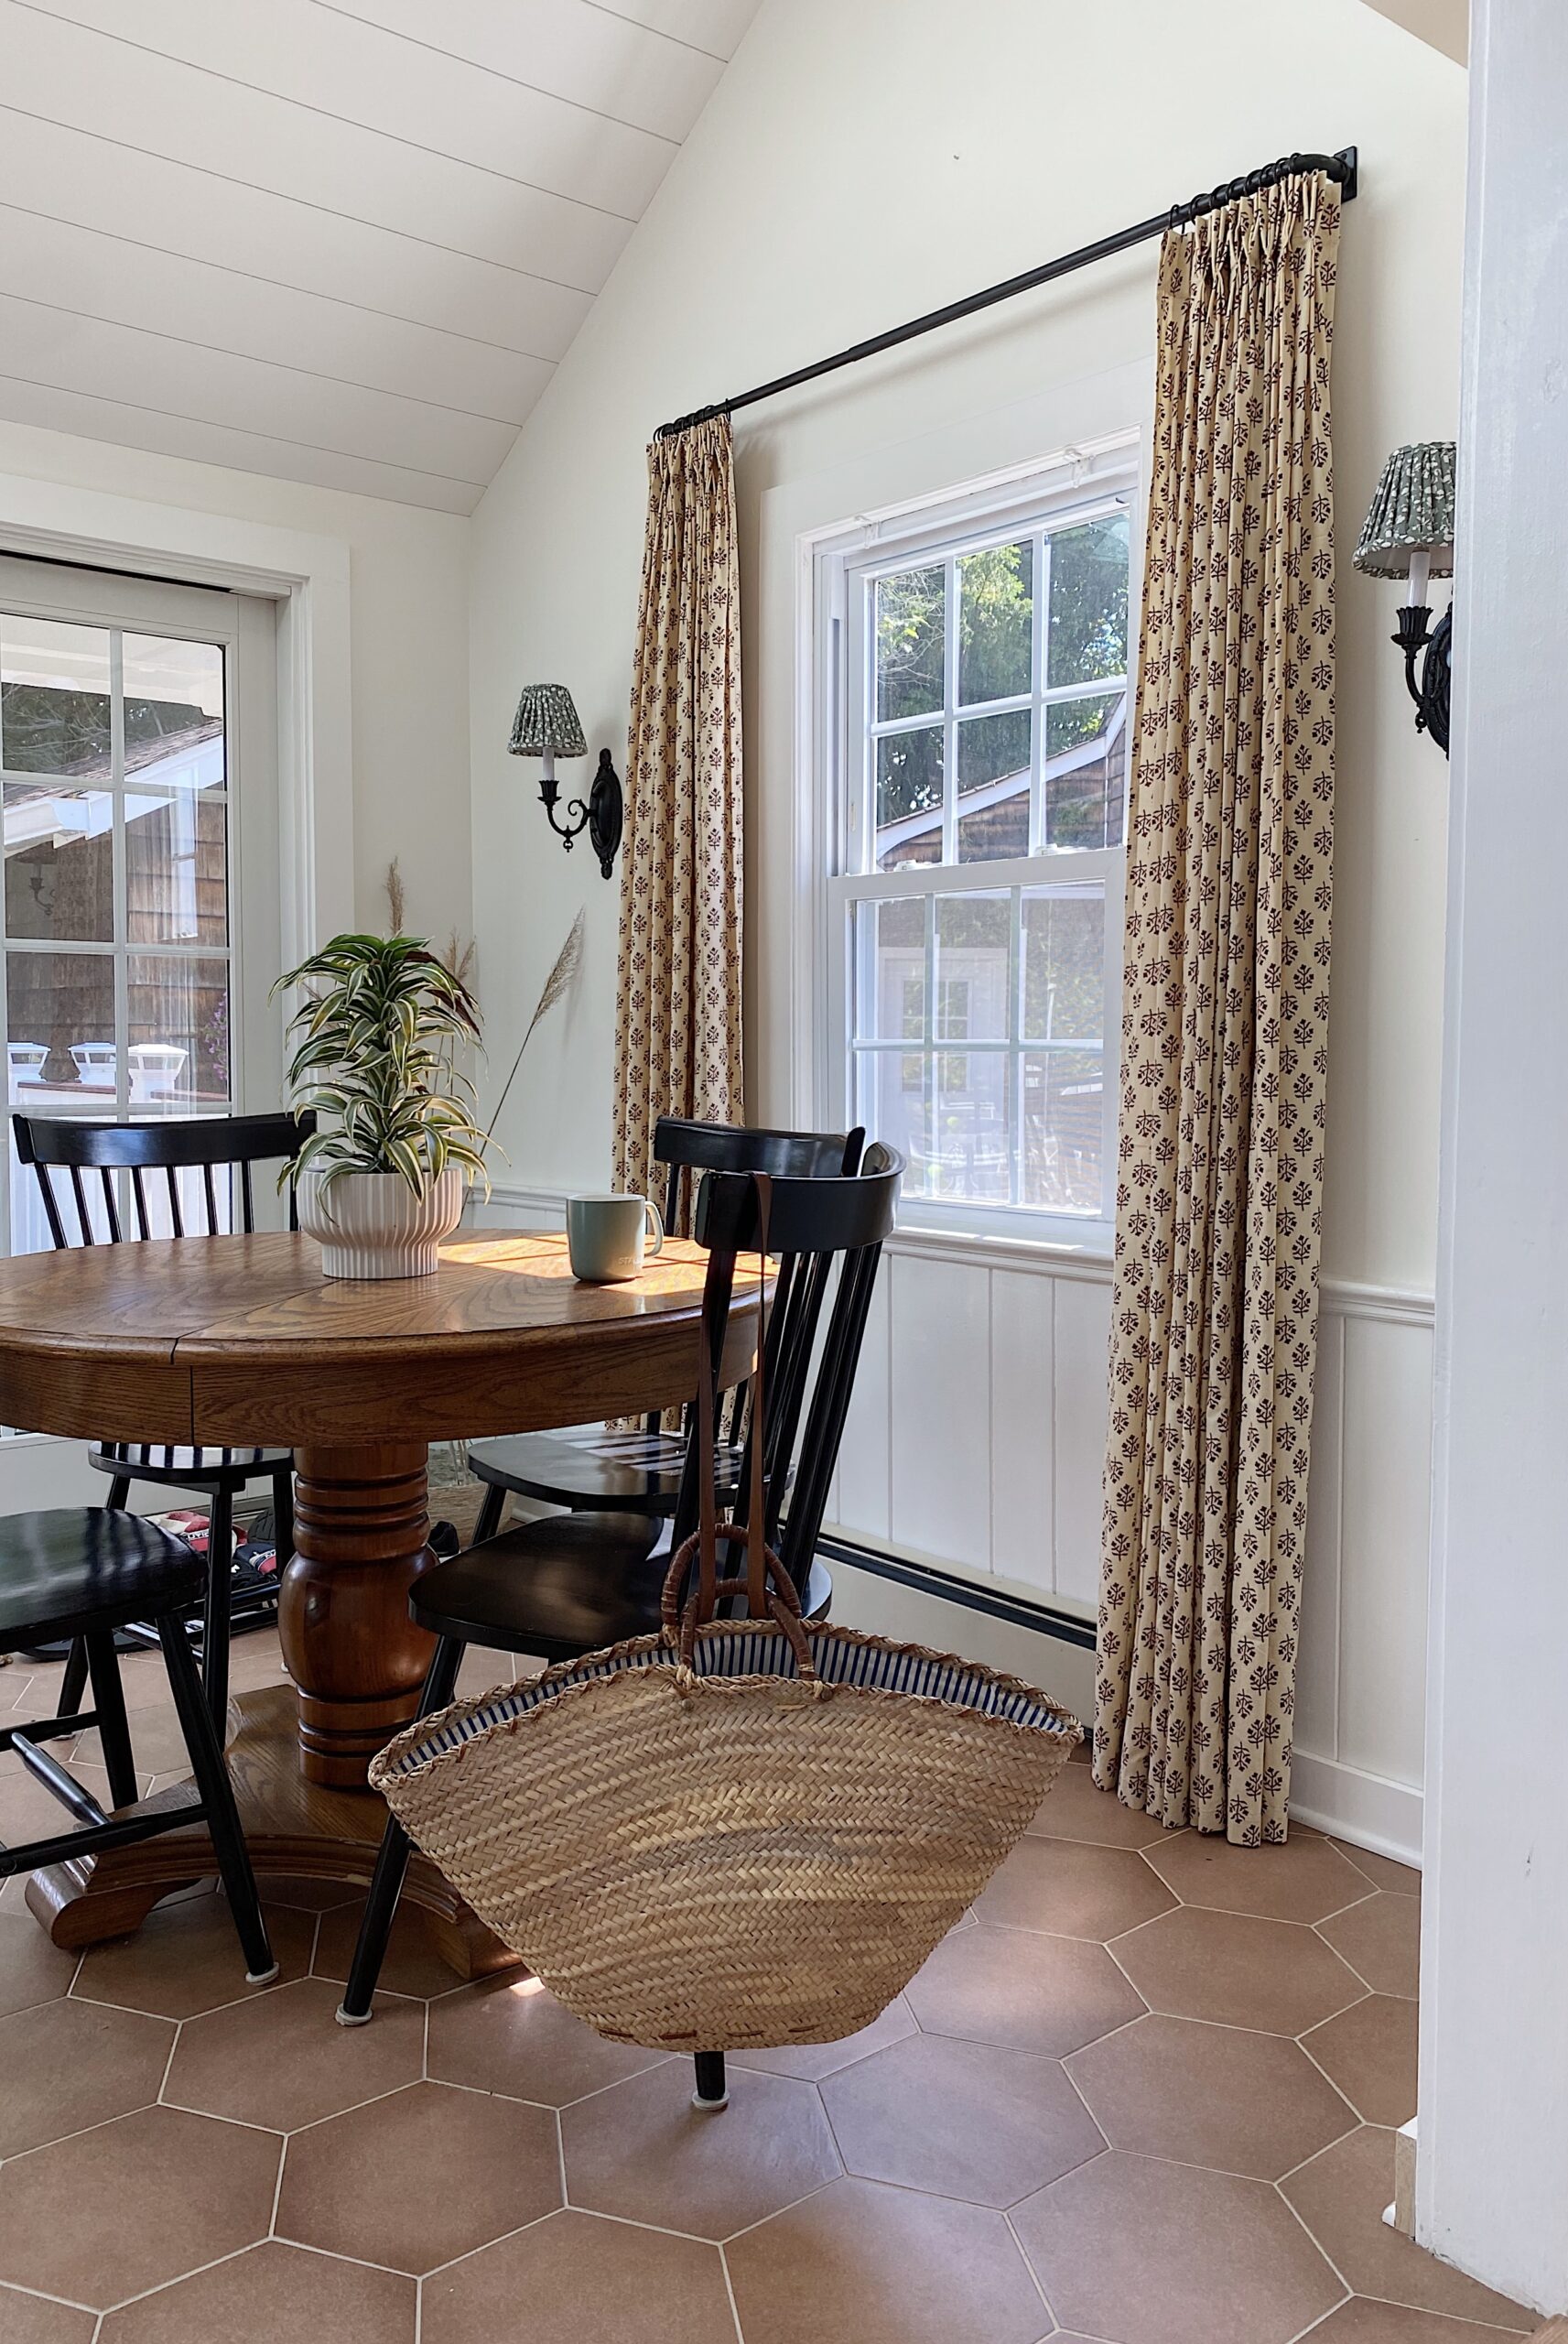
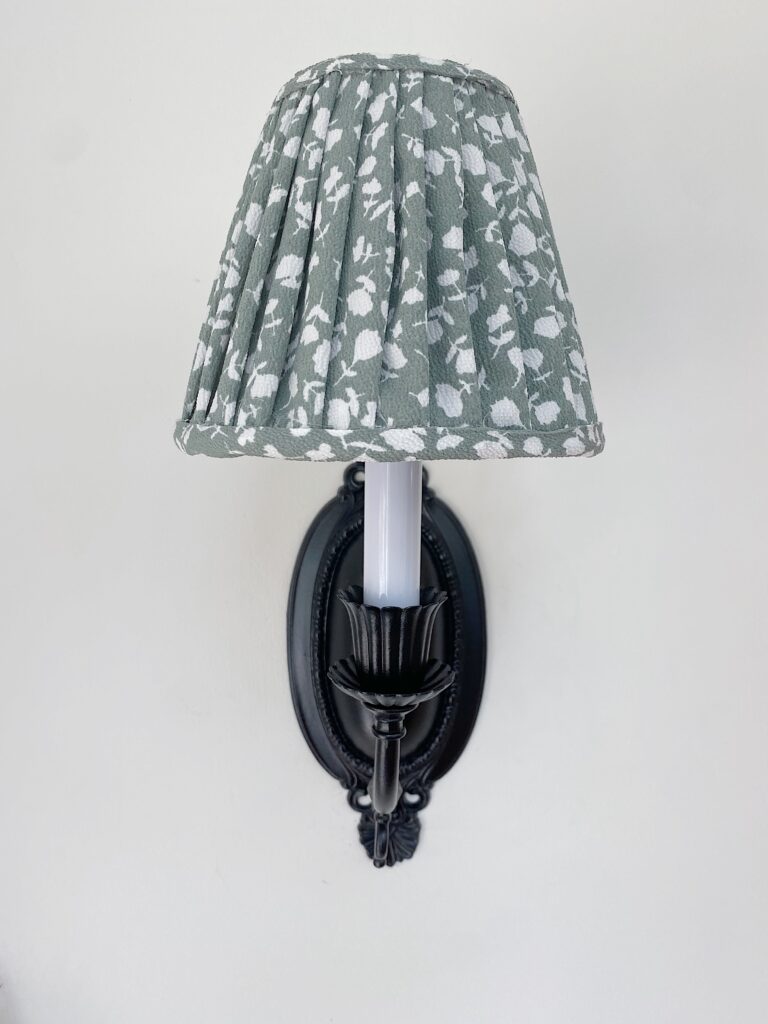
Have you seen all the cute pleated fabric lampshades lately? I love them for the English cottage vibe that they add. But they are pricey. I decided to try to make them for the old wall sconces that are in my kitchen. I’m pleased with how they turned out so I’m sharing my method for making them.
Materials:
- fabric – 3/4 yd of 45″ wide fabric for two small sconce size shades
- lamp shade – easy to find at thrift stores
- glue gun and glue sticks
- iron
- sewing machine (optional)
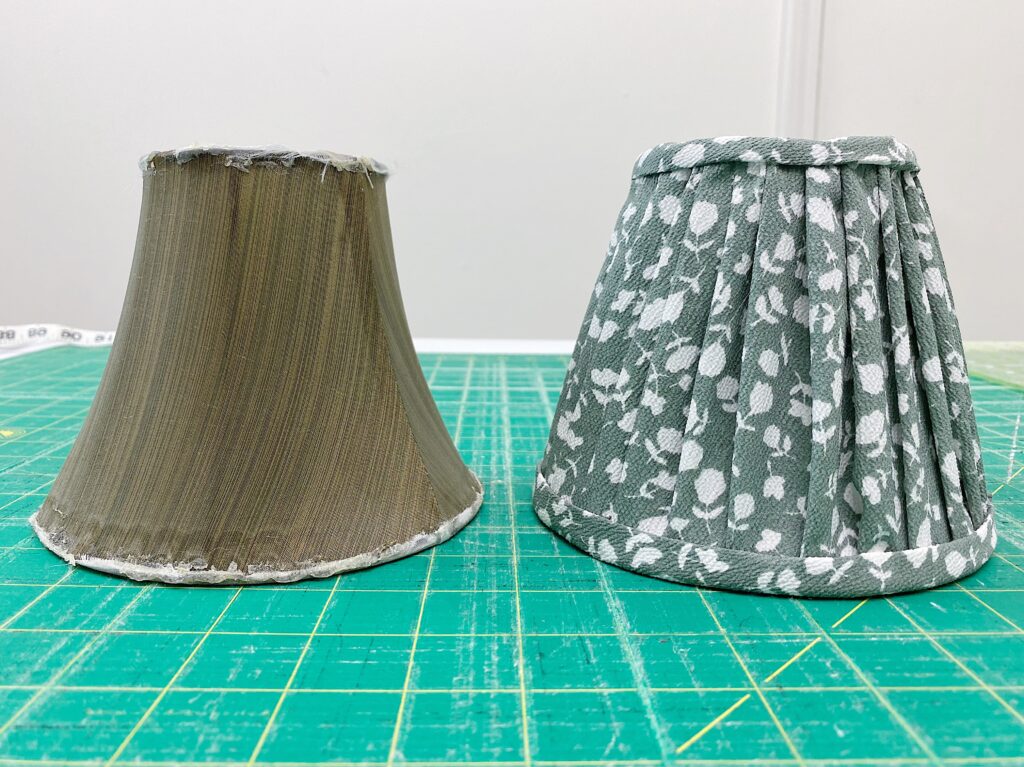
Steps:
1. Measure the height of the shade and the circumference of the shade at its widest point. Add 1.5 inches to the height measurement and 3 to 4 times the circumference measurement. My small shades measured 5 inches tall and 15 inches around so I cut a piece of fabric 6.5 inches by 45 inches (3 times the circumference) for each shade.

2. Position the short edge of the fabric on the shade so that it overhangs the top and bottom of the shade. Glue the fabric at the top and bottom edges of the shade. You don’t need a lot of glue – just a dot at the top and bottom edges.
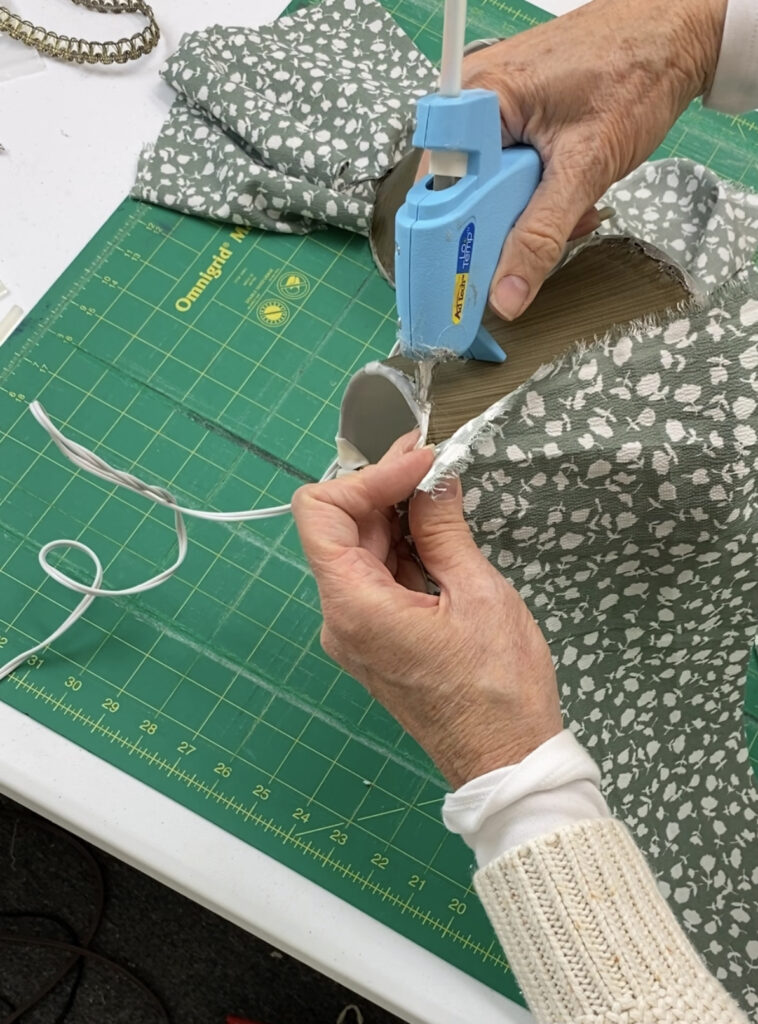
3. To form the first pleat, pinch about an inch of fabric between your fingers and glue it at the top and bottom, overlapping slightly the section of fabric you glued in place at the start.
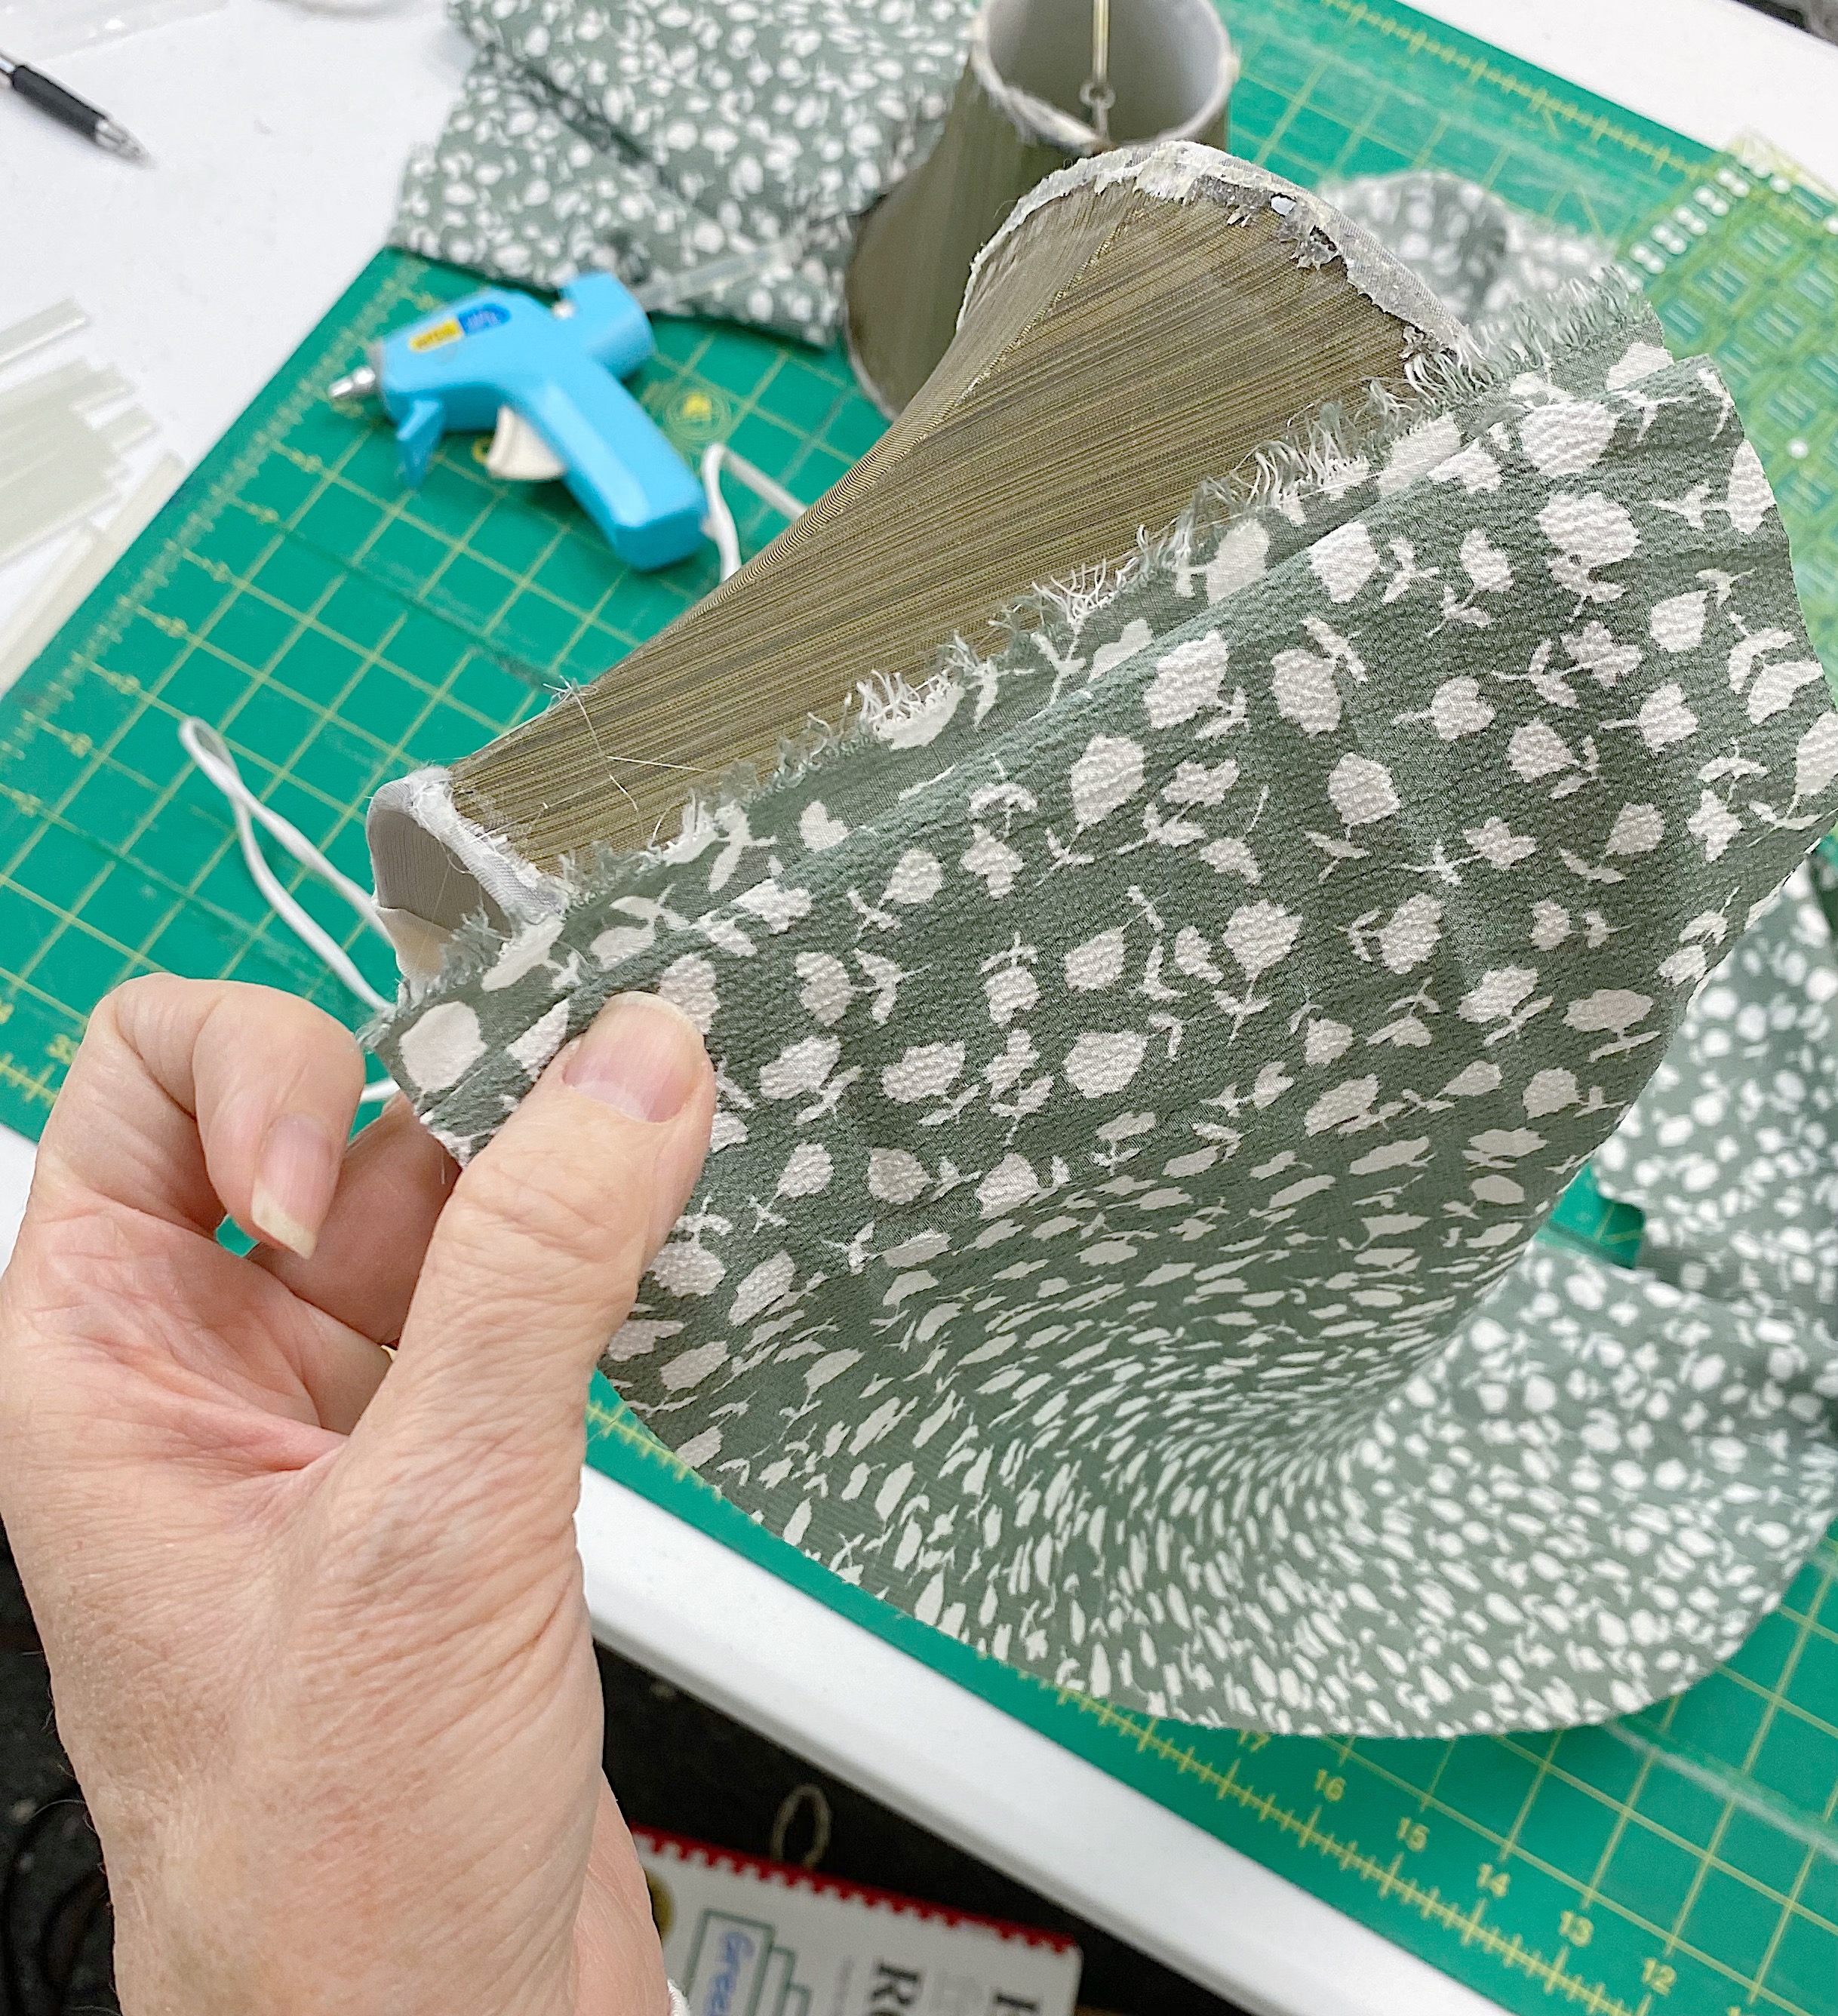
4. Continue pinching and glueing each pleat by overlapping the previous pleat slightly. Try to keep the pleats even in width and straight on the shade. The nice thing about a glue gun is it is forgiving – if you find your pleats are starting to go wonky, just peel the fabric from the shade, reposition and re-glue.
5. In addition to glueing each pleat to the previous pleat, periodically glue the fabric to the shade itself. This will keep the fabric taut vertically on the shade. If you find it’s baggy in places, just lift the fabric from the dried glue, stretch the fabric and regale.
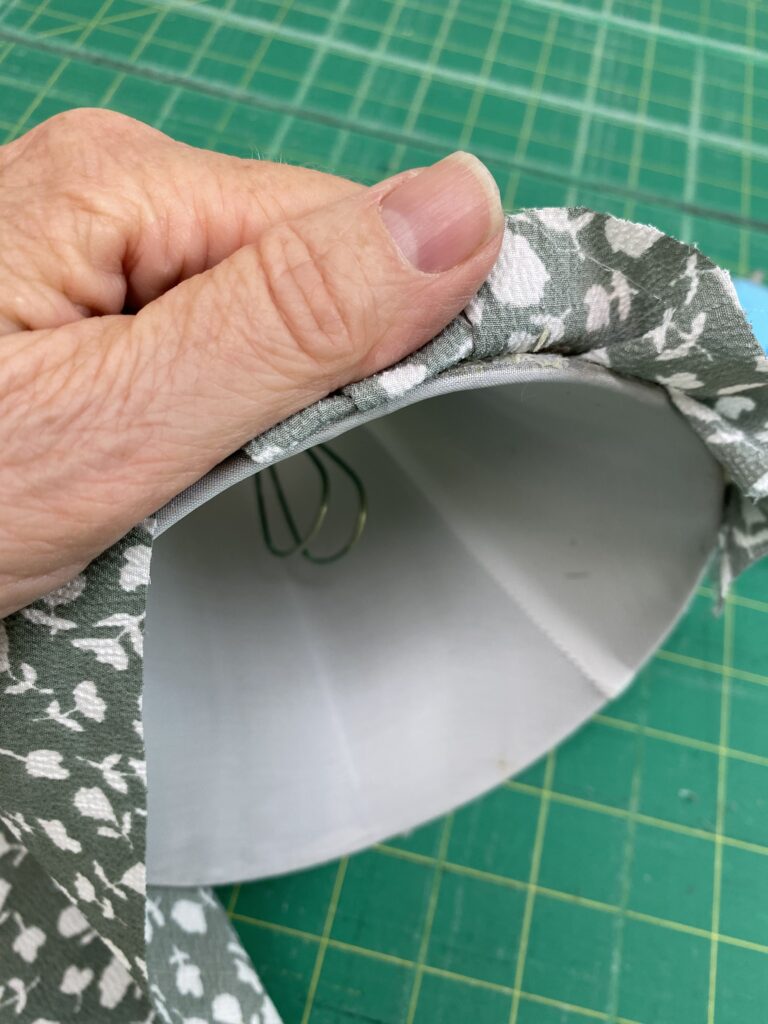
6. For the last pleat, trim any excess fabric beyond an inch. Fold the raw edge under and glue at the top and bottom, overlapping the very first pleat.
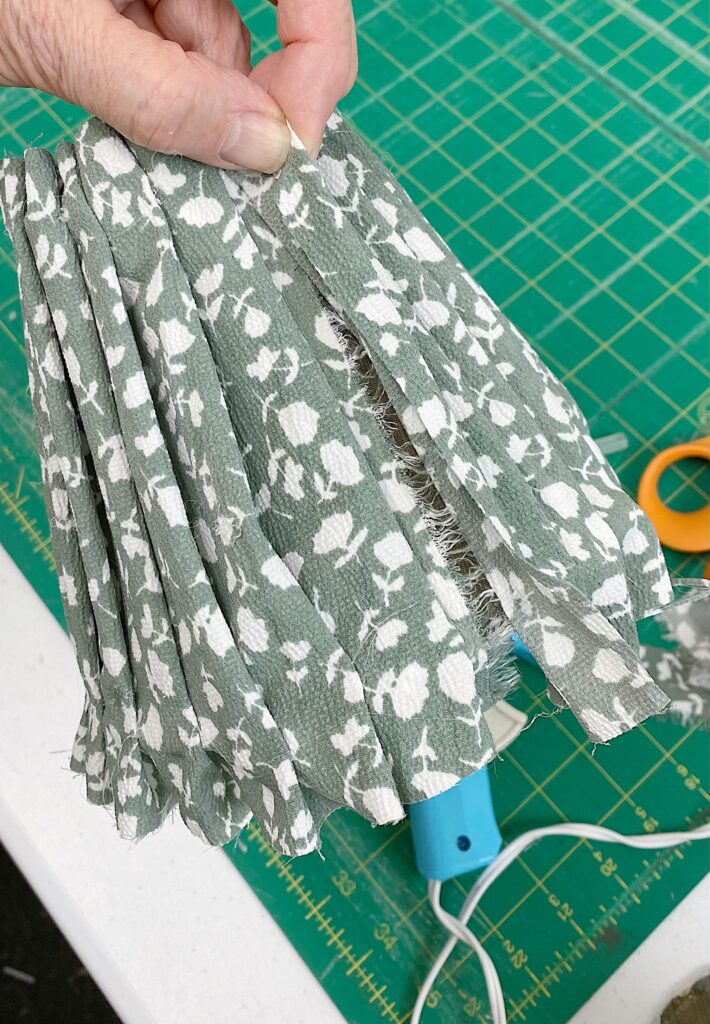
7. With the pleated fabric now secured to the shade, trim off the excess fabric at the top and bottom of the shade so that it is flush with the edges.
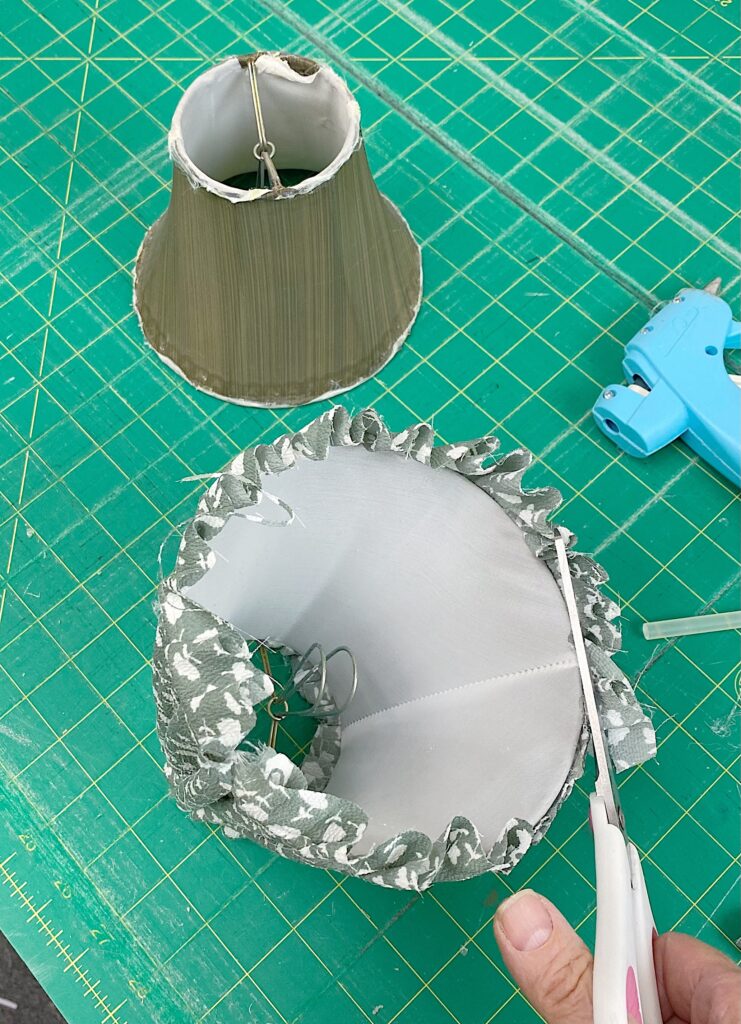
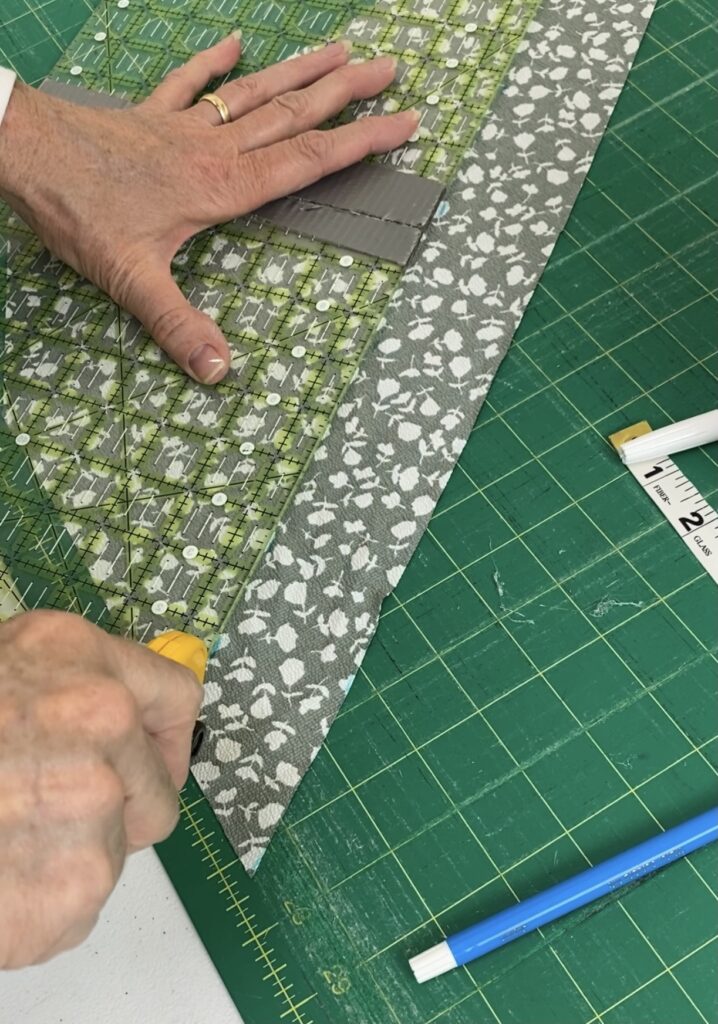
8. To cover the raw edges, measure the circumference of the shades at the top and bottom. Add 2 inches to your measurement and cut two inch wide fabric strips. Note that it is better to cut the strips on the bias which means cutting them diagonally across the fabric. This allows the fabric to stretch easier around the circular edge. Also, If you have a large lampshade, you may need to sew several strips together to get the length needed.
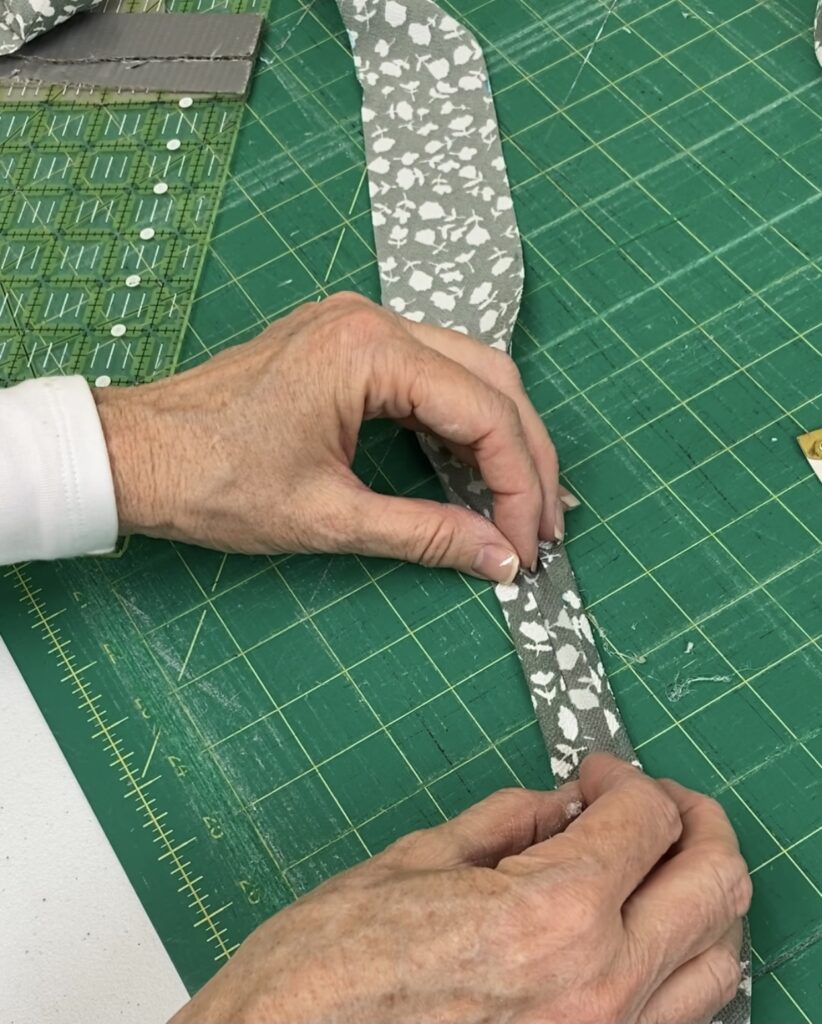
9. Fold the long edges so that they meet in the middle and press them into place with your iron.
10. Place the trim over the raw edge of the shade. Glue along the inside of the shade and the outside of the shade.
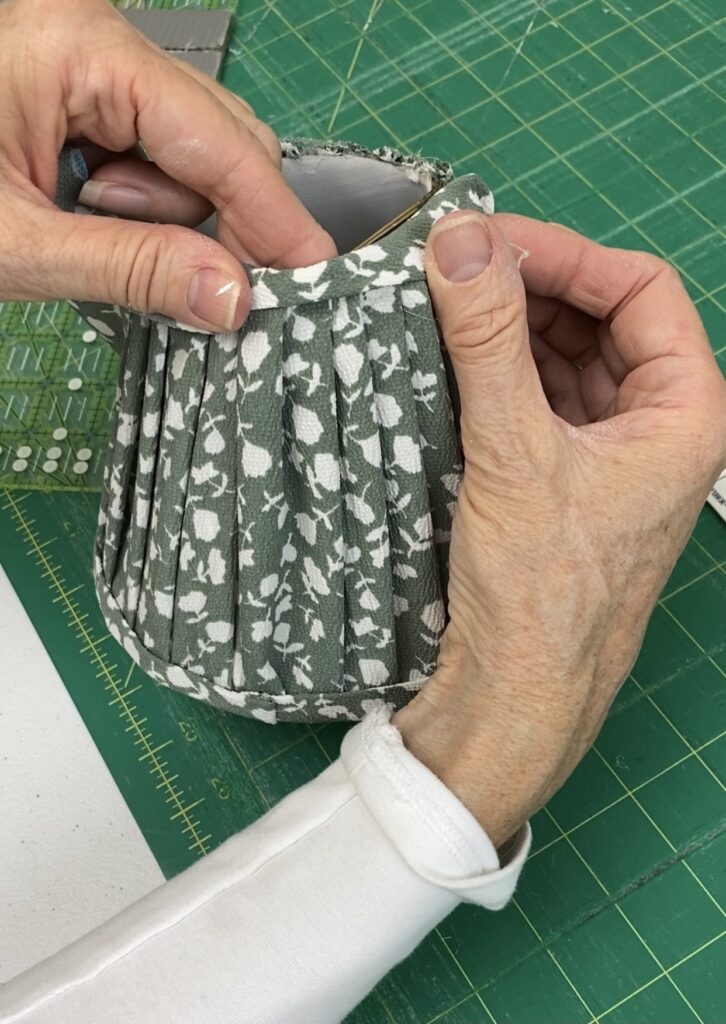
11. When you get all the way around, cut the excess trim to about one inch. Fold under the raw edge and glue to the shade by overlapping slightly the beginning of the trim. Repeat the process for the other edge.
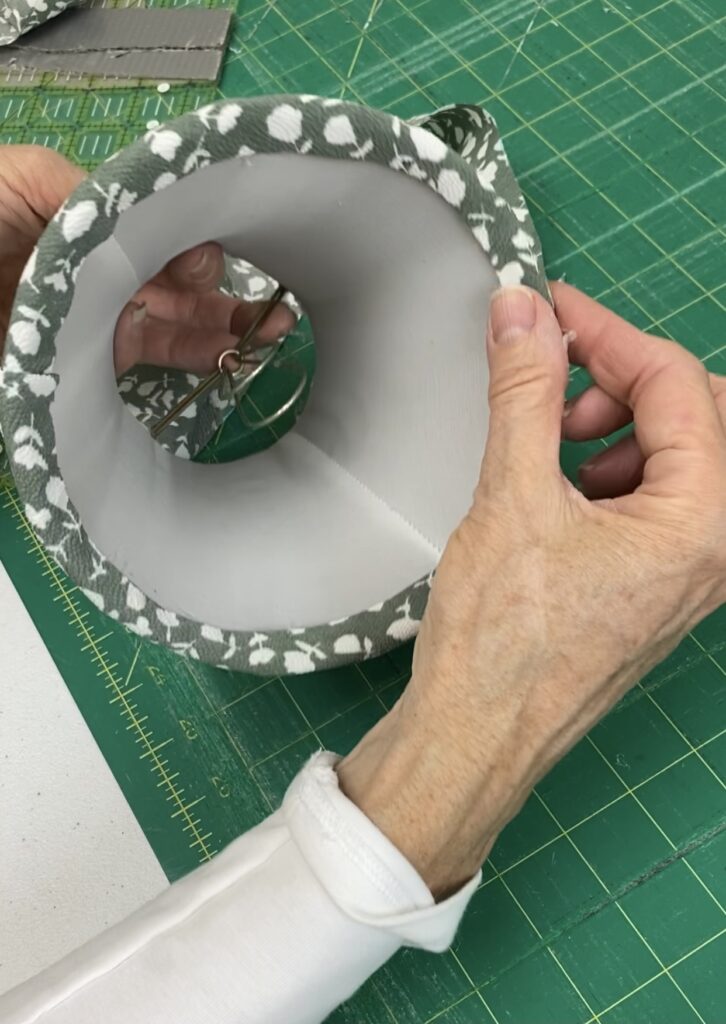
NOTE: Because my shades are small, it was cumbersome to keep the trim in place and glue it down, especially around the top edge. I found it was easier to sew the edges of the trim down before gluing the trim into place.
I spent about $5 to make both shades. An inexpensive update for some old sconces! I hope you are inspired to try this!
